Bread Molding Reconstruction
Sourdough Starter
Table of Contents
Date and Time:
2016.09.19, 02:00pm-08:00pm
Location: Fayerweather Hall and my apartment (120th Street and Amsterdam, 4th Floor)
Subject: Receiving sourdough starter and feeding it
At the end of our Craft & Science class in Fayerweather, the students received sourdough starter from Professor Smith.
After returning to my apartment, I used google to search "feeding sourdough starter" and after reading through the King Arthur Flour BlogI decided to keep my starter at room temperature and feed it twice a day. The directions are: 1) stir well 2) discard all but 4 oz of starter 3) add 4 oz non-chlorinated, room temperature water and 4 oz flour to the 4 oz of starter 4) repeat every 12 hours
I fed my starter for the first time at 8:00pm with King Arthur all purpose white flour and room temperature filtered Brita water.
Observations
After feeding starter from 9/19/2016-9/24/2016:
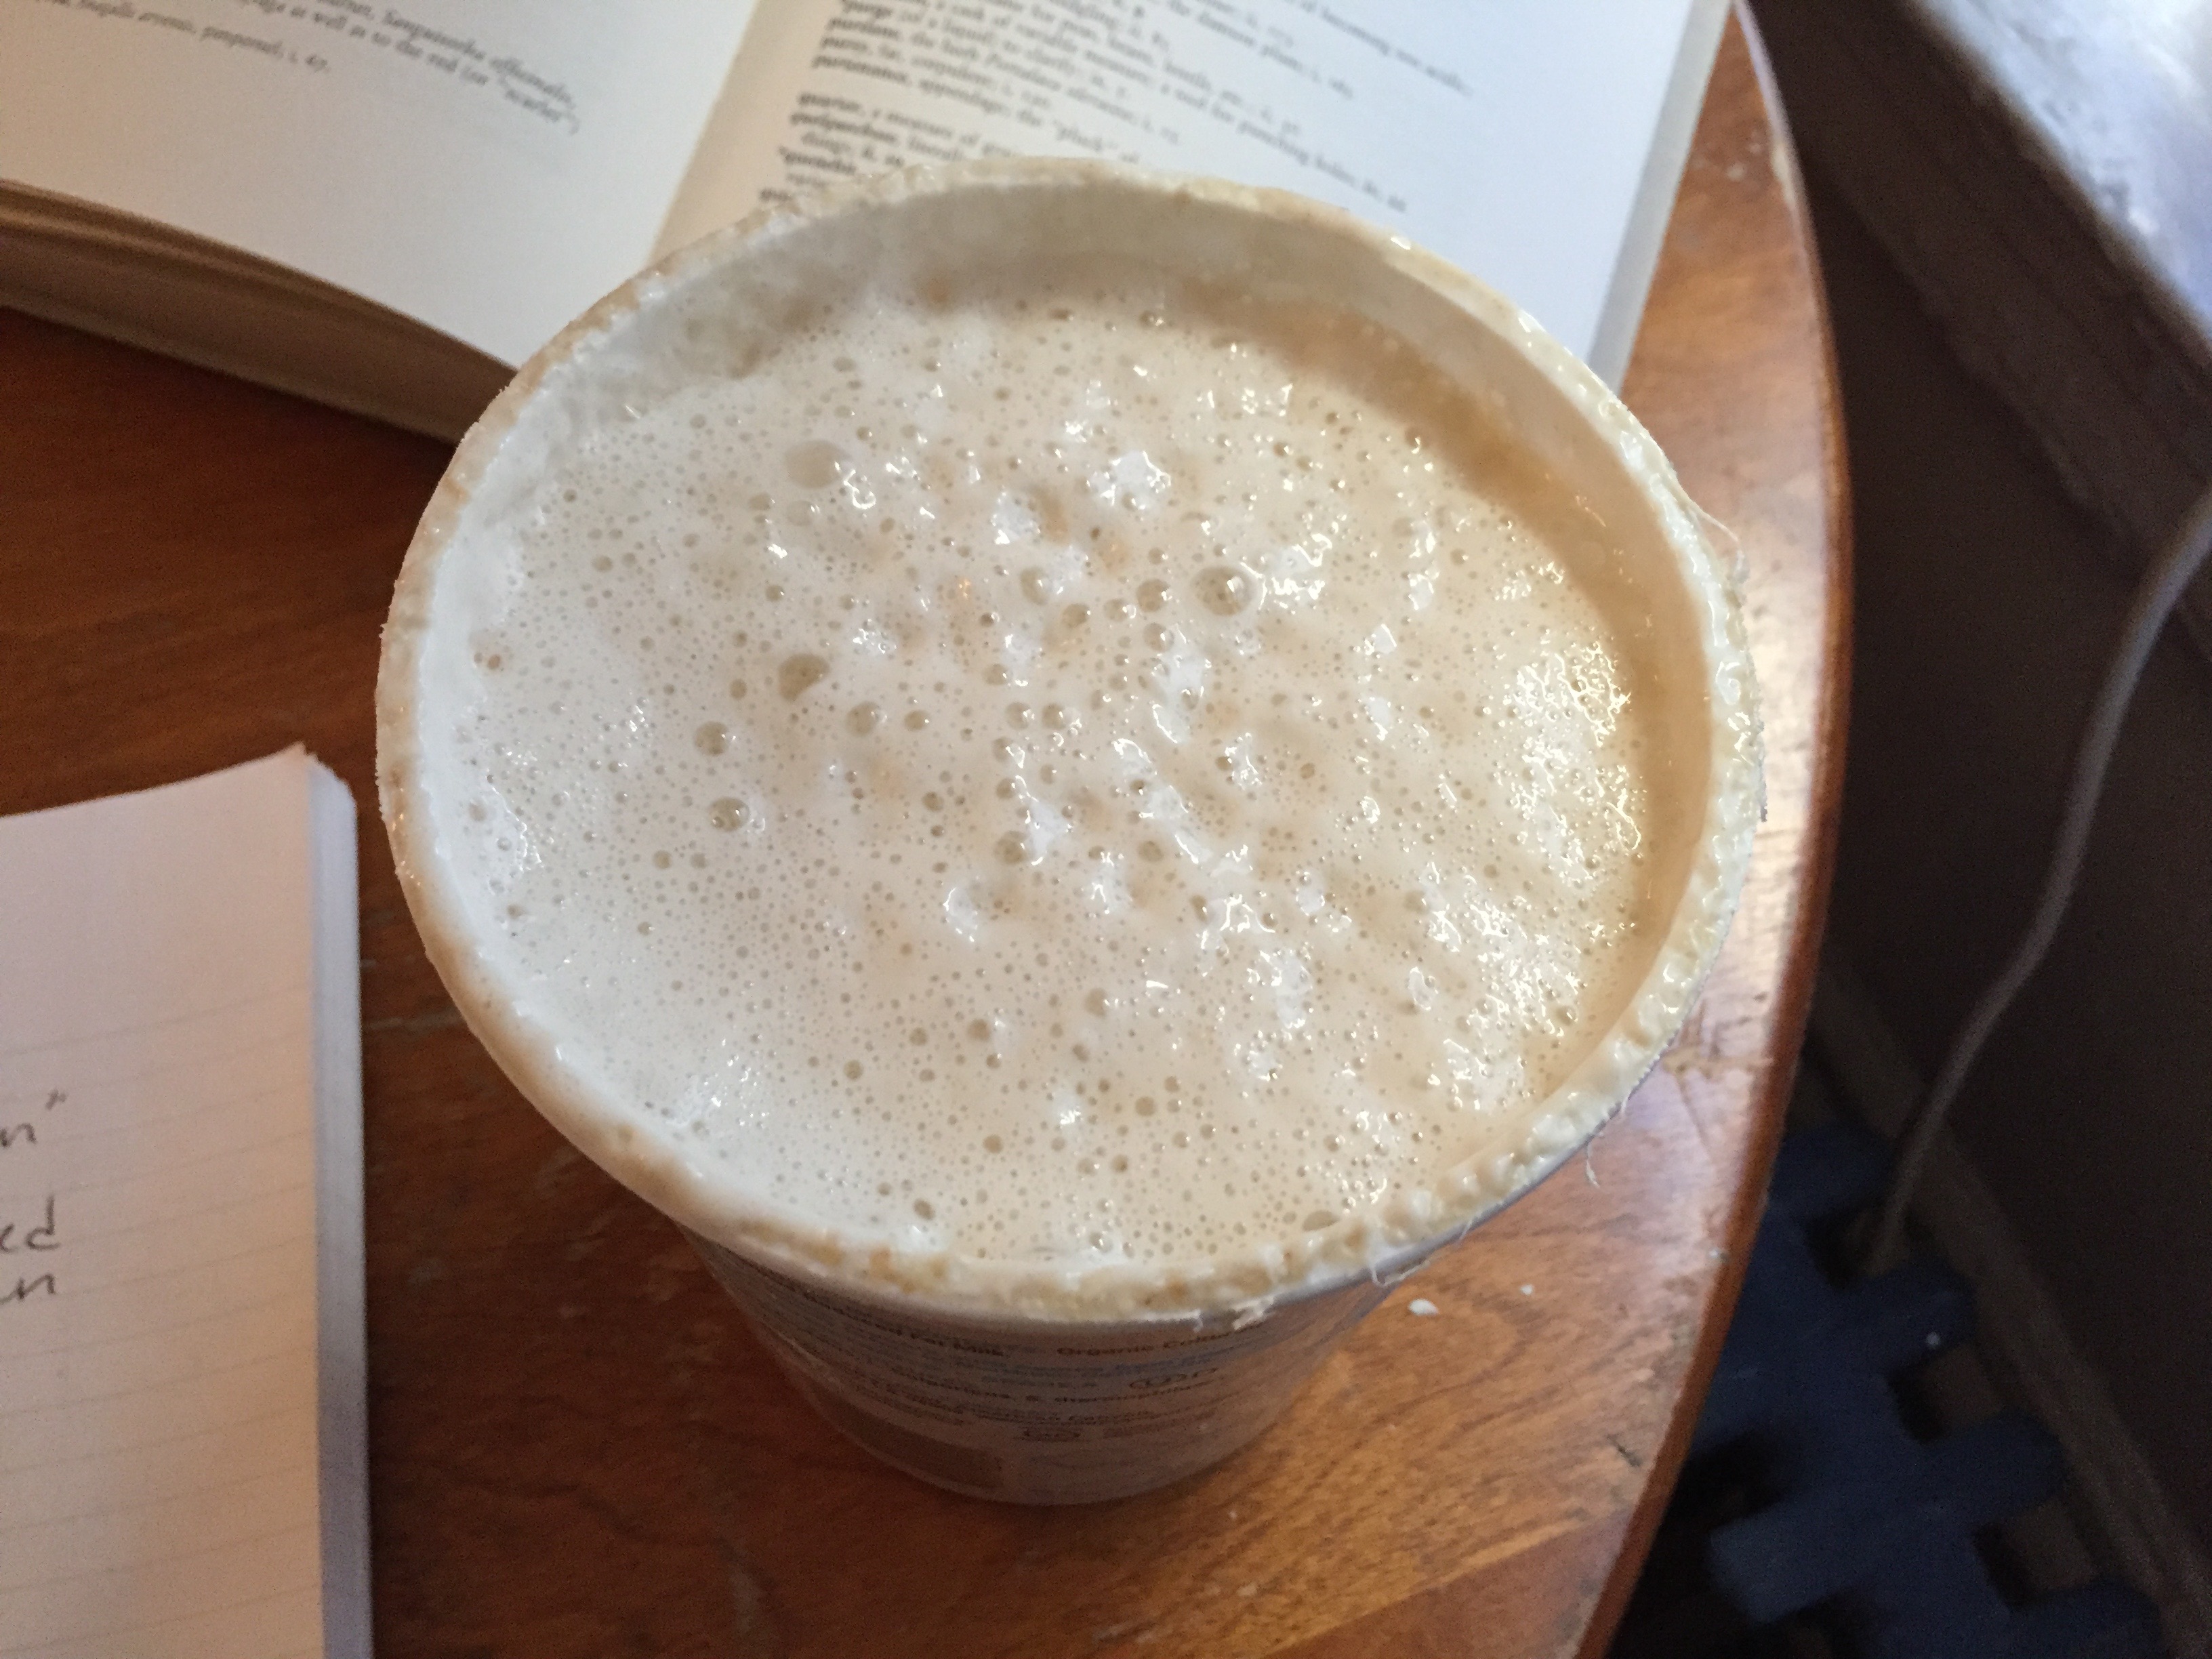
I found the process of caring for this starter twice a day quite calming. Since I had to pay close attention to the amount of starter, flour, and water in the mixture, it forced me to slow down and focus on the task at hand. Every day at 8:00am and 8:00pm, I opened the plastic yogurt container lid and found the starter very bubbly with a strong but not unpleasant sour smell.
Before baking with the starter:
as instructed by the King Arthur Flour blog, I doubled the amount of starter, flour, and water in the mixture. It bubbled up a lot next to a warm oven!
BnF Ms. Fr. 640 and Experiment Protocol
Name: Joslyn DeVinney
Date and Time:
2016.09.23, 9:30am-11:00am
Location: Butler Library, 3rd Floor and my apartment (120th and Amsterdam, 4th floor)
Subject: Looking up bread molding recipes in BnF Ms. Fr. 640 and writing an experiment protocol
- Before writing an experiment protocol, I first explored recipes related to "bread" and "molding" in the tl version of the BnF Ms. Fr. 640. I copied and pasted the recipes below without the TEI markup:
BnF Ms. Fr. 640
140v
"To cast in sulfur
To cast neatly in sulfur, arrange the pith of bread under the brazier, as you know. Mold whatever you want into it & let it dry & you will have very neat work.
Try sulfur passed through melted wax, because it will no longer ignite & and make eyelets."
156r
"Quickly molding and reducing a relief to a hollow [mold]
Make an impression in colored wax of the relief of your medal. And you will get a hollow mold, in which you can cast en noyau a relief in sand. In this, you will cast your hollow in lead or tin. In this, you you will cast your wax relief. And then on this wax, you will make your hollow moule en noyau, in order to cast in it the relief in gold or silver or any other metal you would like. But to make this process go faster, if you are in a hurry, make the first impression and the first hollow out of the inside portion of the bread loaf, prepared as you know, and which will cast neatly. And inside this, cast in the melted wax which will give you a nice relief on which you can make your noyau."
Experiment Protocol:
1. Determine purpose of reconstruction
I will think about the purpose of this reconstruction and consider below questions during reconstruction.
From the class assignment prompt:
1) to experiment at home with the process of making molds from bread, following the recipes in BnF. Ms. Fr. 640. 2) to gain familiarity with the process of methodical interpretation of Ms. Fr. 640 recipes, and the writing of experimental protocol 3) to become familiar with online resources for seeking out recipes 4) to begin to think about the nature of materials—what is bread as a material in the workshop? What was it used for in the sixteenth century? What properties does it have that make it useful? Does it fit into some sort of informal taxonomy of materials and properties? Today we take bread for granted as a food, but how might its uses in the workshop re-orient that understanding?
2. Read bread molding recipes in BnF Ms. Fr. 640
I read recipes on pages 140v and 156r of BnF Ms. Fr. 640 for clues on how to attempt my own bread molds:
- "arrange pith of the bread under the brazier" (140v)-- I learned from 156r that the pith is the "inside portion of the bread loaf" which is soft after baking; I researched "brazier" on google and found this stating they were used in hearth baking for a gentle heat. I will heat the piths of my bread in the oven with the door open (pictured below in reconstruction).
- "mold whatever you want into it & let it dry" (140v)--I will look for objects around my apartment to mold into bread and let it dry in open oven.
- "to make the process go faster...make the first impression and the first hollow out of the inside portion of the bread loaf" (156r)--I will make a one-sided mold, and therefore make one impression with the inside portion of the bread.
- Materials Needed: bread to mold into and object to mold; (sulfur, melted wax in class)
3. Research materials for reconstruction and choose bread recipe
Since the manuscript does not specify a type of bread or how to make and bake it, I will research sixteenth century bread recipes (see Bread Recipe Research below).
4. Make bread and turn it into a mold
Upon picking a recipe, I will attempt to stay as close to it as possible and come up with a specific protocol for the actual baking that takes into account my research into terminology and ingredients. I will consider how closely I can approximate the recipe taking time and material constraints into account. When attempting to reconstruct the recipe, I will think about what knowledge and assumptions I bring to reconstruction and how this may effect the outcome.
- I also read Rozemarijn Landsman and Jonah Rowen, "Sulfur and Additives" annotation from Fall 2014 along with their Bread Molding Reconstruction Field Notes. These documents were helpful in getting a sense of the experience of molding bread in connection to the manuscript and the way sulfur performs in the experiment. In their field notes they describe their two-sided mold as smoother than the one-sided molds of their classmates but I decided to make a one-sided mold.
Bread Recipe Research
Name: Joslyn DeVinney
Date and Time:
2016.09.22--2016.09.24
Location: Butler Library, 3rd Floor and my apartment
Subject: Researching sixteenth century bread recipes to use in Bread Mold Reconstruction
I spent an hour or so perusing the resources on the assignment sheet and came upon a seemingly straightforward recipe I wanted to try (from the early seventeenth century).
- JSTOR search of "bread" AND "sixteenth century"--> William Rubel's "English Horse-Bread, 1590-1800" in Gastronomica 6:3 (2006) pp. 40-51.
- Rubel's article:
-Gervase Markham (1568-1637) and his recipe book: The English Housewife (1615)--(ed. Michael R. Best, 1986)--available at Butler library, Columbia University, and online through ProQuest
- Decided to try the recipe "Of baking manchets" from Markham's The English Housewife (p. 209-210)
- Questions when deciding to use this recipe from the 1986 publication: How does this 20th century edition of Markham's text differ from the original? Did it change the language of the recipe much? There's a digital edition of the text from 1683 on EEBO and it is the same as Best's edited edition (except for spelling modernization).
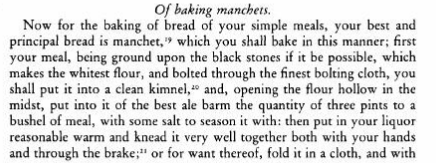
Recipe pp. 209-210, Markham, ed. Michael R. Best (1986):

Researching the unknown terminology in the recipe:
- Best's 1986 edition has a good glossary of terms, notes and a helpful bibliography. On page 305, for manchet, he states: "white loaves; white flour, however was simply whole wheat flour finely sifted, so would have been very pale brown rather than white by modern standards. See Jack C. Drummond and Anne Wilbraham, The Englishman's Food (London J. Cape, 1958), p. 43"
- There is also a photo in Best's edition on pg. 106, which I later used when molding my dough into manchets (as Markham instructs).
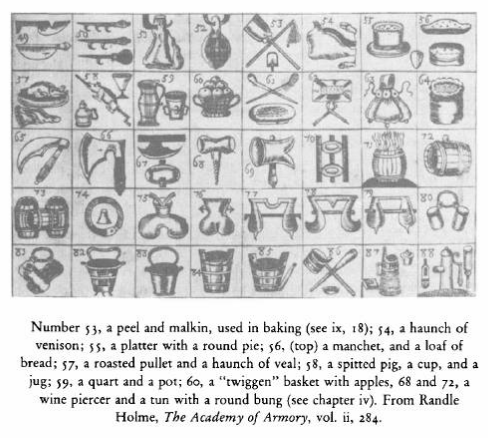
The manchet is in the upper right hand corner with a loaf of bread--which is the manchet and which is the loaf? During my two trials, I shaped my dough into both shapes.
- "first your meal being ground upon black stones"-- According to Joan Fitzpatrick in Renaissance Food from Rabelais to Shakespeare: Culinary Readings and Culinary Histories (2013), Markham's "meal 'ground upon black stones' were "probably imported French millstones, which were harder than English stone and achieved a finer grind" (p.15). Fitzpatrick also discusses how "early modern flour was very different from today's flour" (p.18). For processes of flour milling throughout history, I read through some of Peter Alekseevich Kozmin's Flour Milling (1917) (especially p. 489). Since the flour we use today is already milled, I did not try to reconstruct this part of the recipe with the stones.
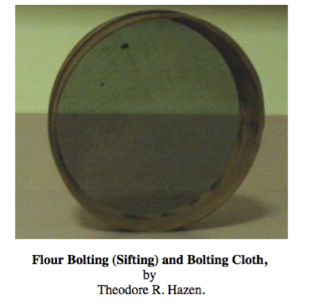
- "bolted through the finest bolting cloth"--Best's glossary defines "bolt" as "to sift" (p.298). I approximated a bolting cloth with a small strainer purchased at Ace Hardware. I also searched google for images of a bolting cloth:
- "put it into a clean kimnel"-- on p. 304 of his glossary, Best defines kimnel as a "tub used in the preparation of bread, salt meat, brewing, or the making of cheese." Since I plan to mix a relatively small amount of dough, I decided to use what I already had at home, a plastic mixing bowl, as my "tub."
- "the best ale barm"-- on p. 298, Best defines barm as "yeast." I searched for more information online and found a nice explanation on this site about how barm is the foam from making beer. It makes sense that Markham writes about brewing and baking in the same chapter of his 1615 text. For this recipe I decided to try and make my own approximation of barm, and used a recipe found here. I also read about barm on these sites:
http://www.thefreshloaf.com/node/25358/how-extract-barm-beer-baking
http://www.breadnbeer.com/
- "the quantity of three pints to a bushel of meal"-- to convert bushels to pounds (since I have flour in pounds) I used this site. I decided to use 1 pound (3 1/3 cups) of my King Arthur Whole Wheat Flour, which I calculated would equal about .06 pints/.96 oz of barm.
- "with some salt to season it"-- Was "seasoning" related to flavor in the same way it is today? Or did the type of salt serve a certain bread making function? I researched types and uses of salt over the years:
http://www.saltblendz.com/-blog.html
If the salt was just for flavor, I wasn't too worried about how much I put in. Instead of buying highly refined table salt, I used the Himalayan Sea Salt that I already had in my cupboard.
- “then put in your liquor”—According to Hannah Glasse’s The Art of Cookery Made Plain and Easy, liquor in this context is water (p. 307).
- "knead it very well together both with your hands and through the brake, or for want thereof, fold it in a cloth, and with your feet tread it a good space together"--In Best's notes he defines the brake in this context as "a device to assist in kneading" (p.289). Since I don't have access to such a tool, I decided I would knead it by hand and with my feet through a cotton cloth.
- "letting it an hour or thereabouts to swell, take it forth and mould it into manchets, round and flat"--In his notes on "mould," Best quotes p.241 of Thomas Muffet's Health's Improvement (1655), "'The manner of moulding must be first with strong kneading, then with rolling to and fro, and last of all with wheeling or turning it round about, that it may sit the closer'." (Best, 289).
- "scotch about the waist"--On p. 308 of Best's glossary, he defines scotch as "to score, cut deeply."
- "bake it with a gentle heat"--Since I can not recreate a sixteenth century baking environment, I decided to try 350 degrees fahrenheit in my gas oven because that's the temperature I have used in my past experiences of making bread.
Making "barm"
Name: Joslyn DeVinney
Date and Time:
2016.09.24, 10:00am
Location: my apartment, 120th Street and Amsterdam, 4th Floor
Room conditions: according to my iPhone, outdoor temperature is 65 degrees fahrenheit; I don't have a thermostat inside but it feels warmer than outside
Subject: Making "barm" to use in one of two recipe experiments
To try and follow Markham's recipe as closely as possible, I wanted to try and make a barm from beer (see Bread Recipe Research section). Ideally, I would have a close brewer friend from whom I could get some yeasty foam but instead I used the recipe from this site
Recipe:
125g Chimay beer—4.4oz
25g bread flour—4tsp
2tsp white levain (using sourdough starter)
Question: is white levain the same as sourdough starter? According to this site, "levain" is the French word for a yeasty water/flour mixture; I thus decided to use my sourdough starter in this recipe.
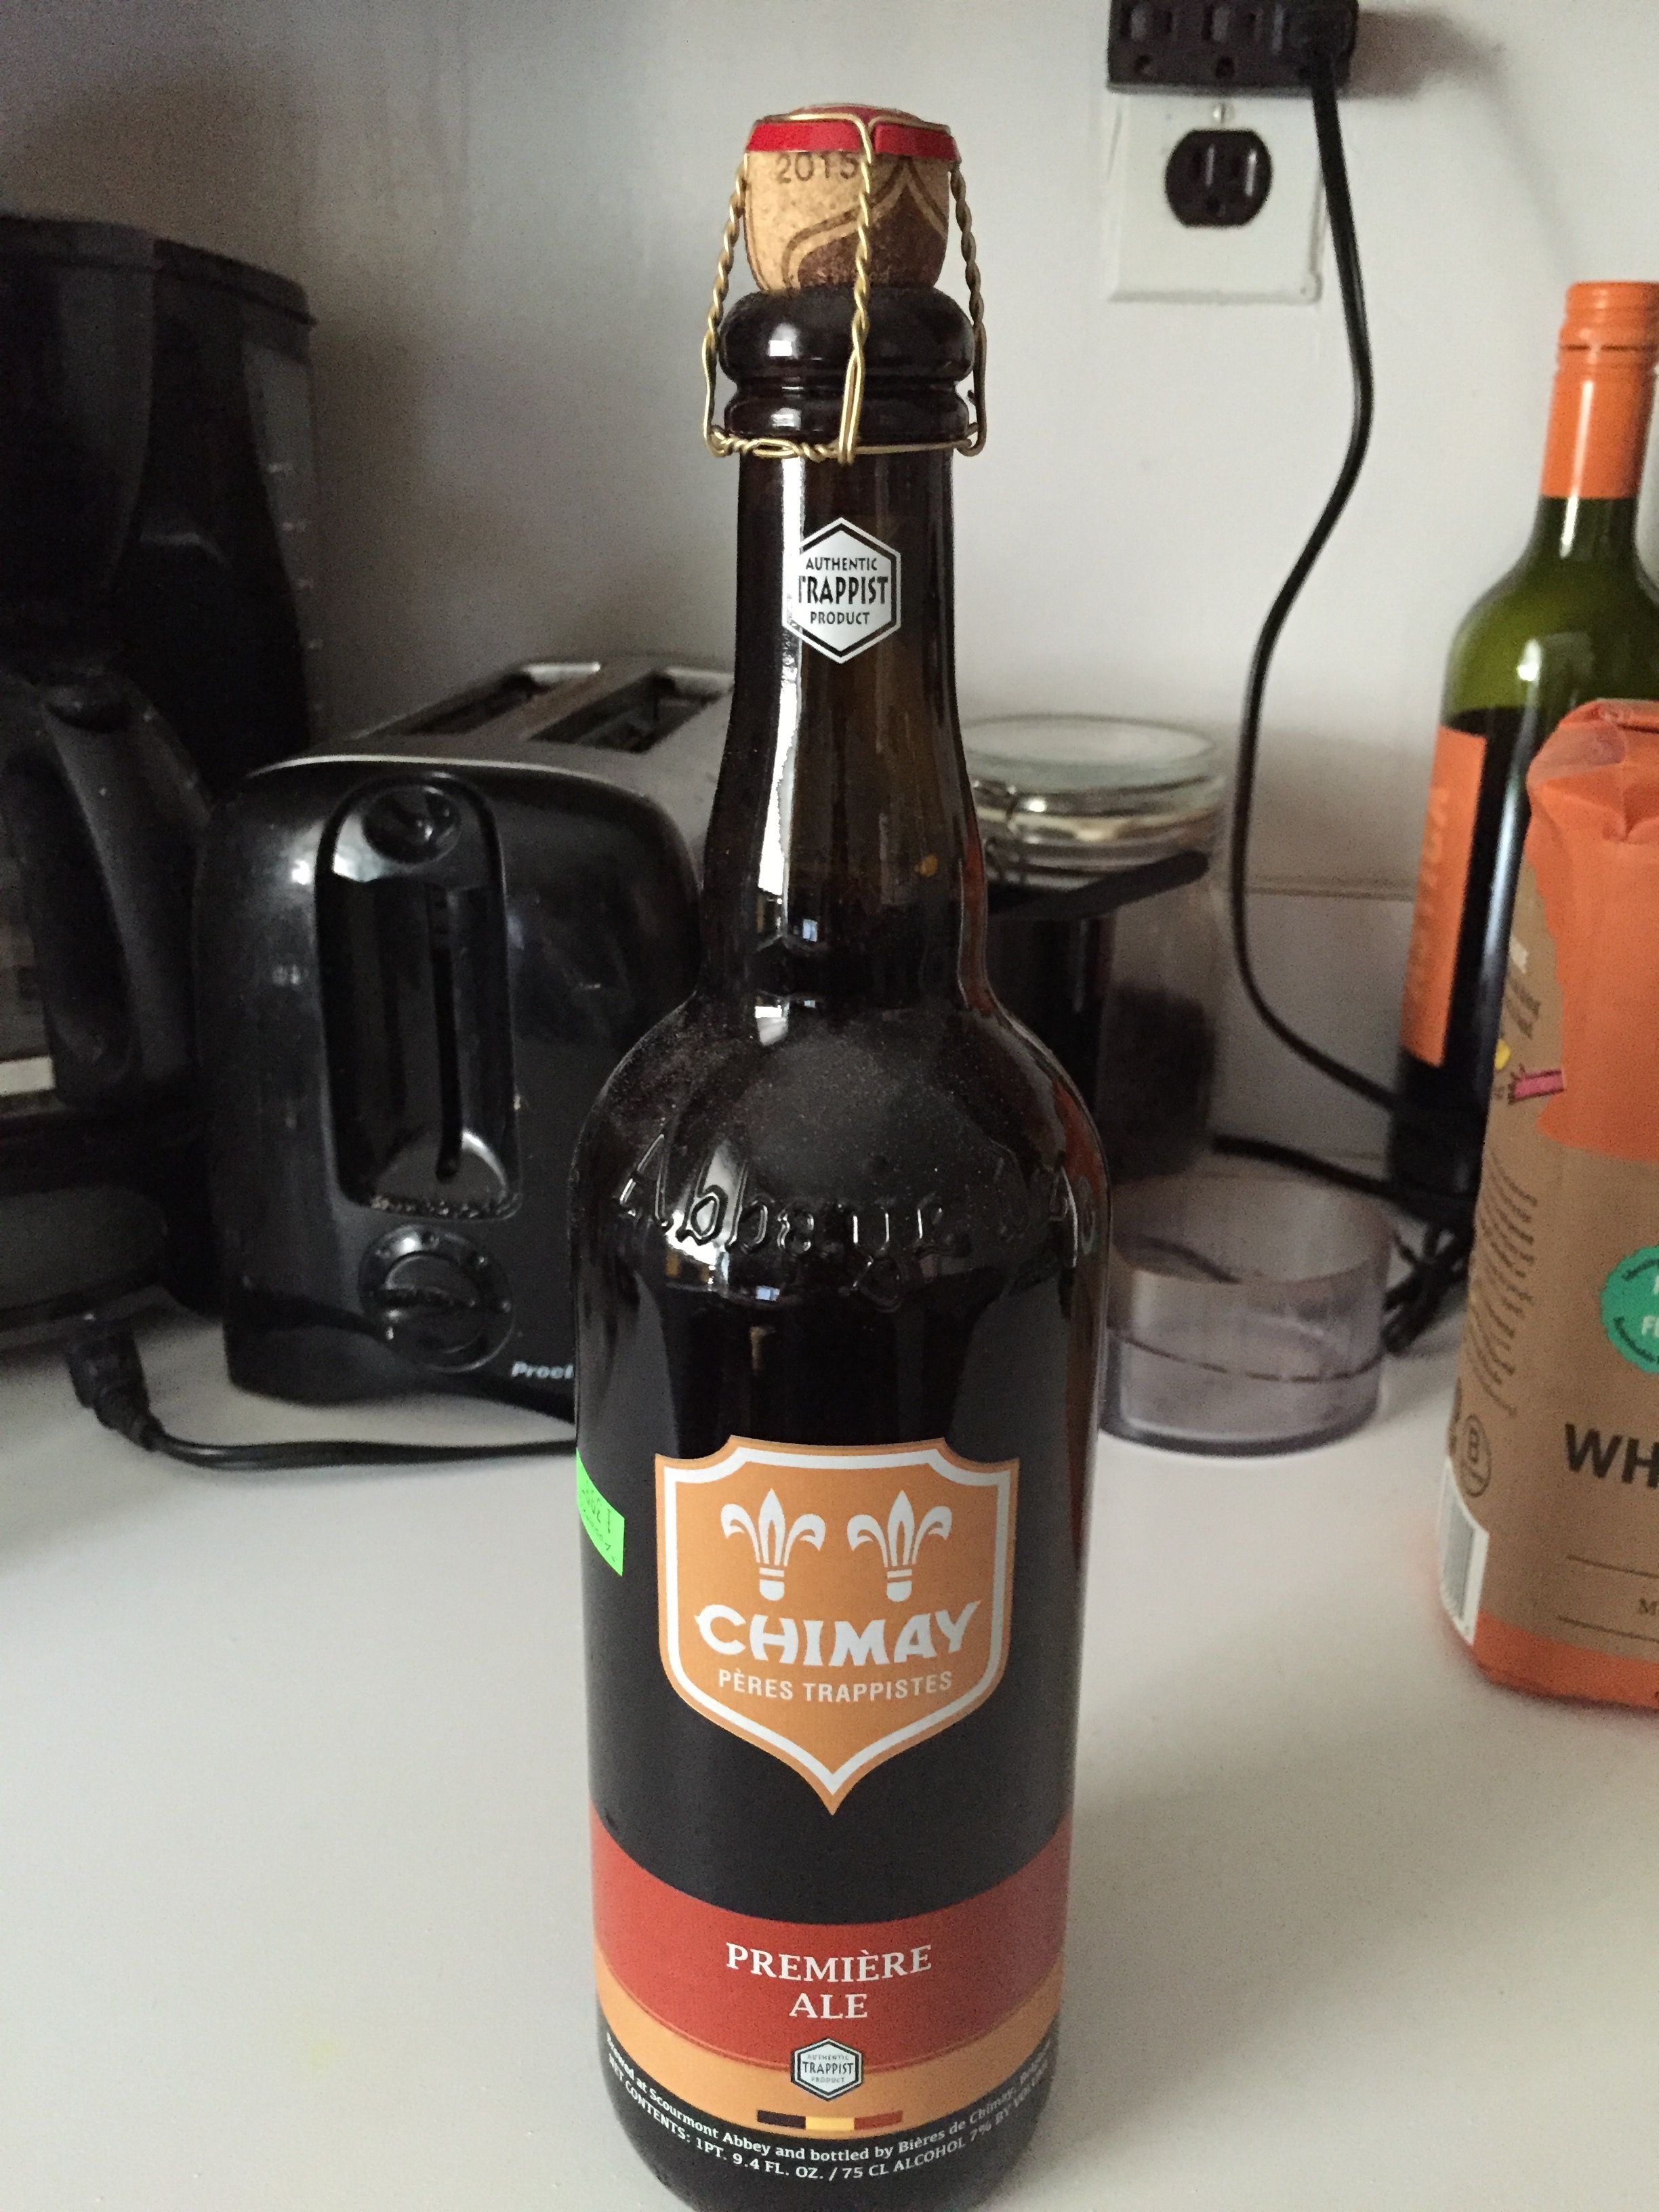
The recipe calls for "Chimay beer (or other beer containing live yeast)"
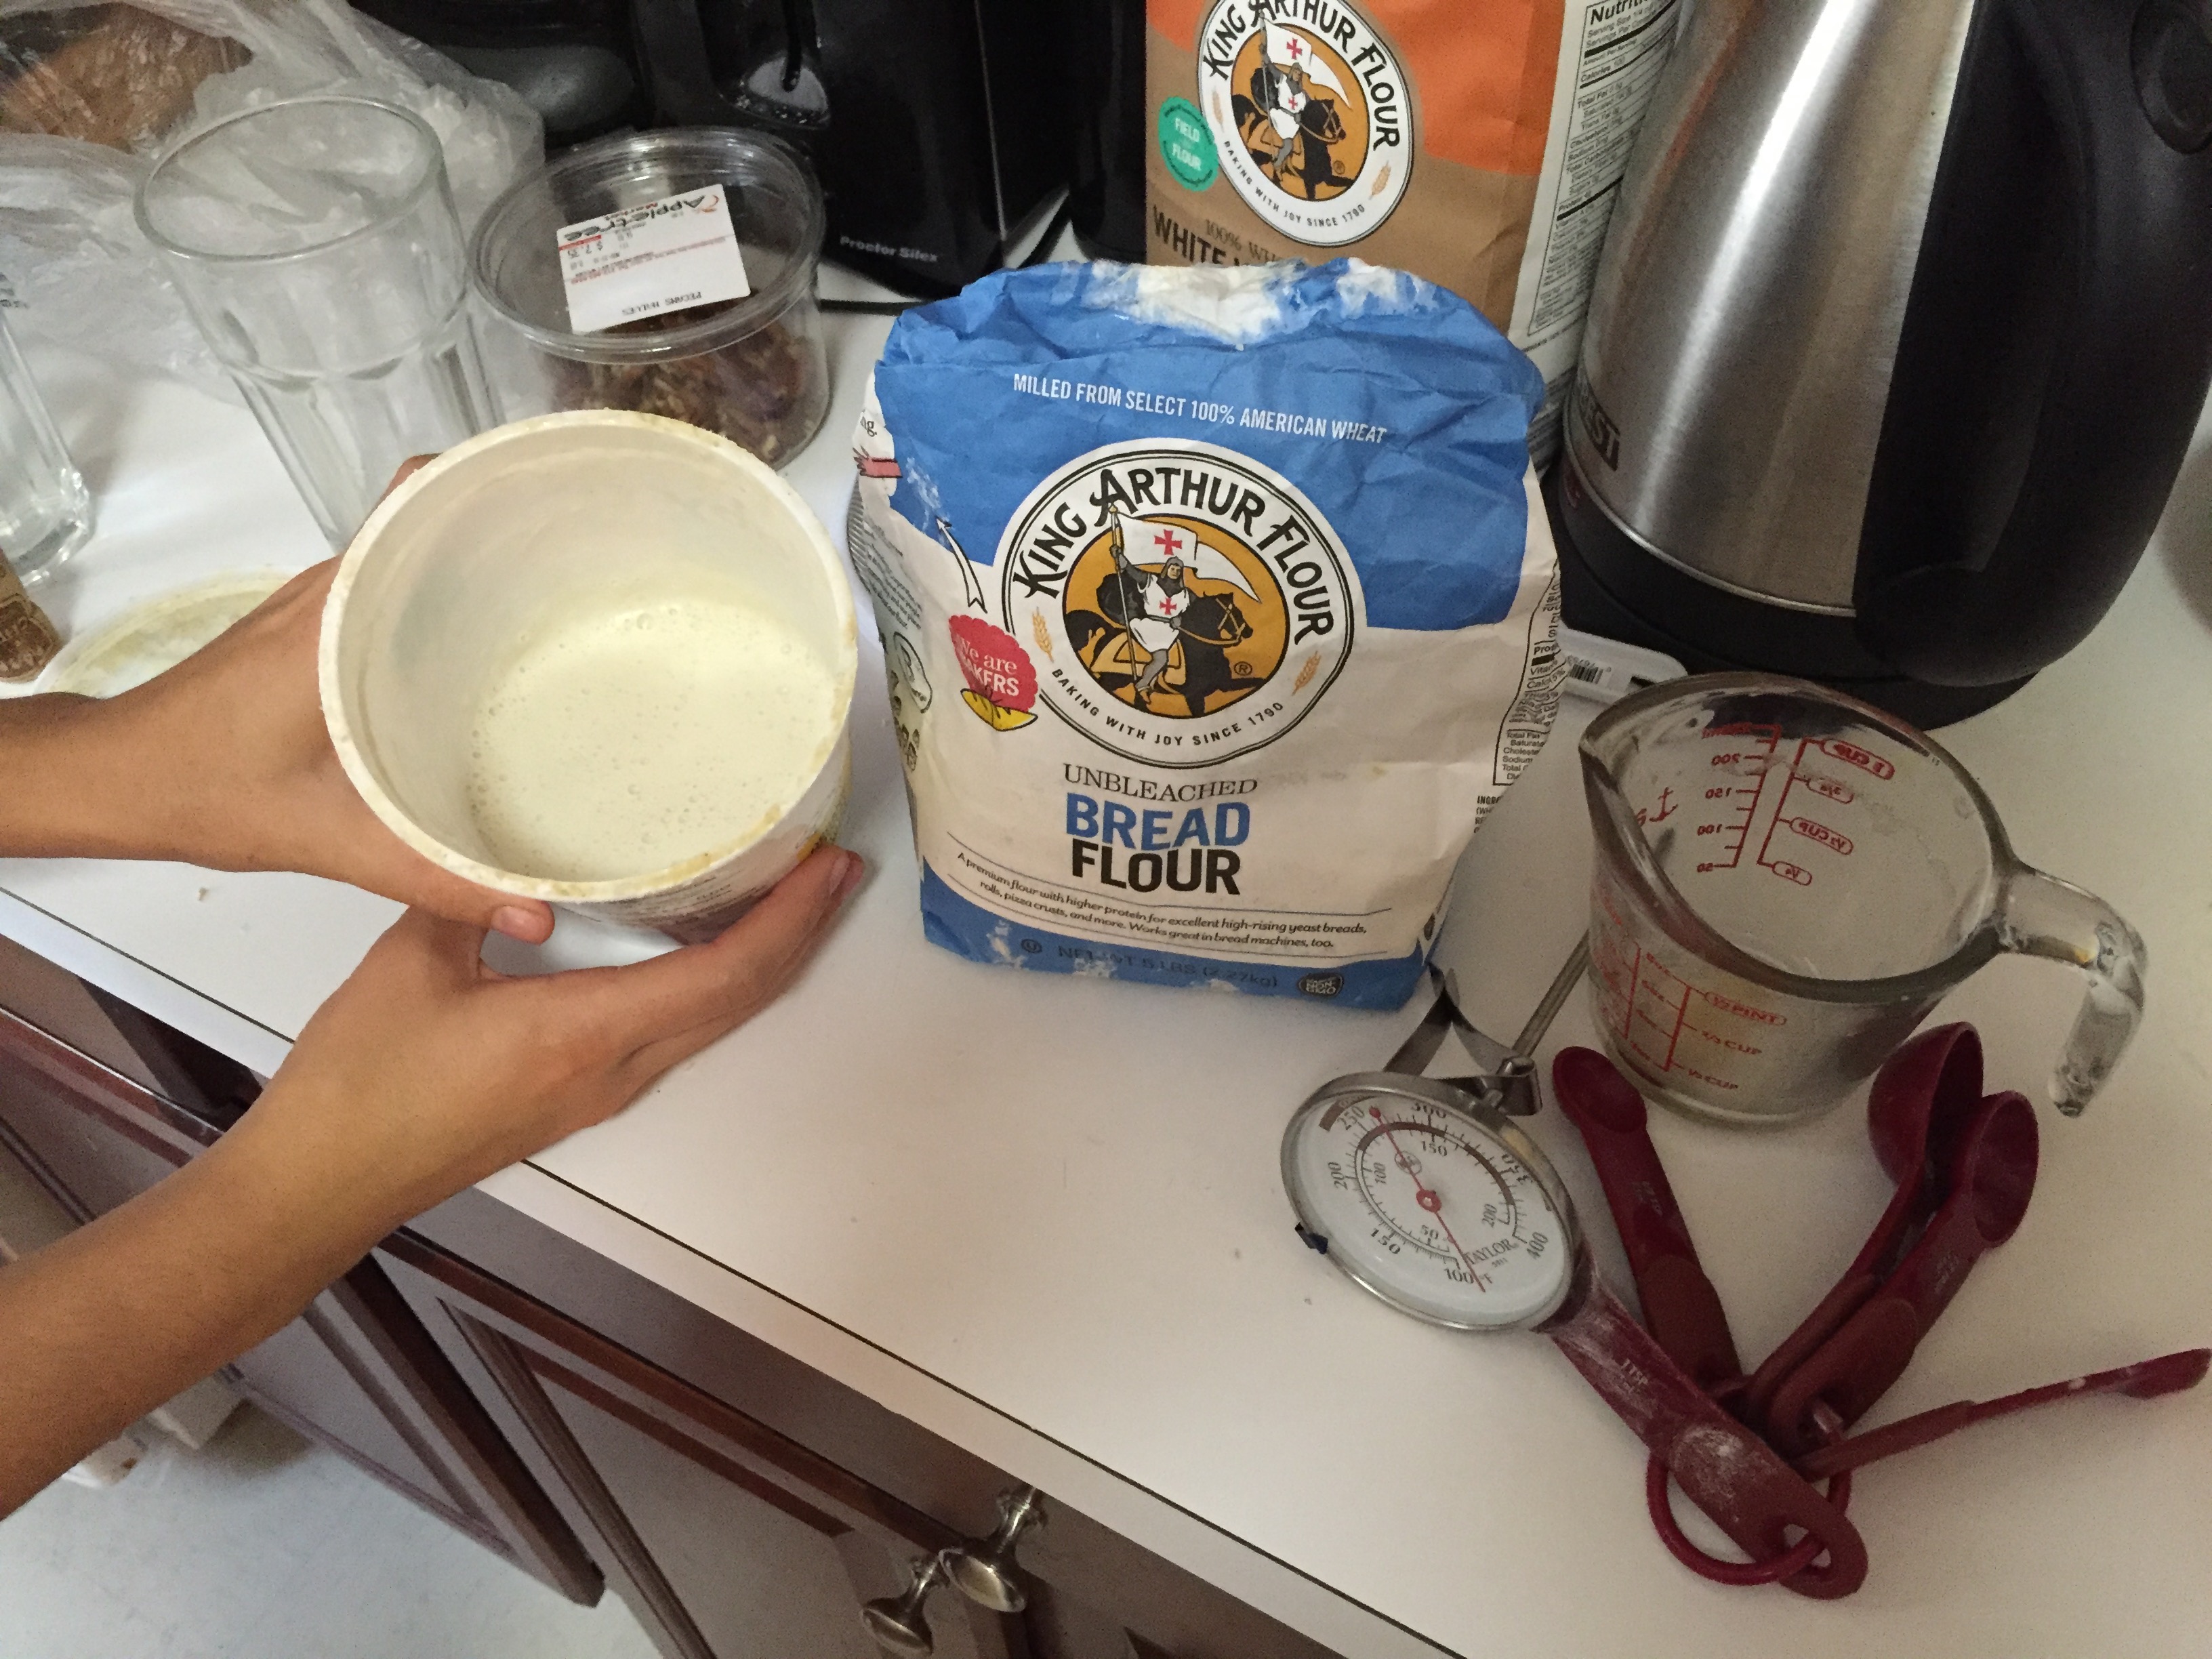
My sourdough starter (white levain), bread flour, and tools.
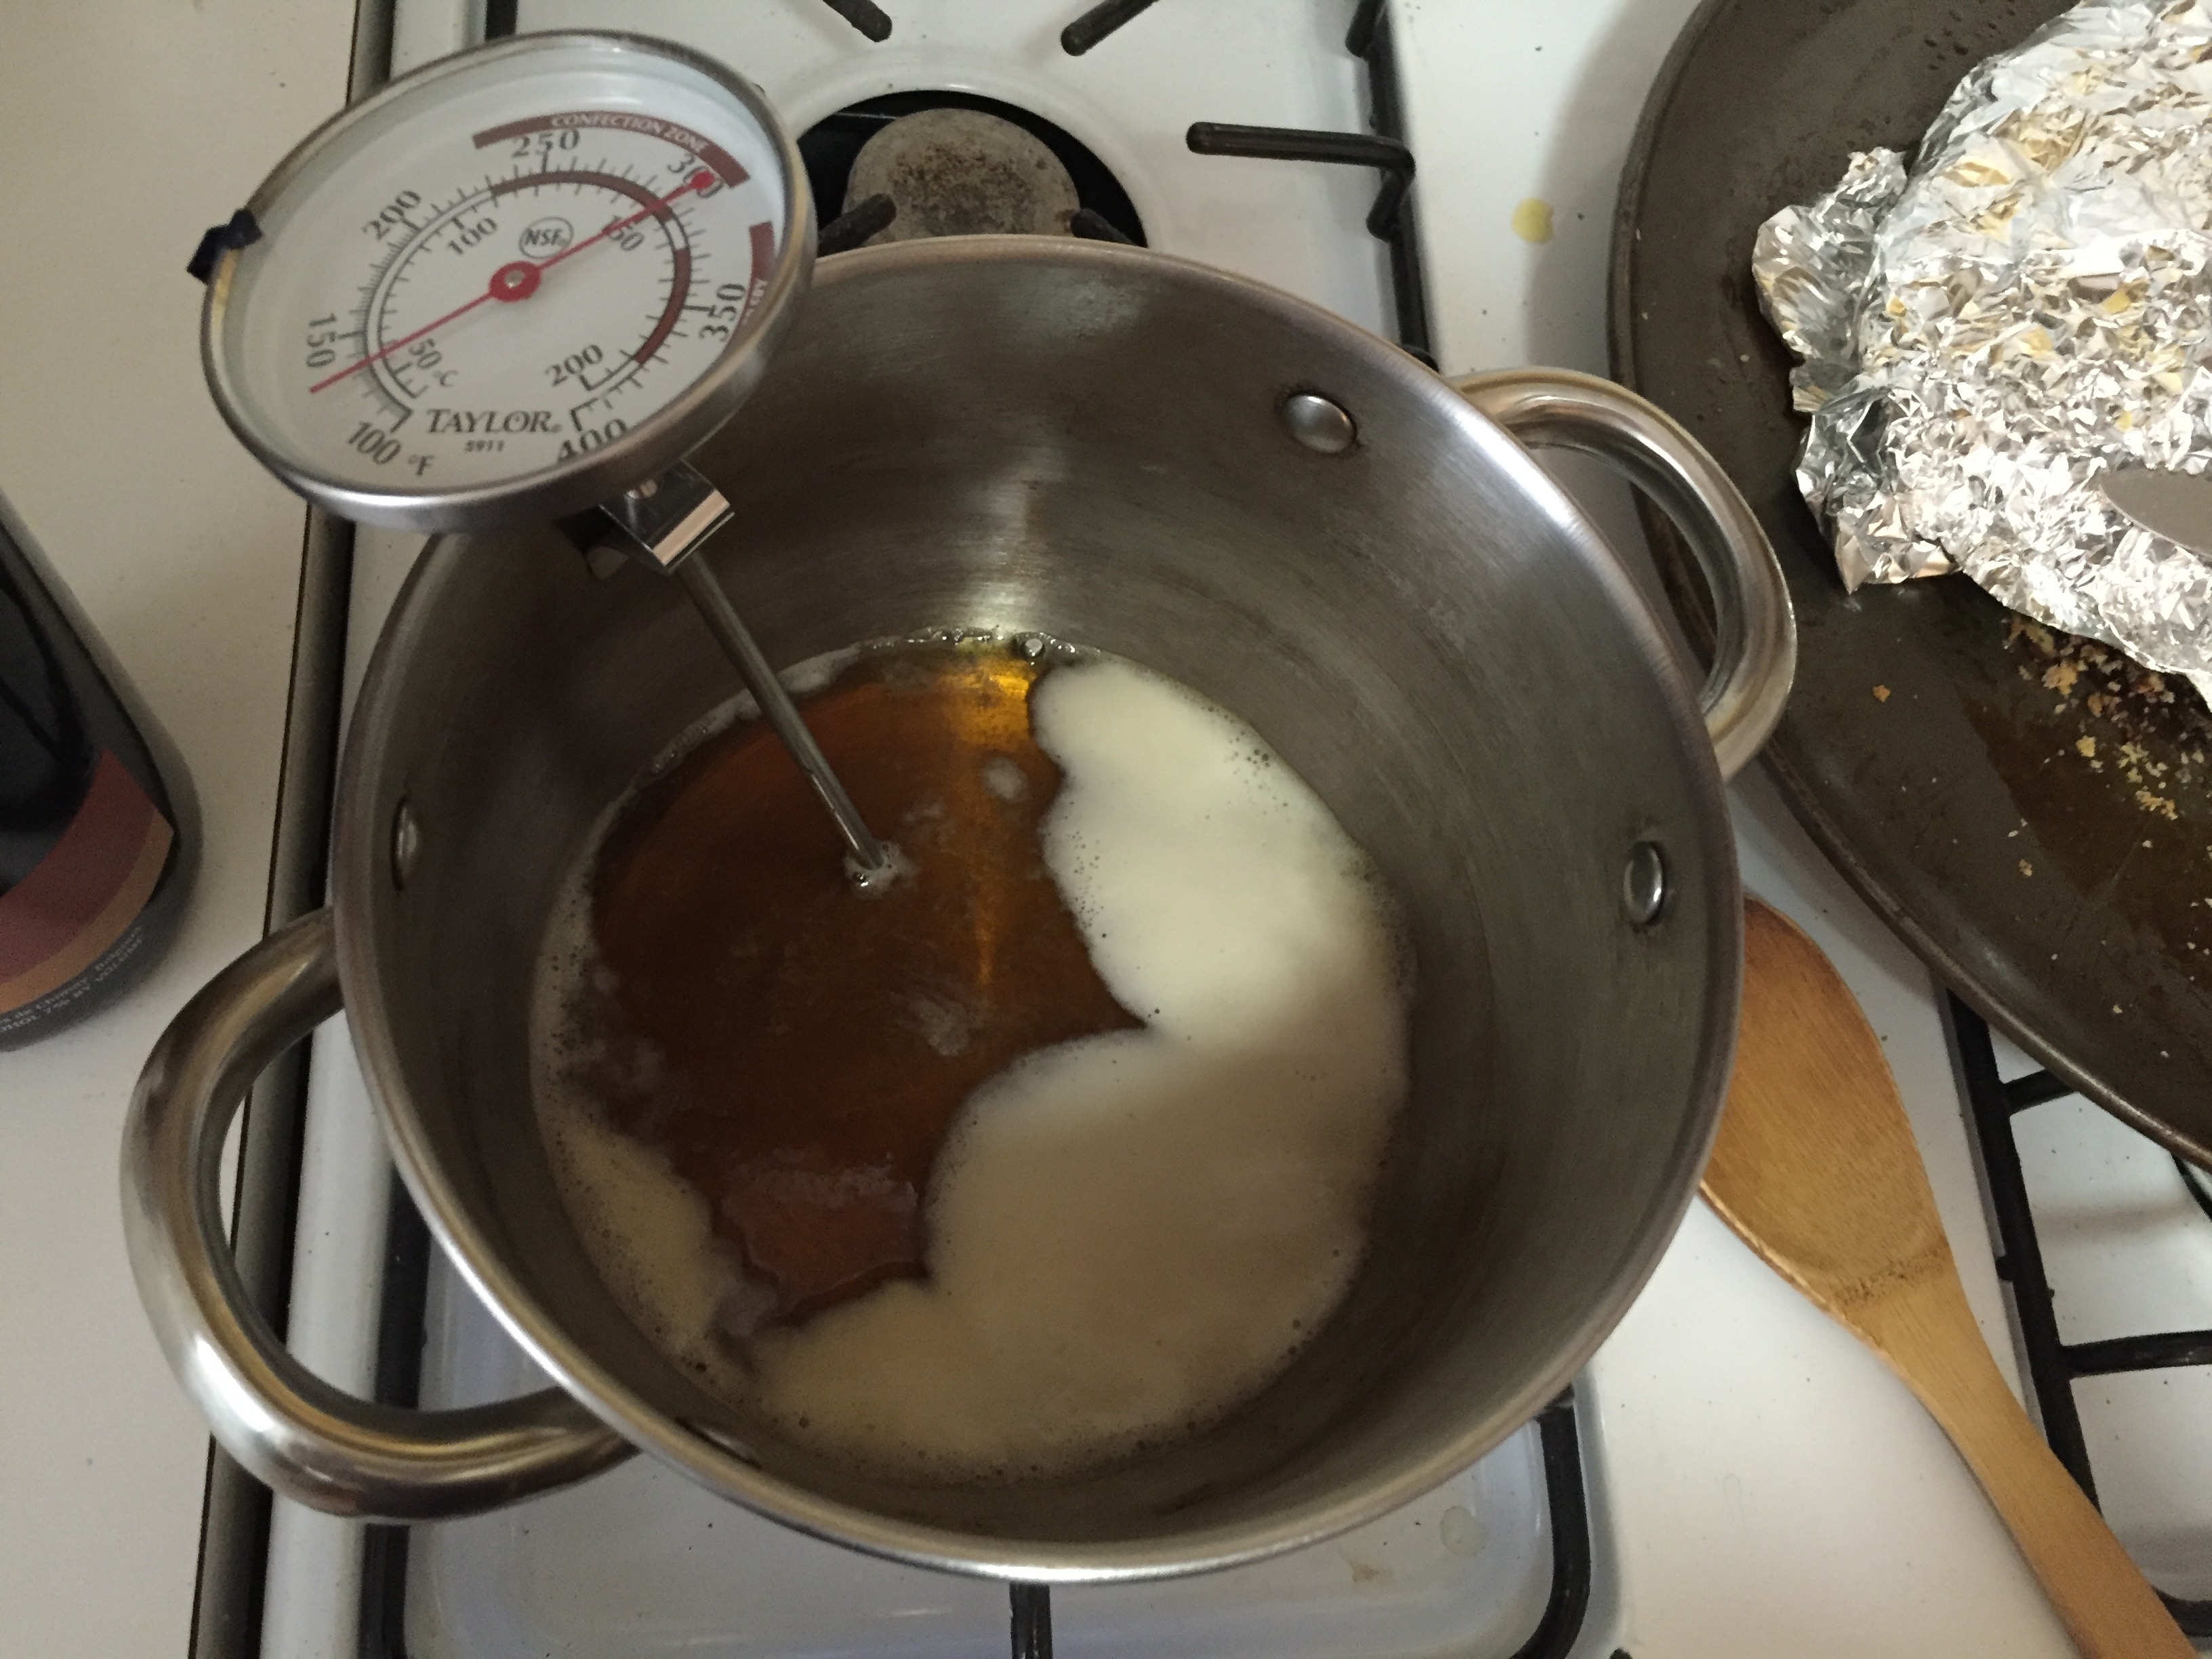
Following the above recipe, I heated the beer to 160F, then removed it from heat and added the flour, transferred to a bowl to cool to 68F. I realized the thermometer I bought from Ace Hardware didn't go as low as 68F (whoops!) so I tried to get as close as possible.
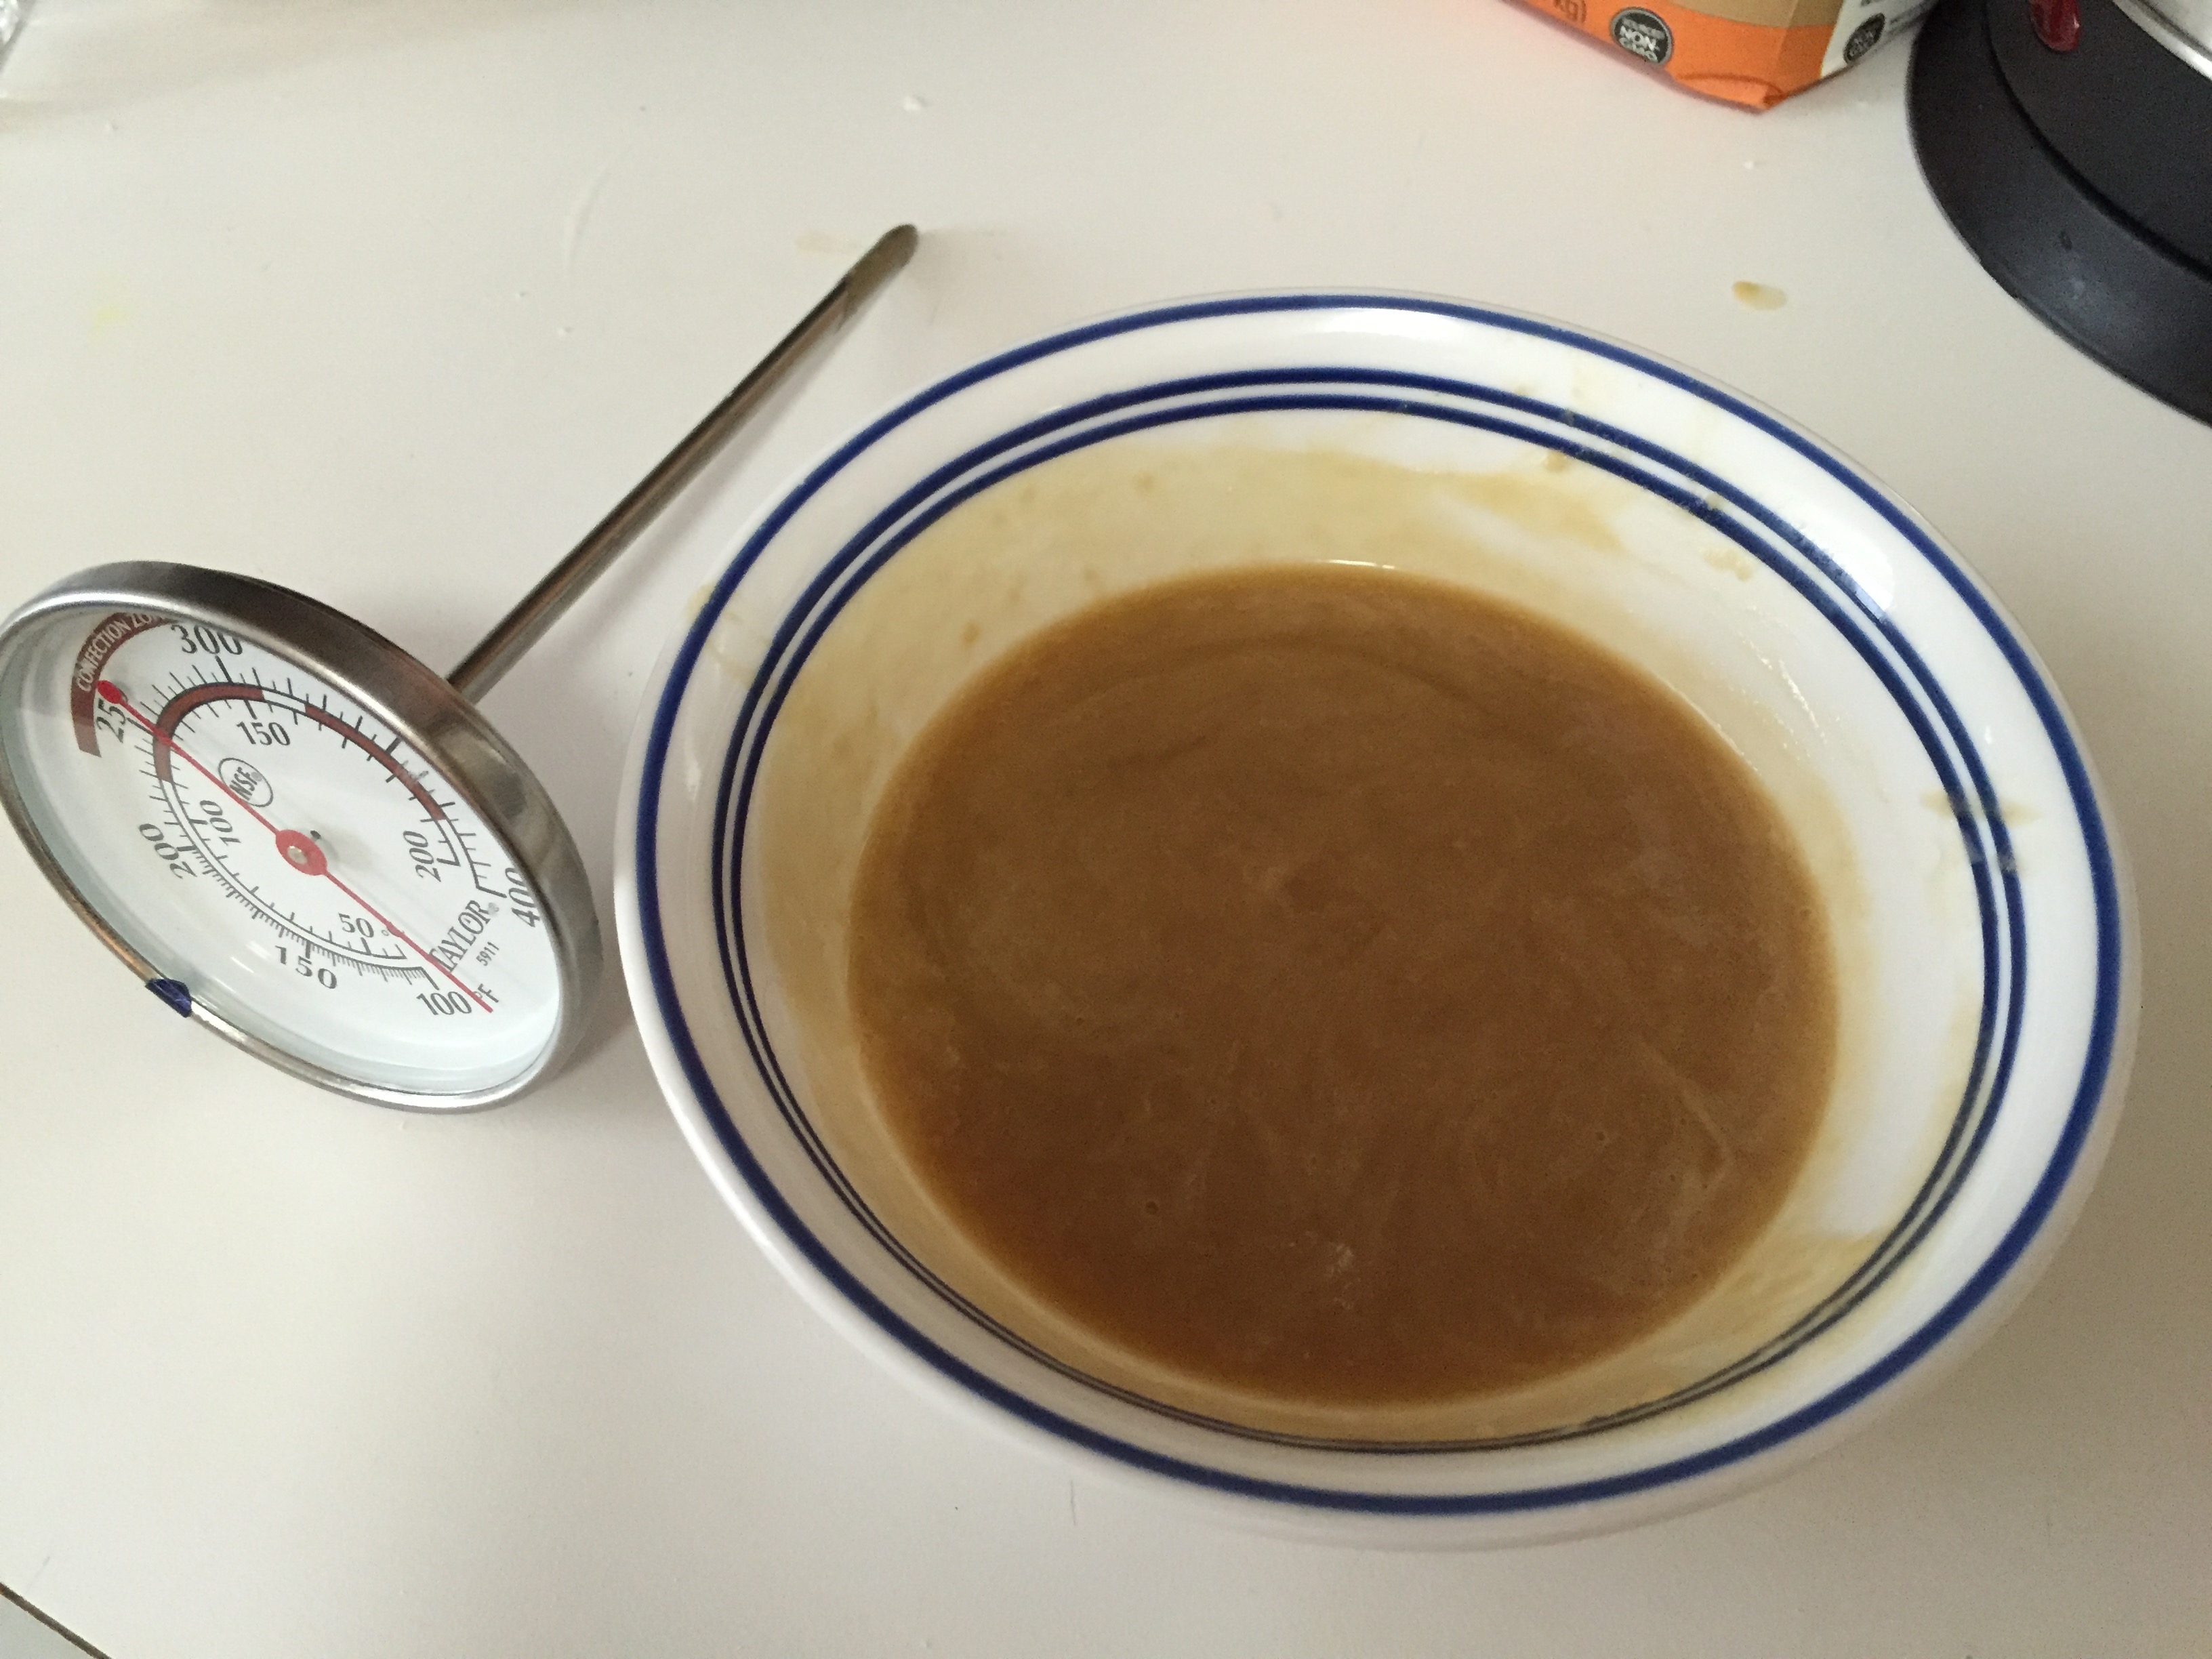
I added my sourdough starter.
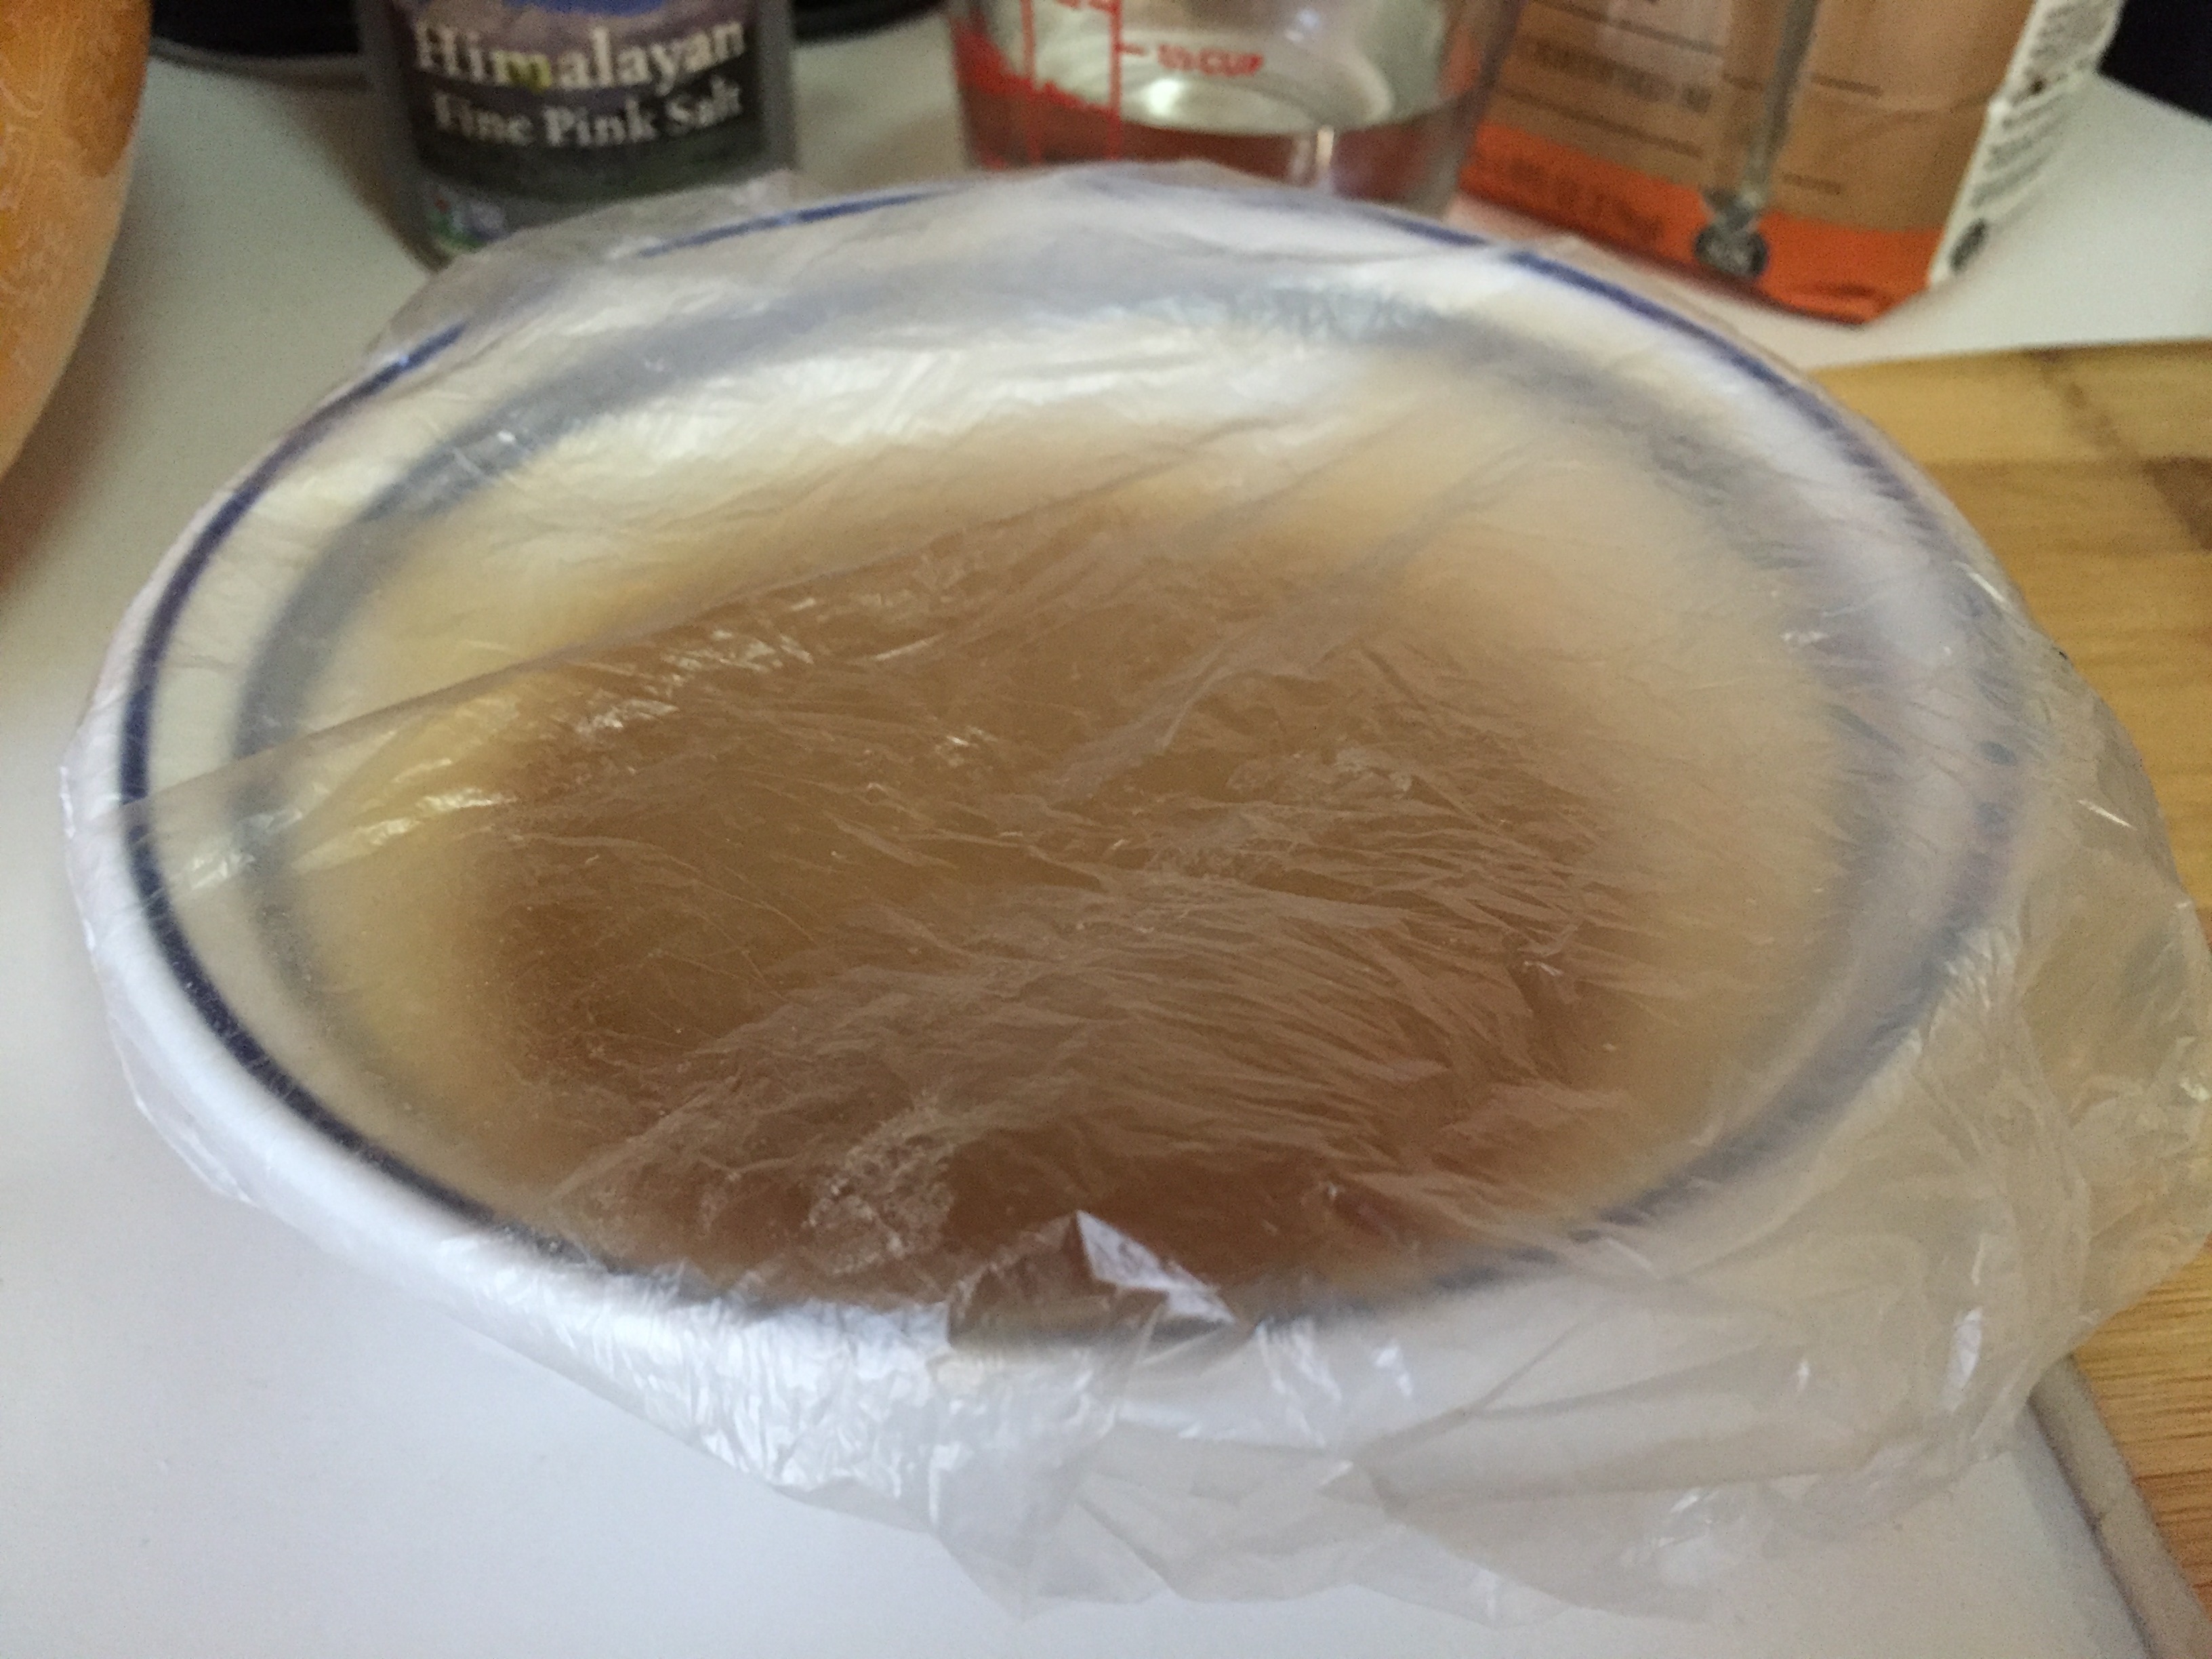
Then covered the bowl (in case I knocked it while moving around in the kitchen) and left it to get bubbly overnight.
9:00PM
drank remaining Chimay
First Bread Assay--with sourdough starter
Name: Joslyn DeVinney (with photo and kneading help from Jose Bahamonde--boyfriend)
Date and Time:
2016.09.24, 1:50pm-5:30pm
Location: my apartment, 120th Street and Amsterdam, 4th Floor
Room conditions: according to my iPhone, outdoor temperature is 75 degrees fahrenheit; I don't have a thermostat inside but it feels warmer than outside
Coffee intake: two cups, strong
Subject: first attempt at making bread for bread molding reconstruction (replaced "ale barm" with sourdough starter)
Since I had just started my barm in the morning (and it needed to sit overnight), I decided to try Markham's recipe and to substitute my sourdough starter for the barm (since they are both raising agents).
See Recipe Research section above for a more in-depth discussion of ingredients/materials/process.
Recipe
pp. 209-210, Markham (1615), ed. Michael R. Best (1986)


Materials/Tools:
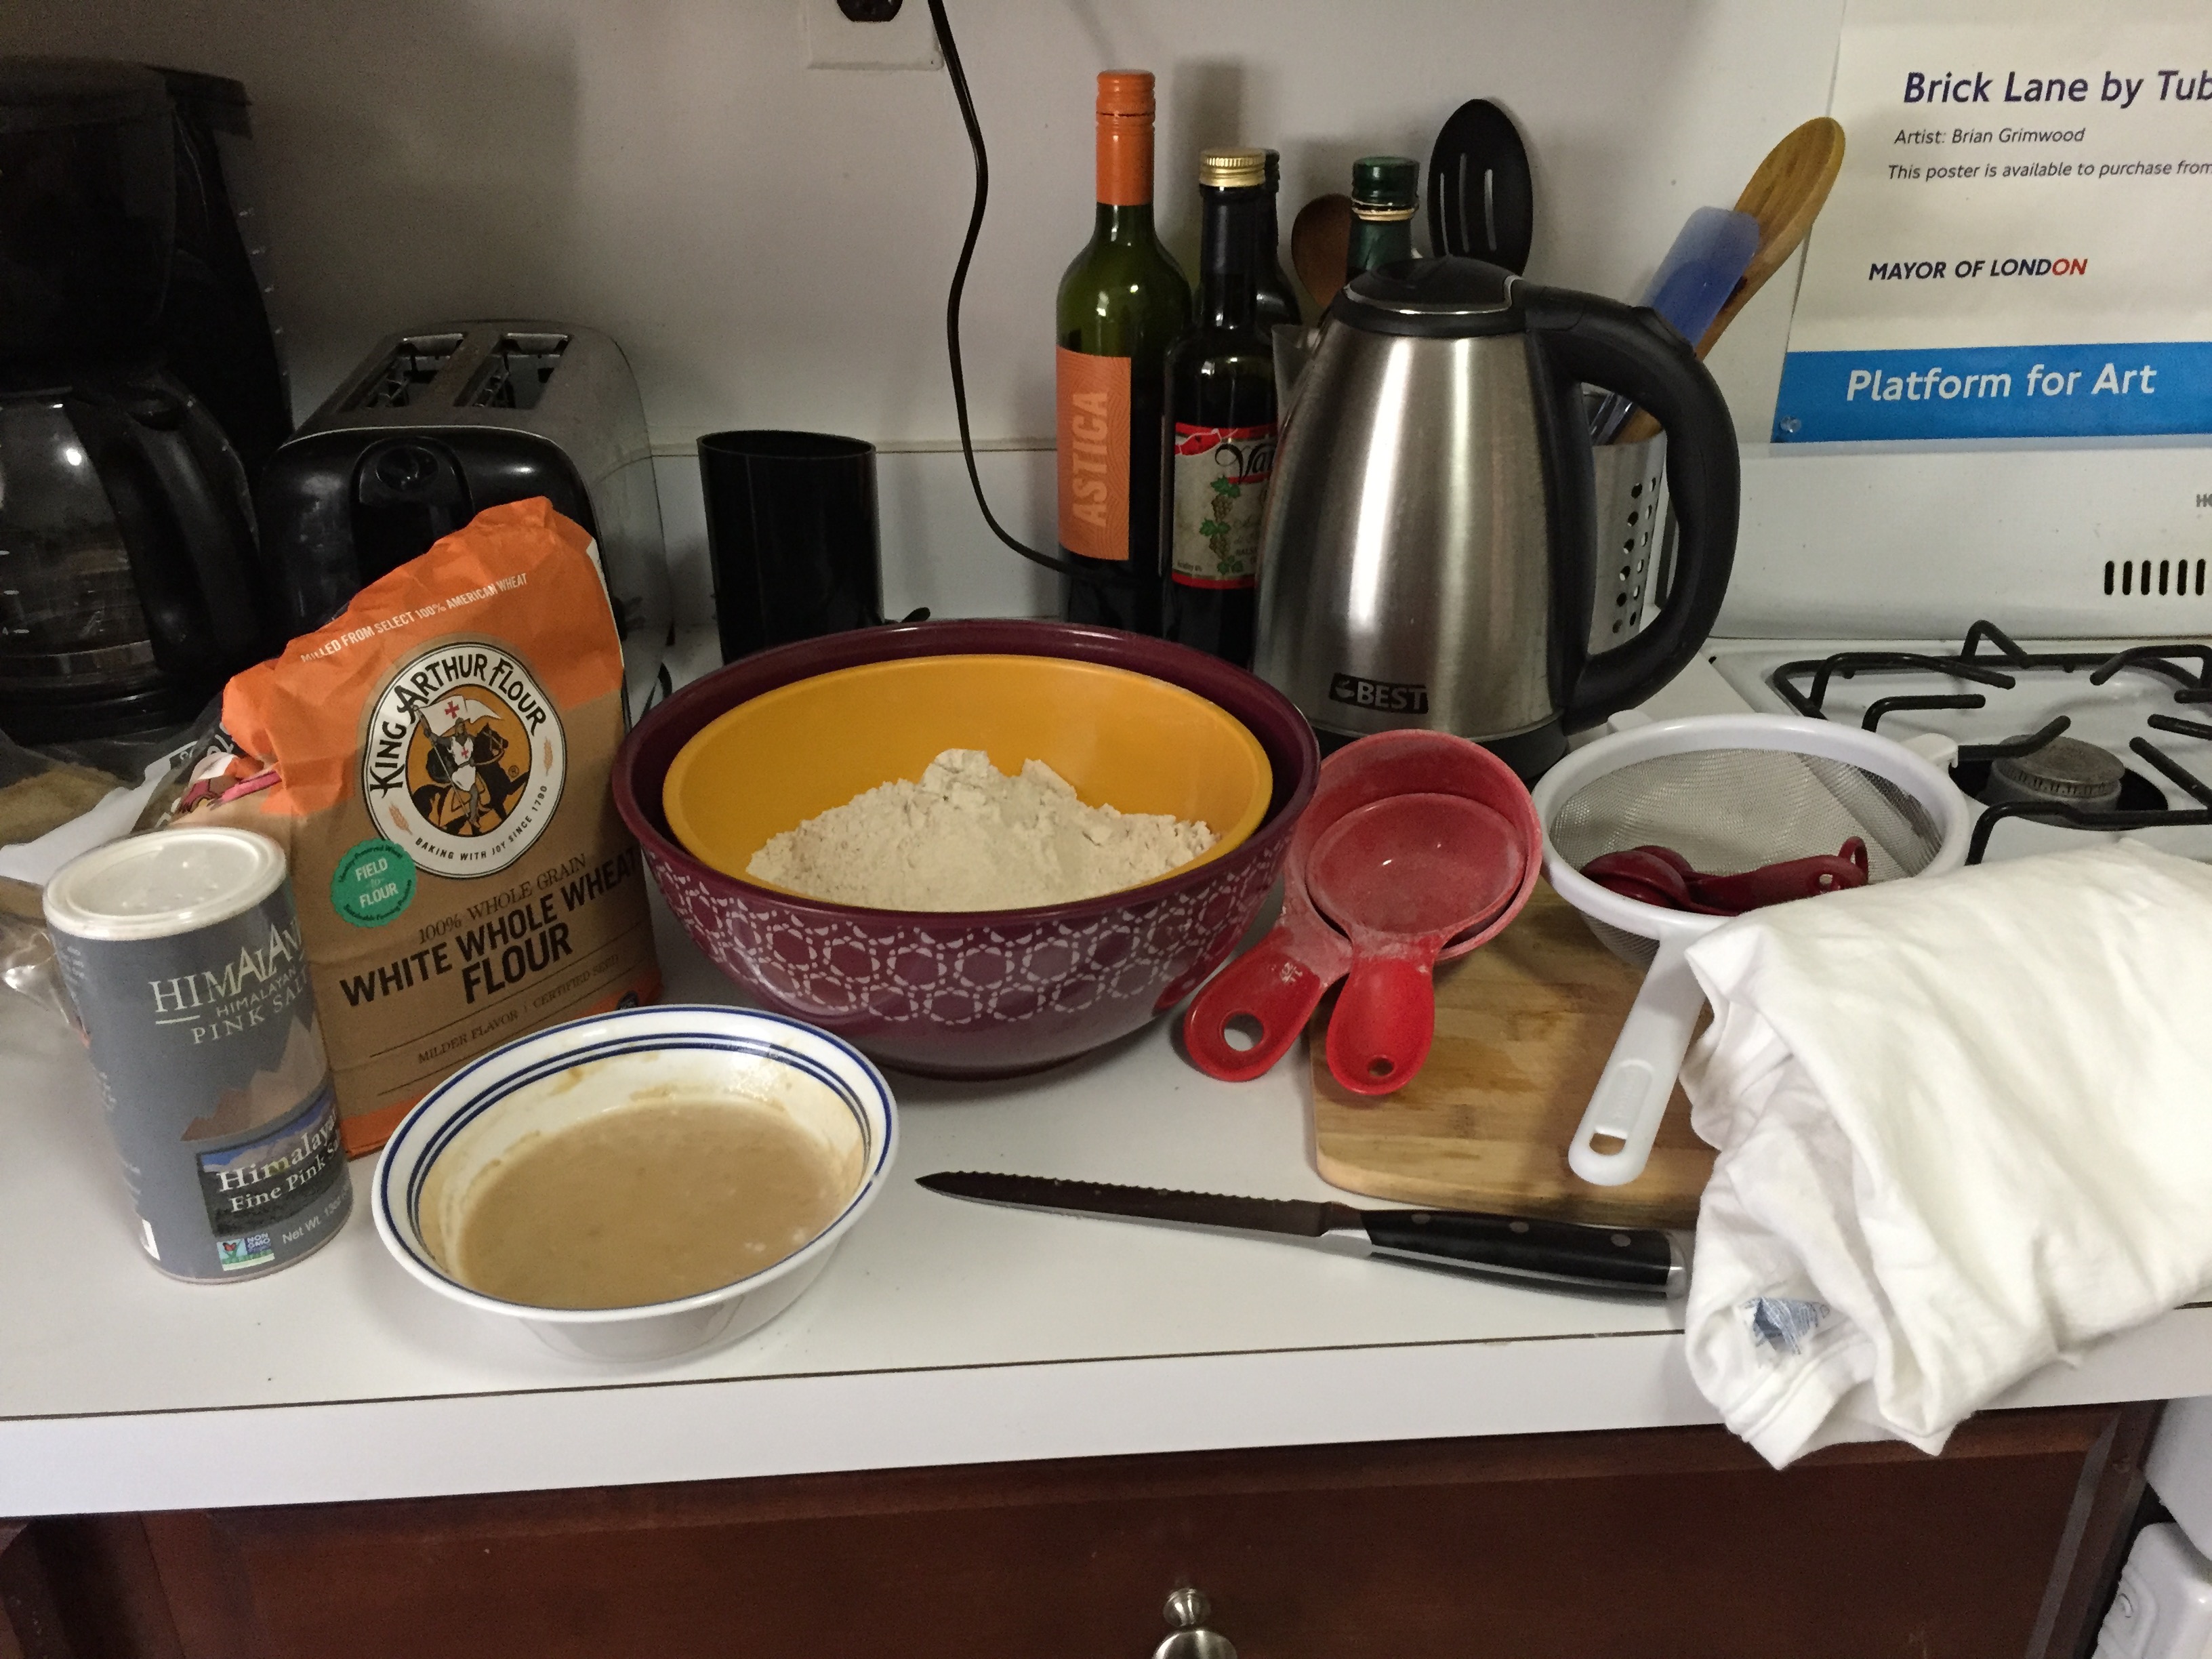
sea salt, King Arthur white whole wheat flour (non-gmo), sourdough starter; plastic mixing bowls, measuring spoons and cups, pyrex liquid measure; cotton t-shirt (cloth)
Not pictured: gas oven, stainless steel knife, Brita filtered water, parchment paper, baking pan
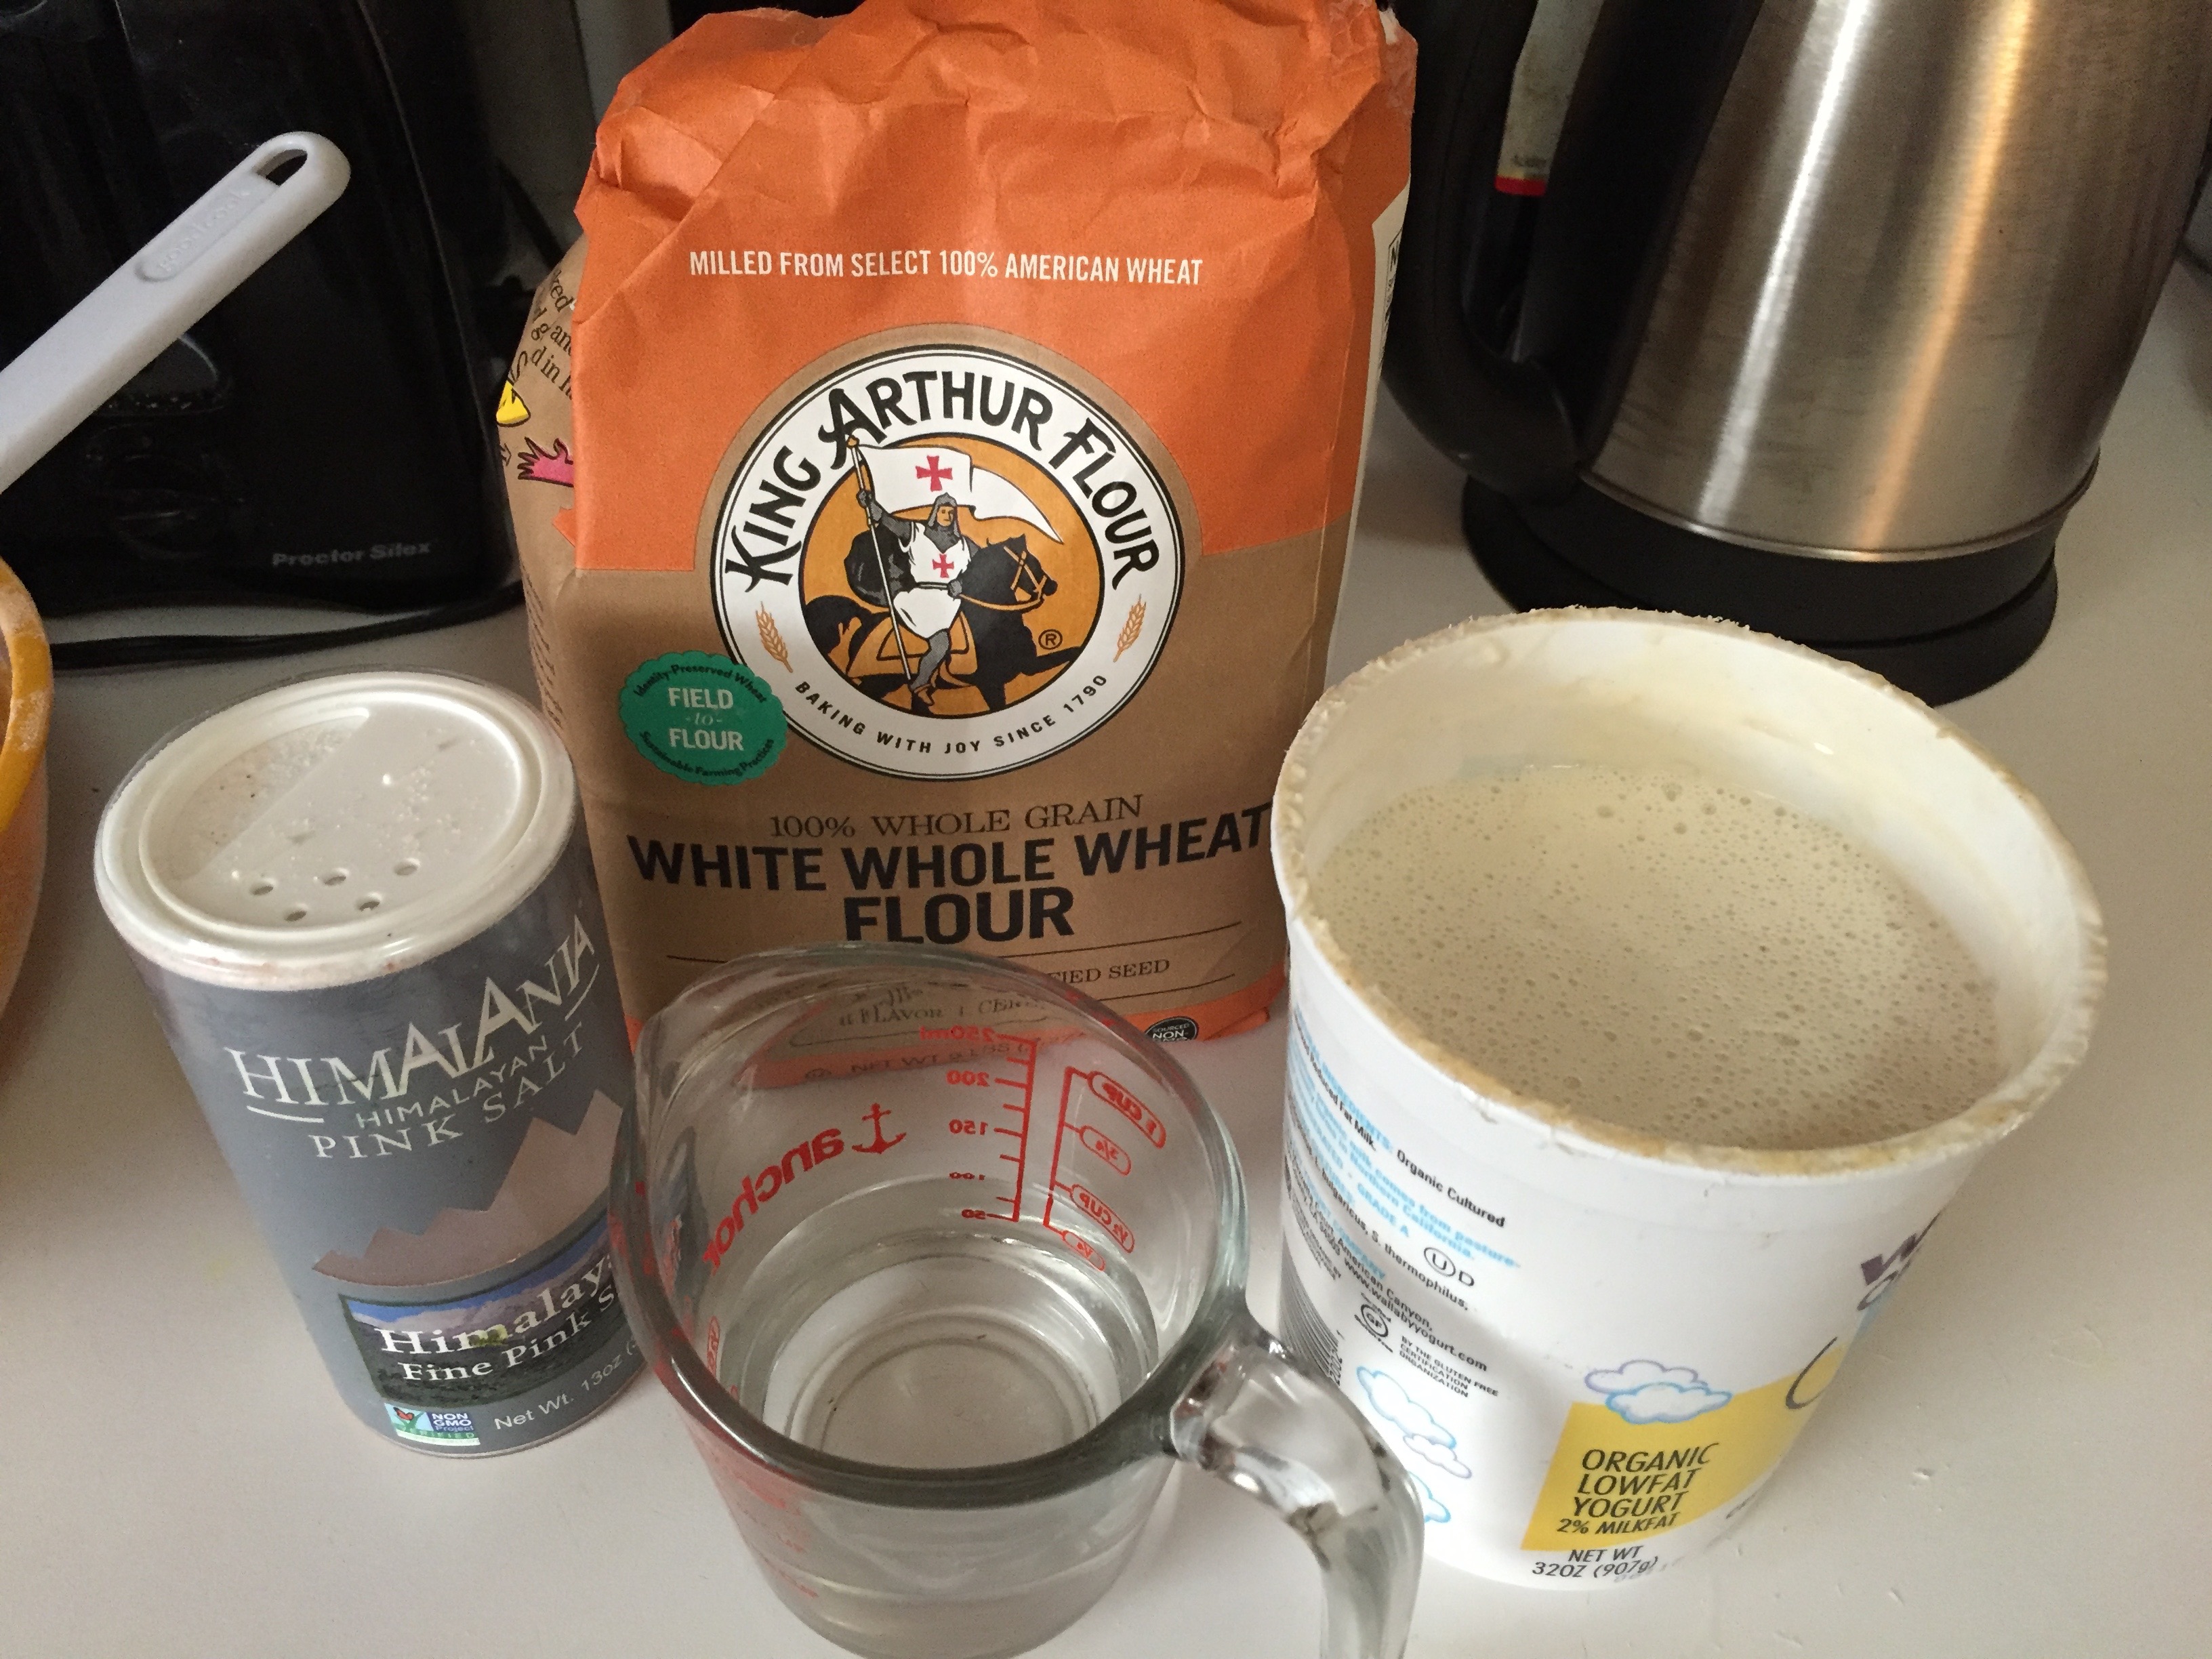
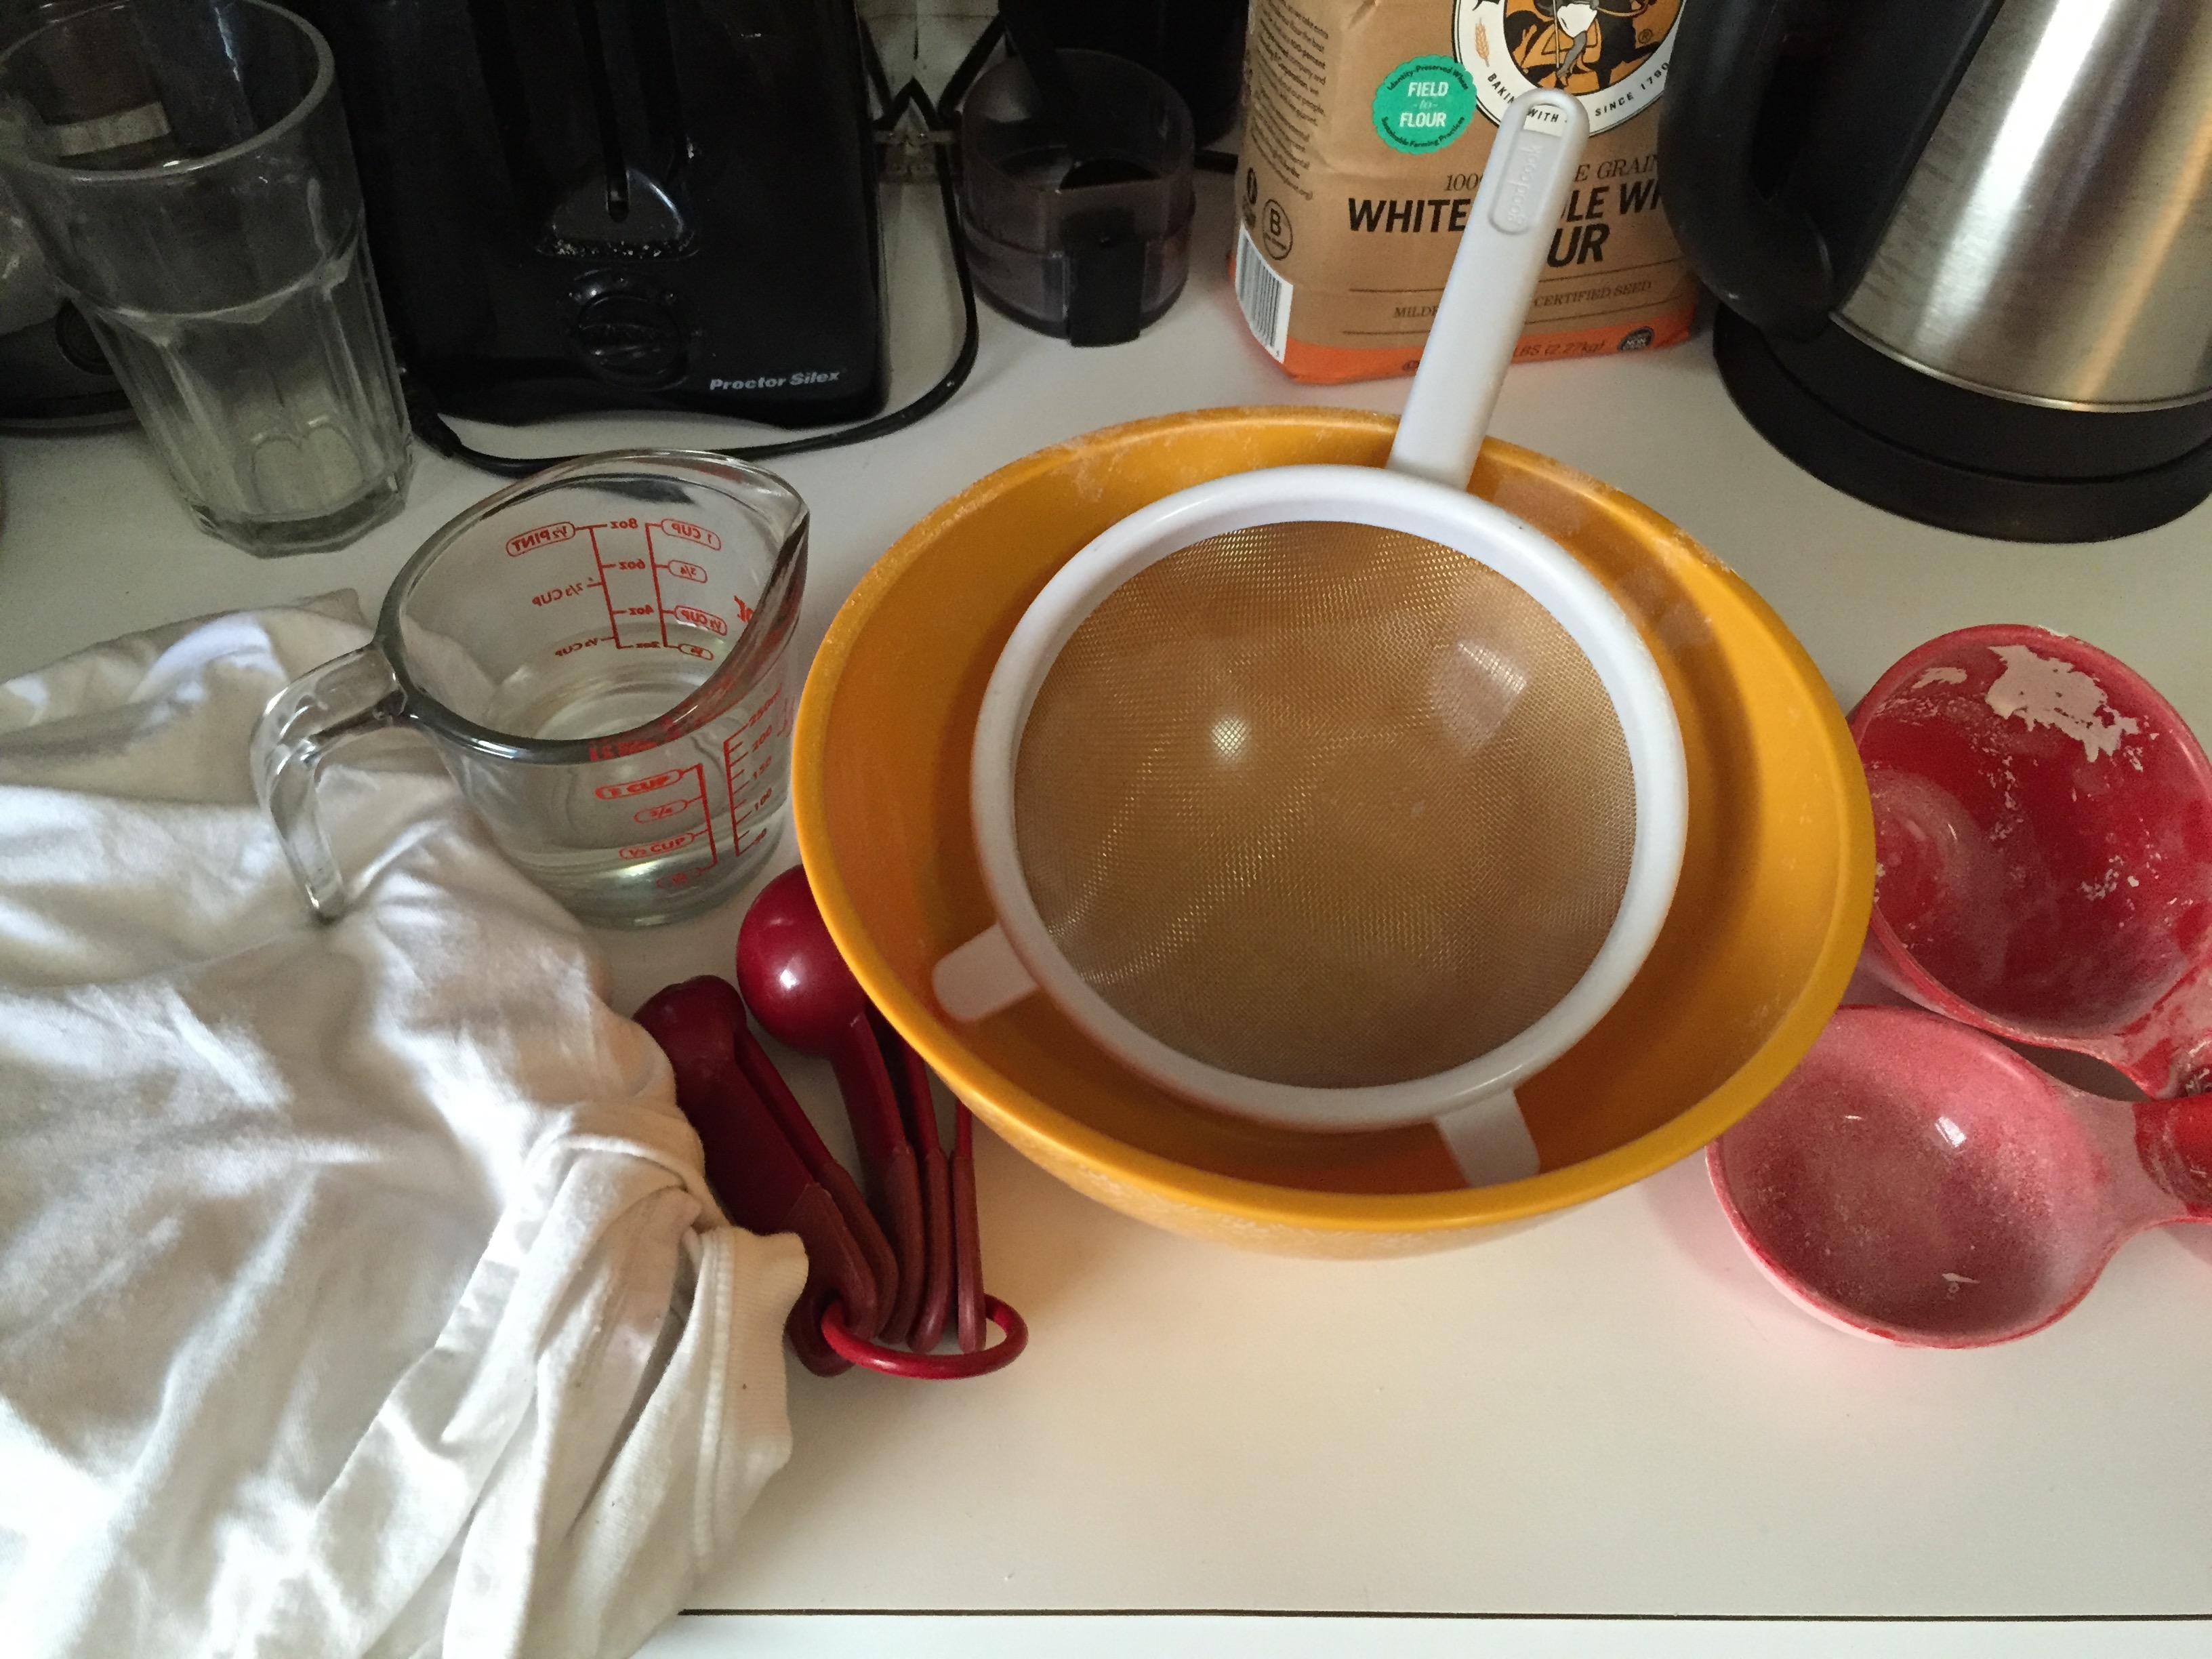
Process:
1:50 PM
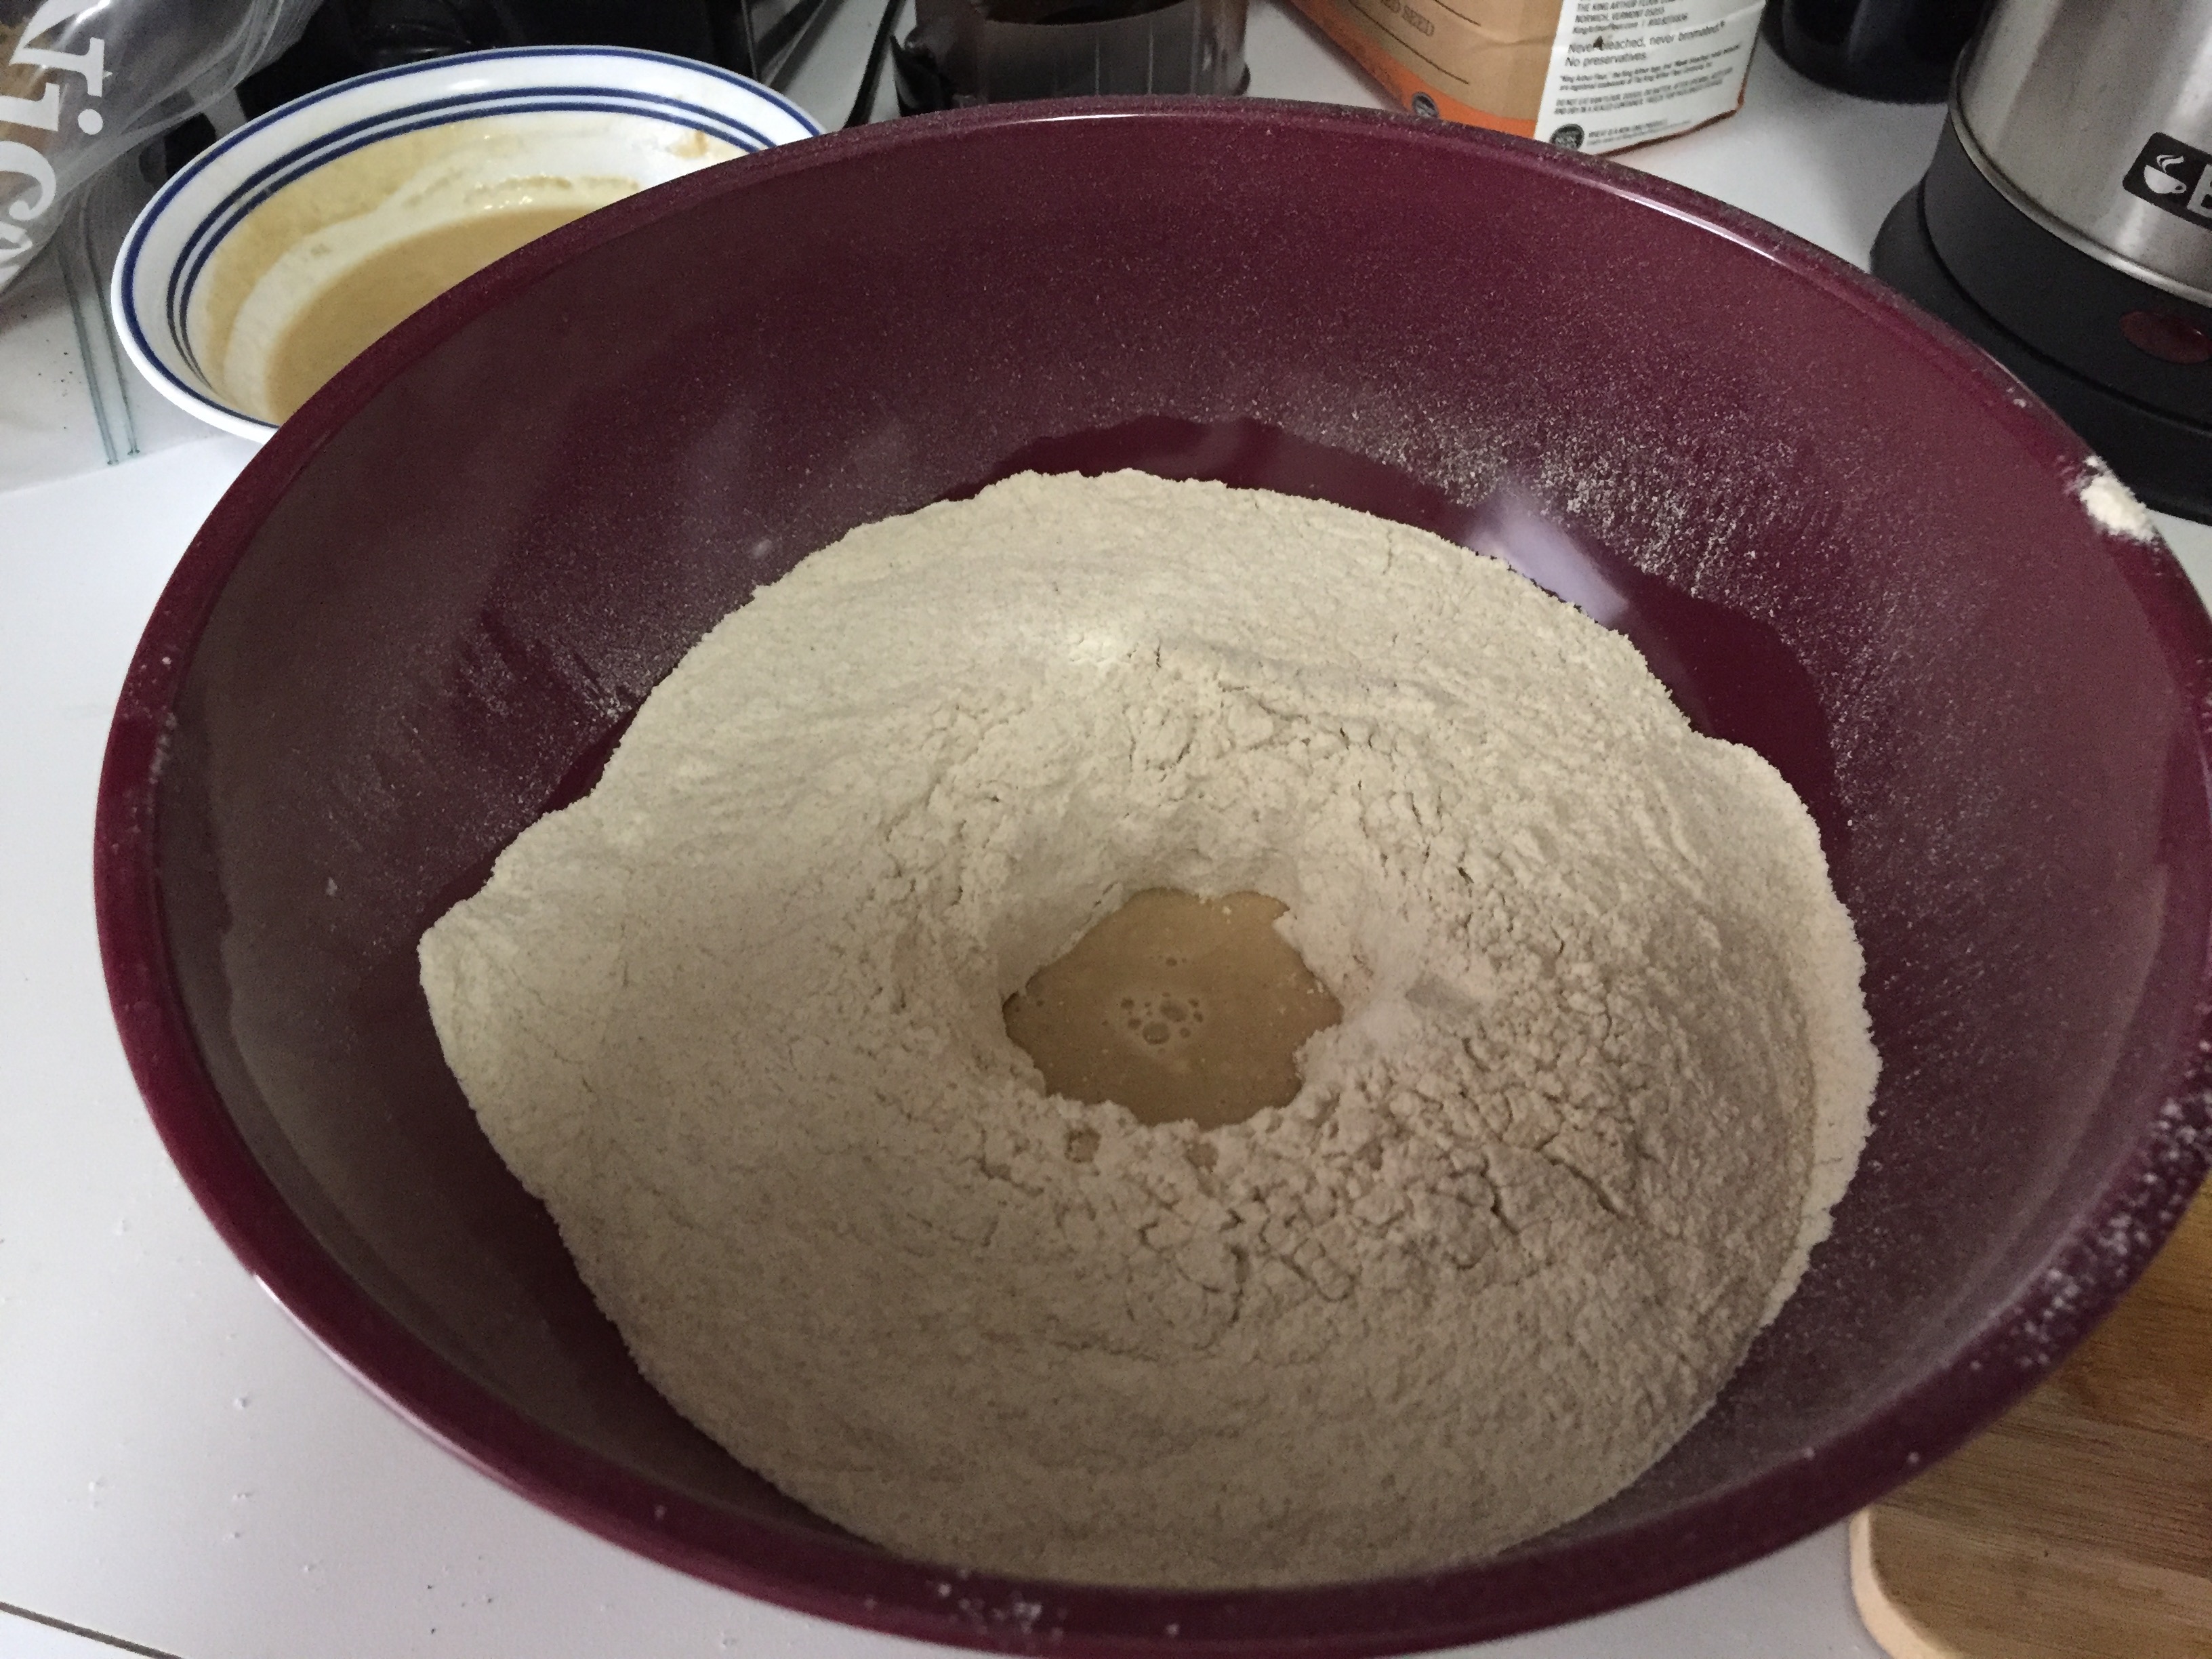
Sifted 3 1/3 cups flour into mixing bowl
(I decided on 3 1/3 cups because that is 1 pound of flour, which seemed like a manageable amount to work with; according to the bushel-pound calculator used above in the Bread Recipe Research section, 1 pound= 0.02 bushels)
Then made a hole in the center of my flour (my interpretation of "opening flour hollow in the midst")
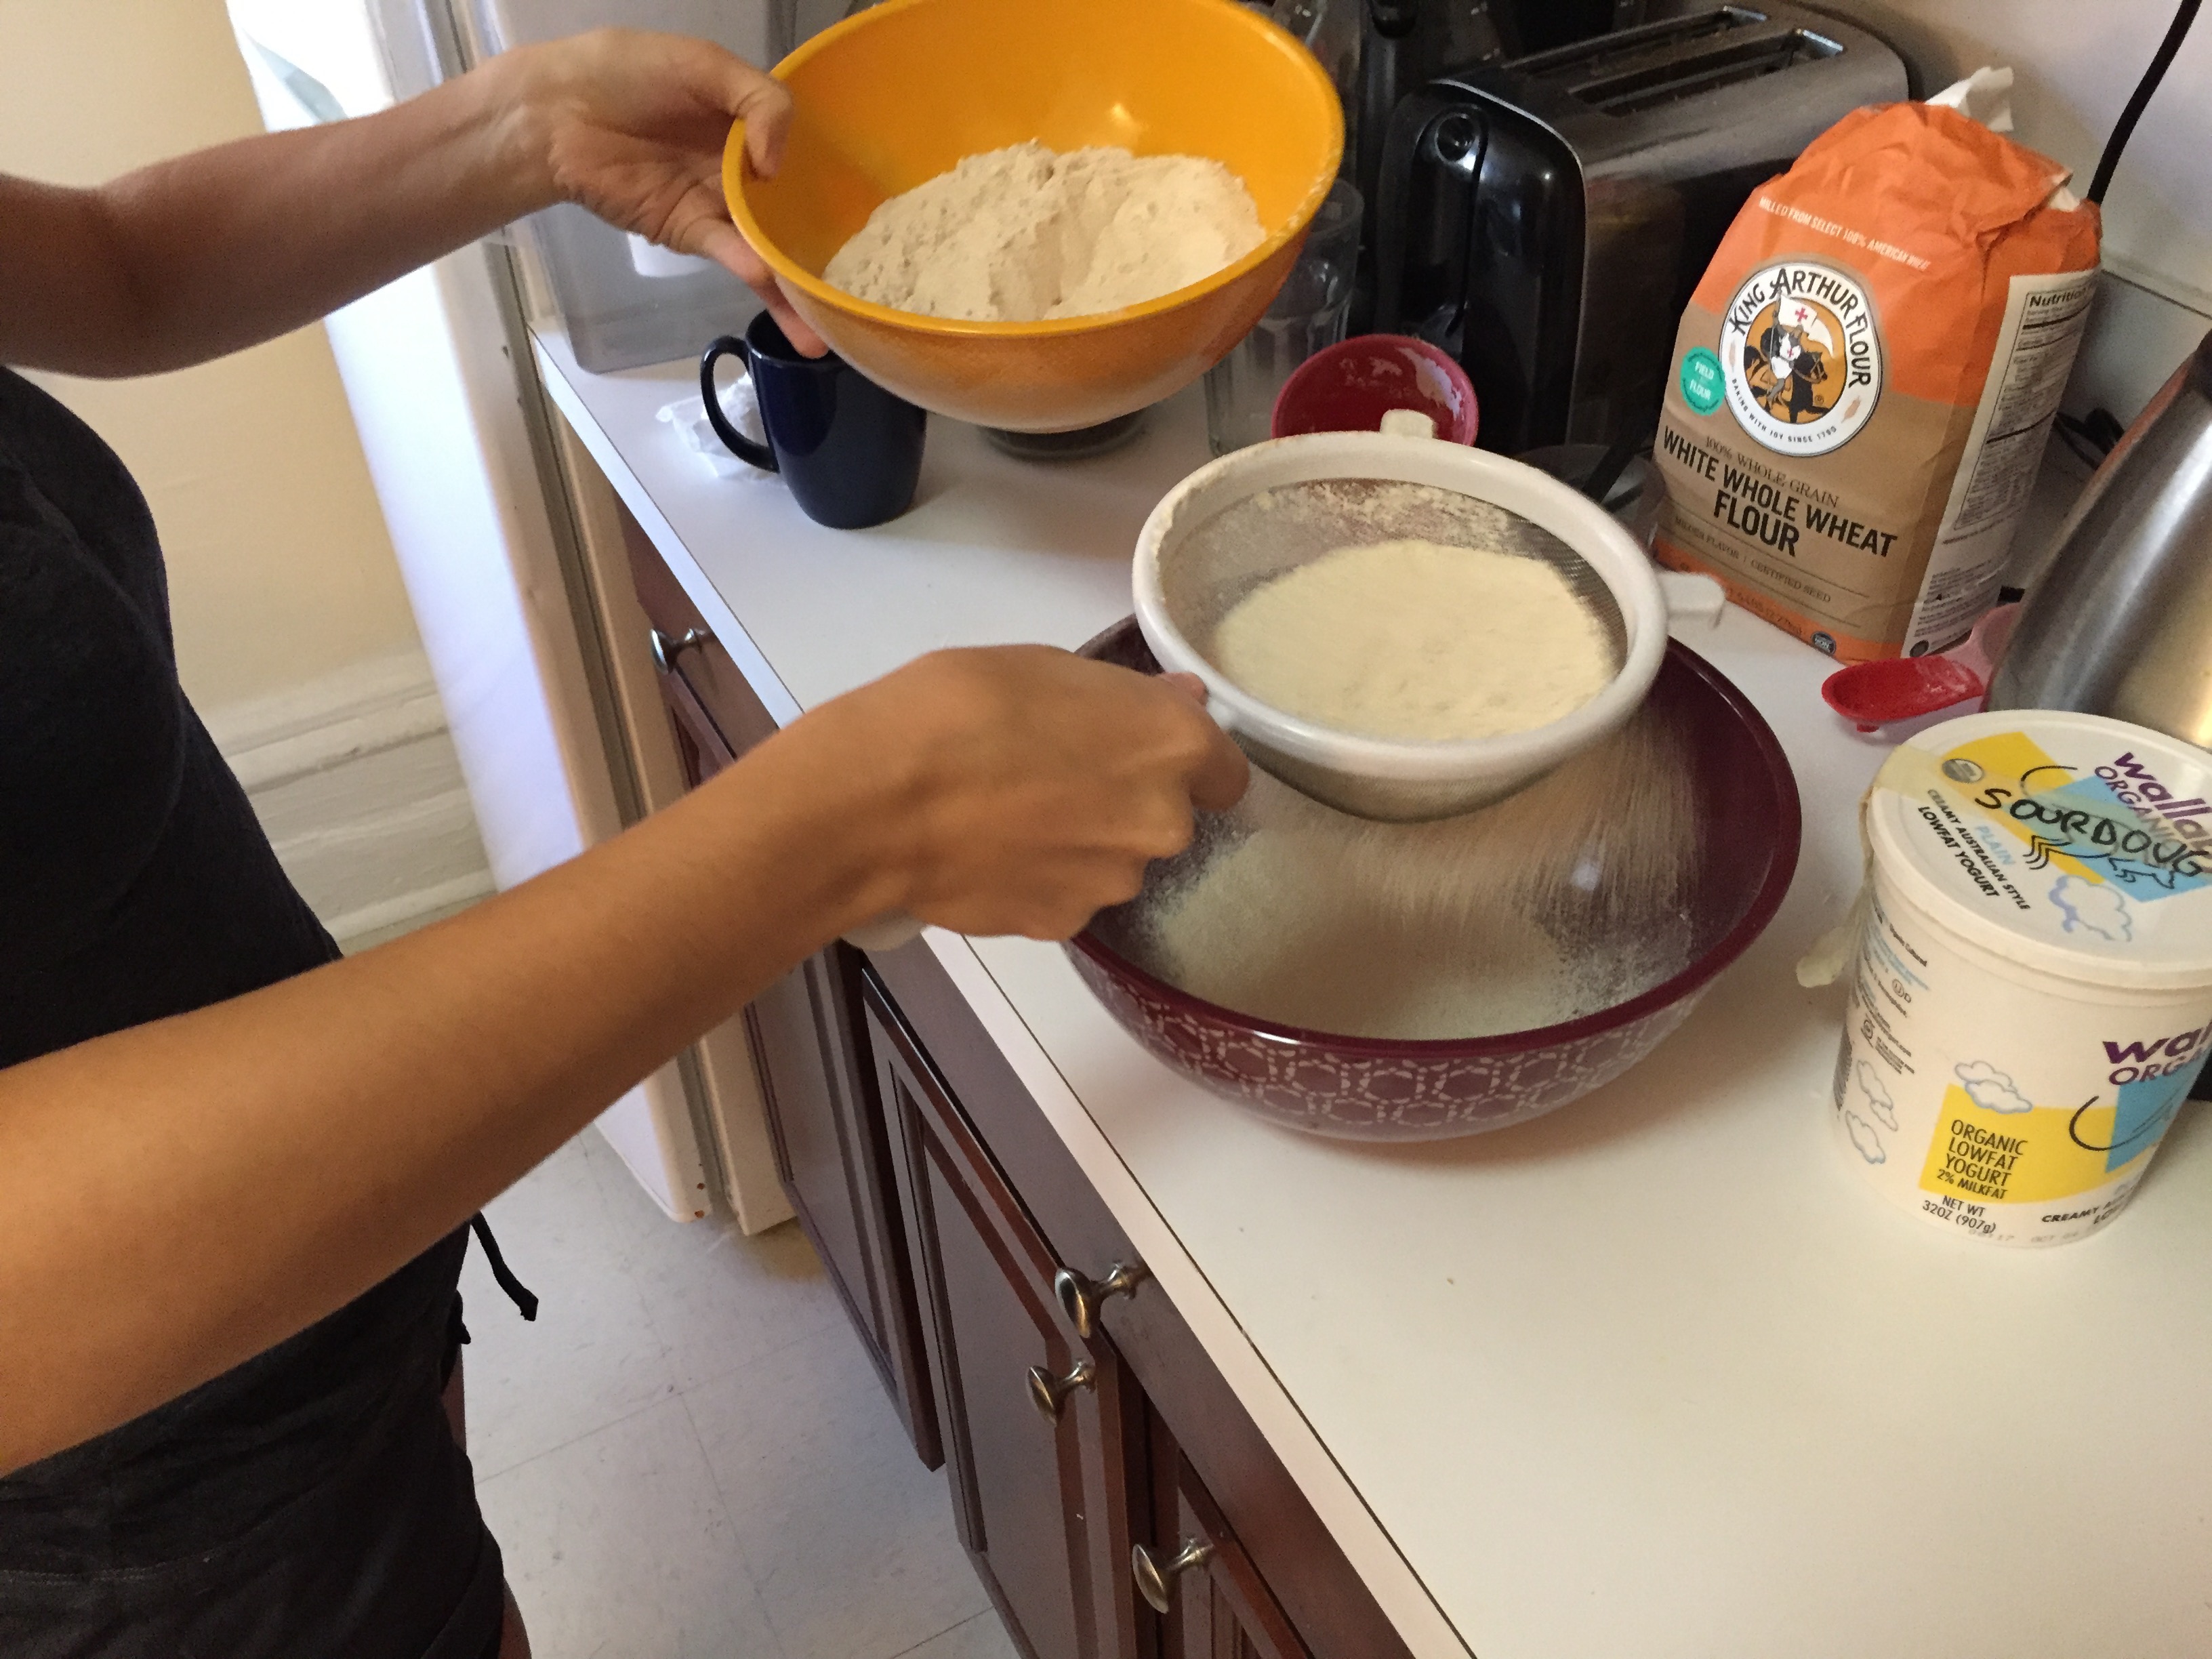
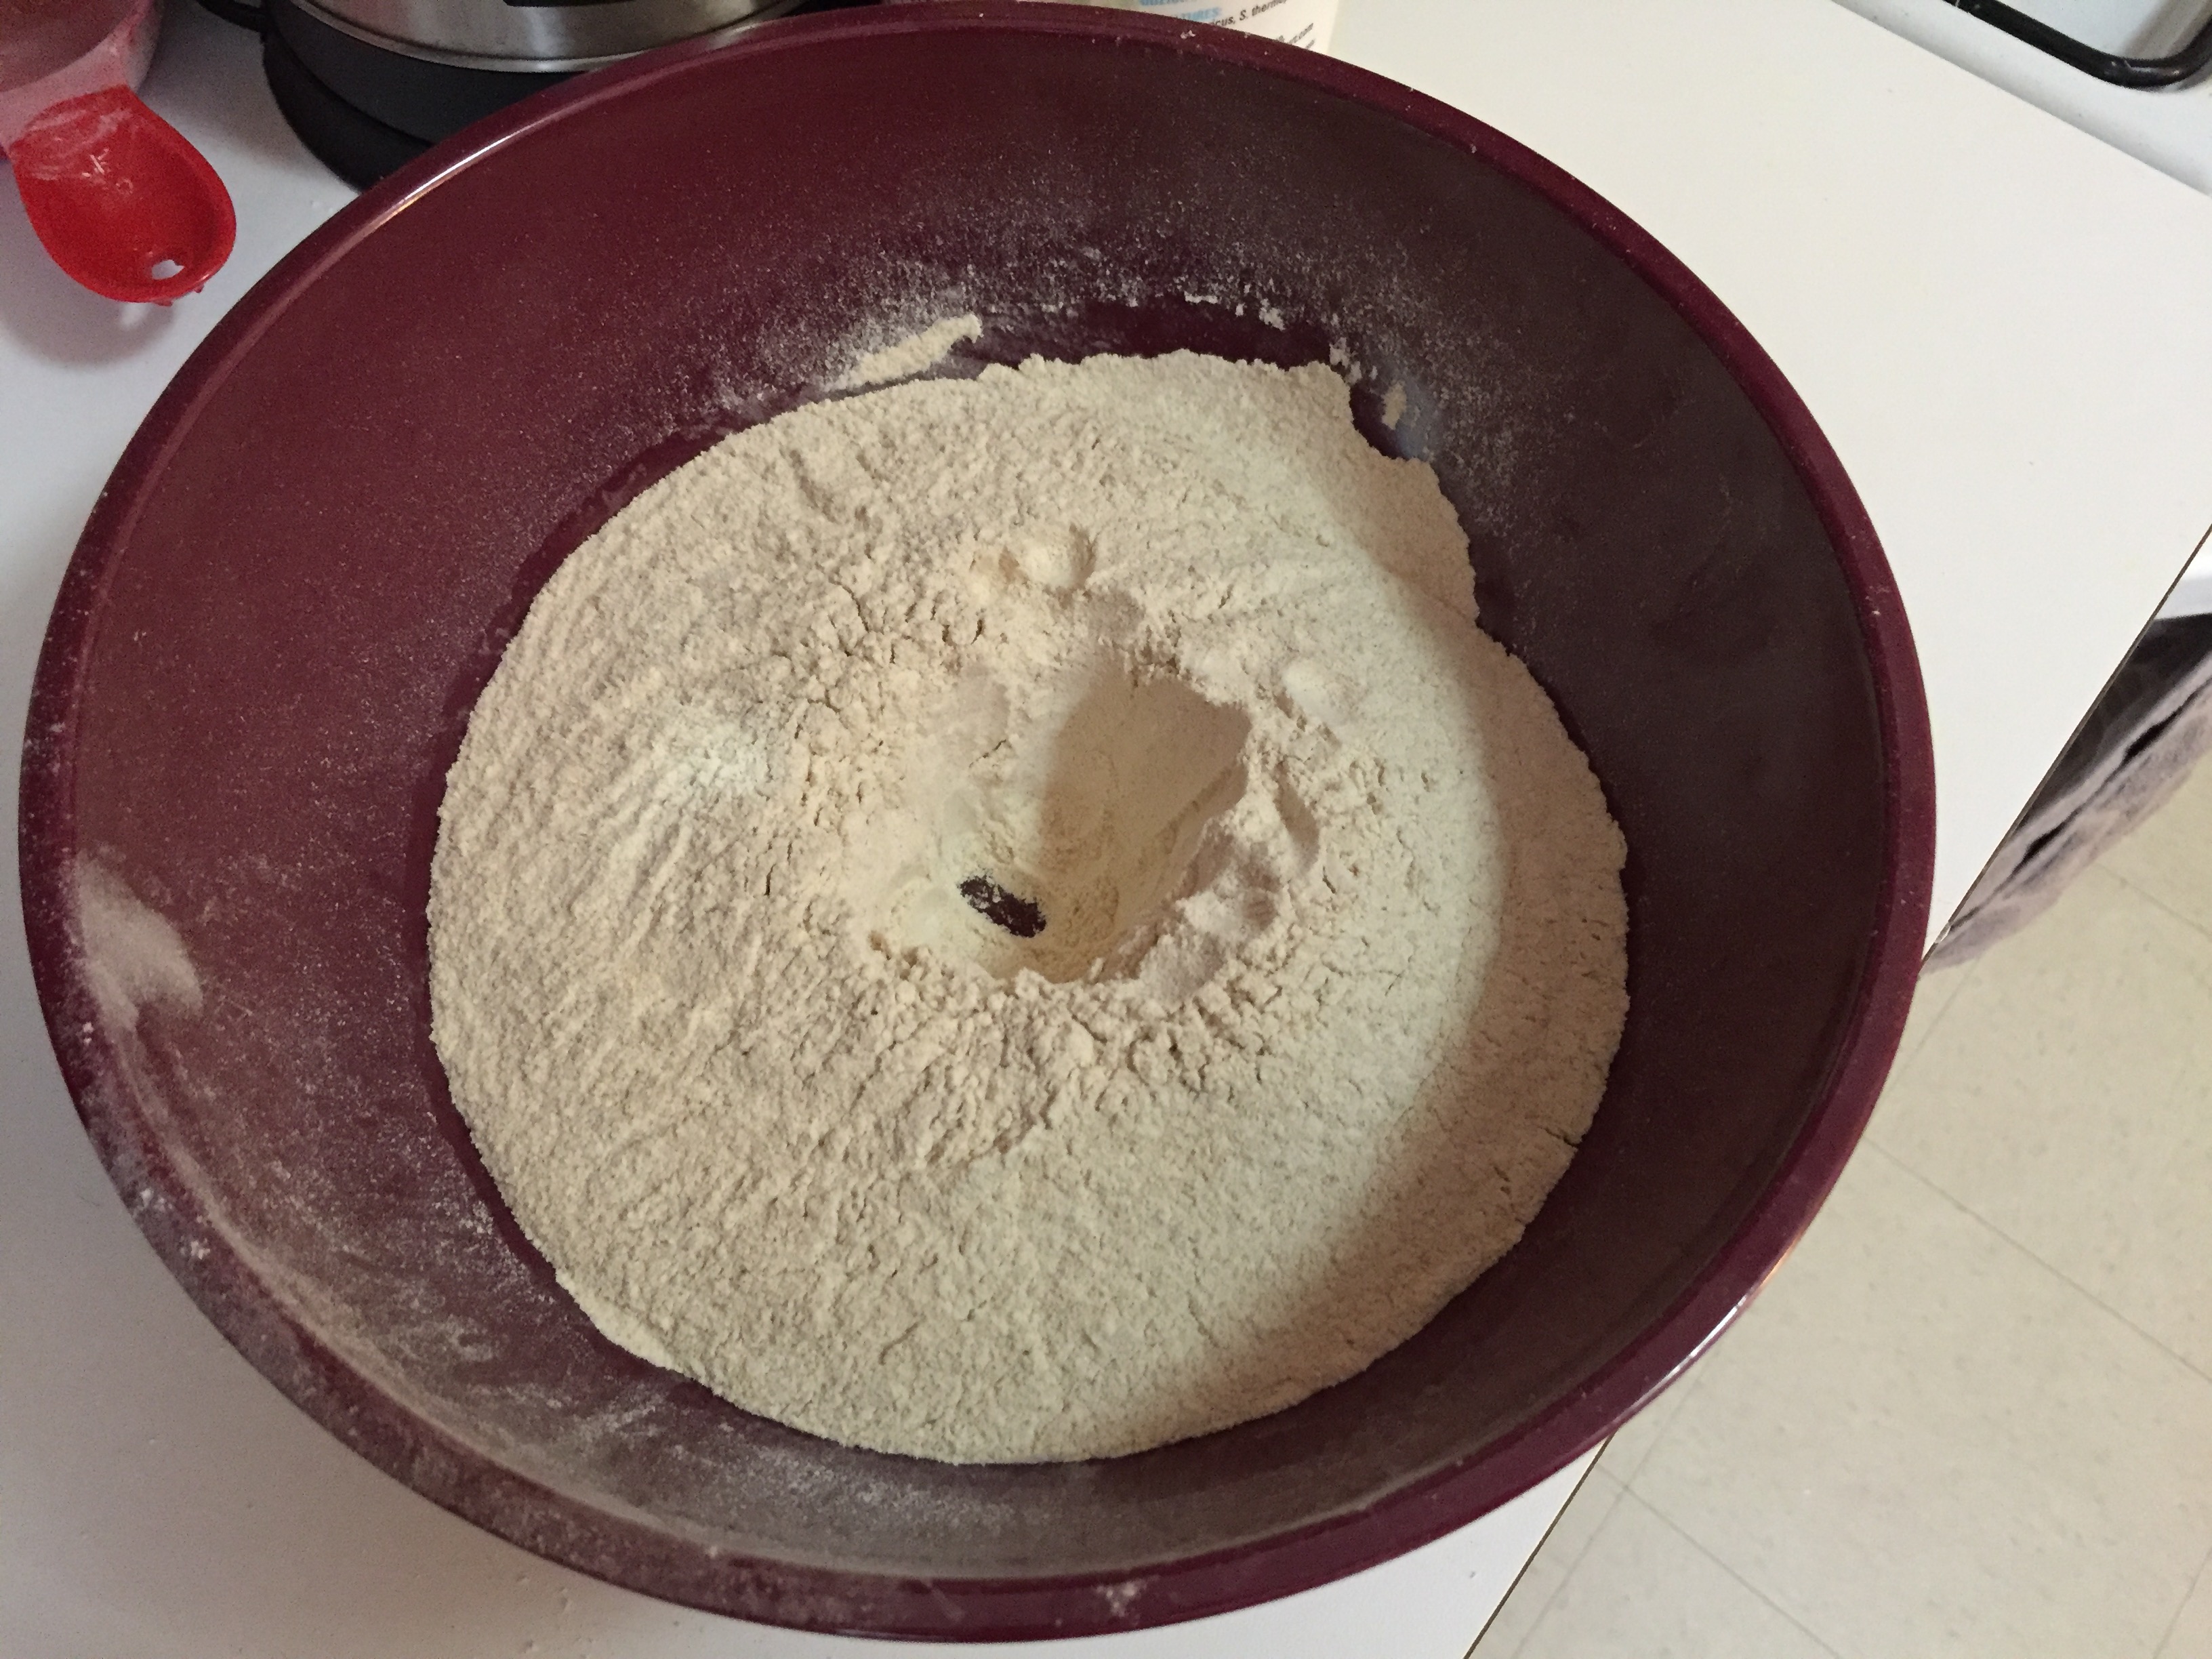
Put 6 tsp of sourdough starter into hole (replacement of "ale barm" with sourdough starter, measurement determination discussed above); mixed in a few pinches of salt (the recipe doesn't specify how much).
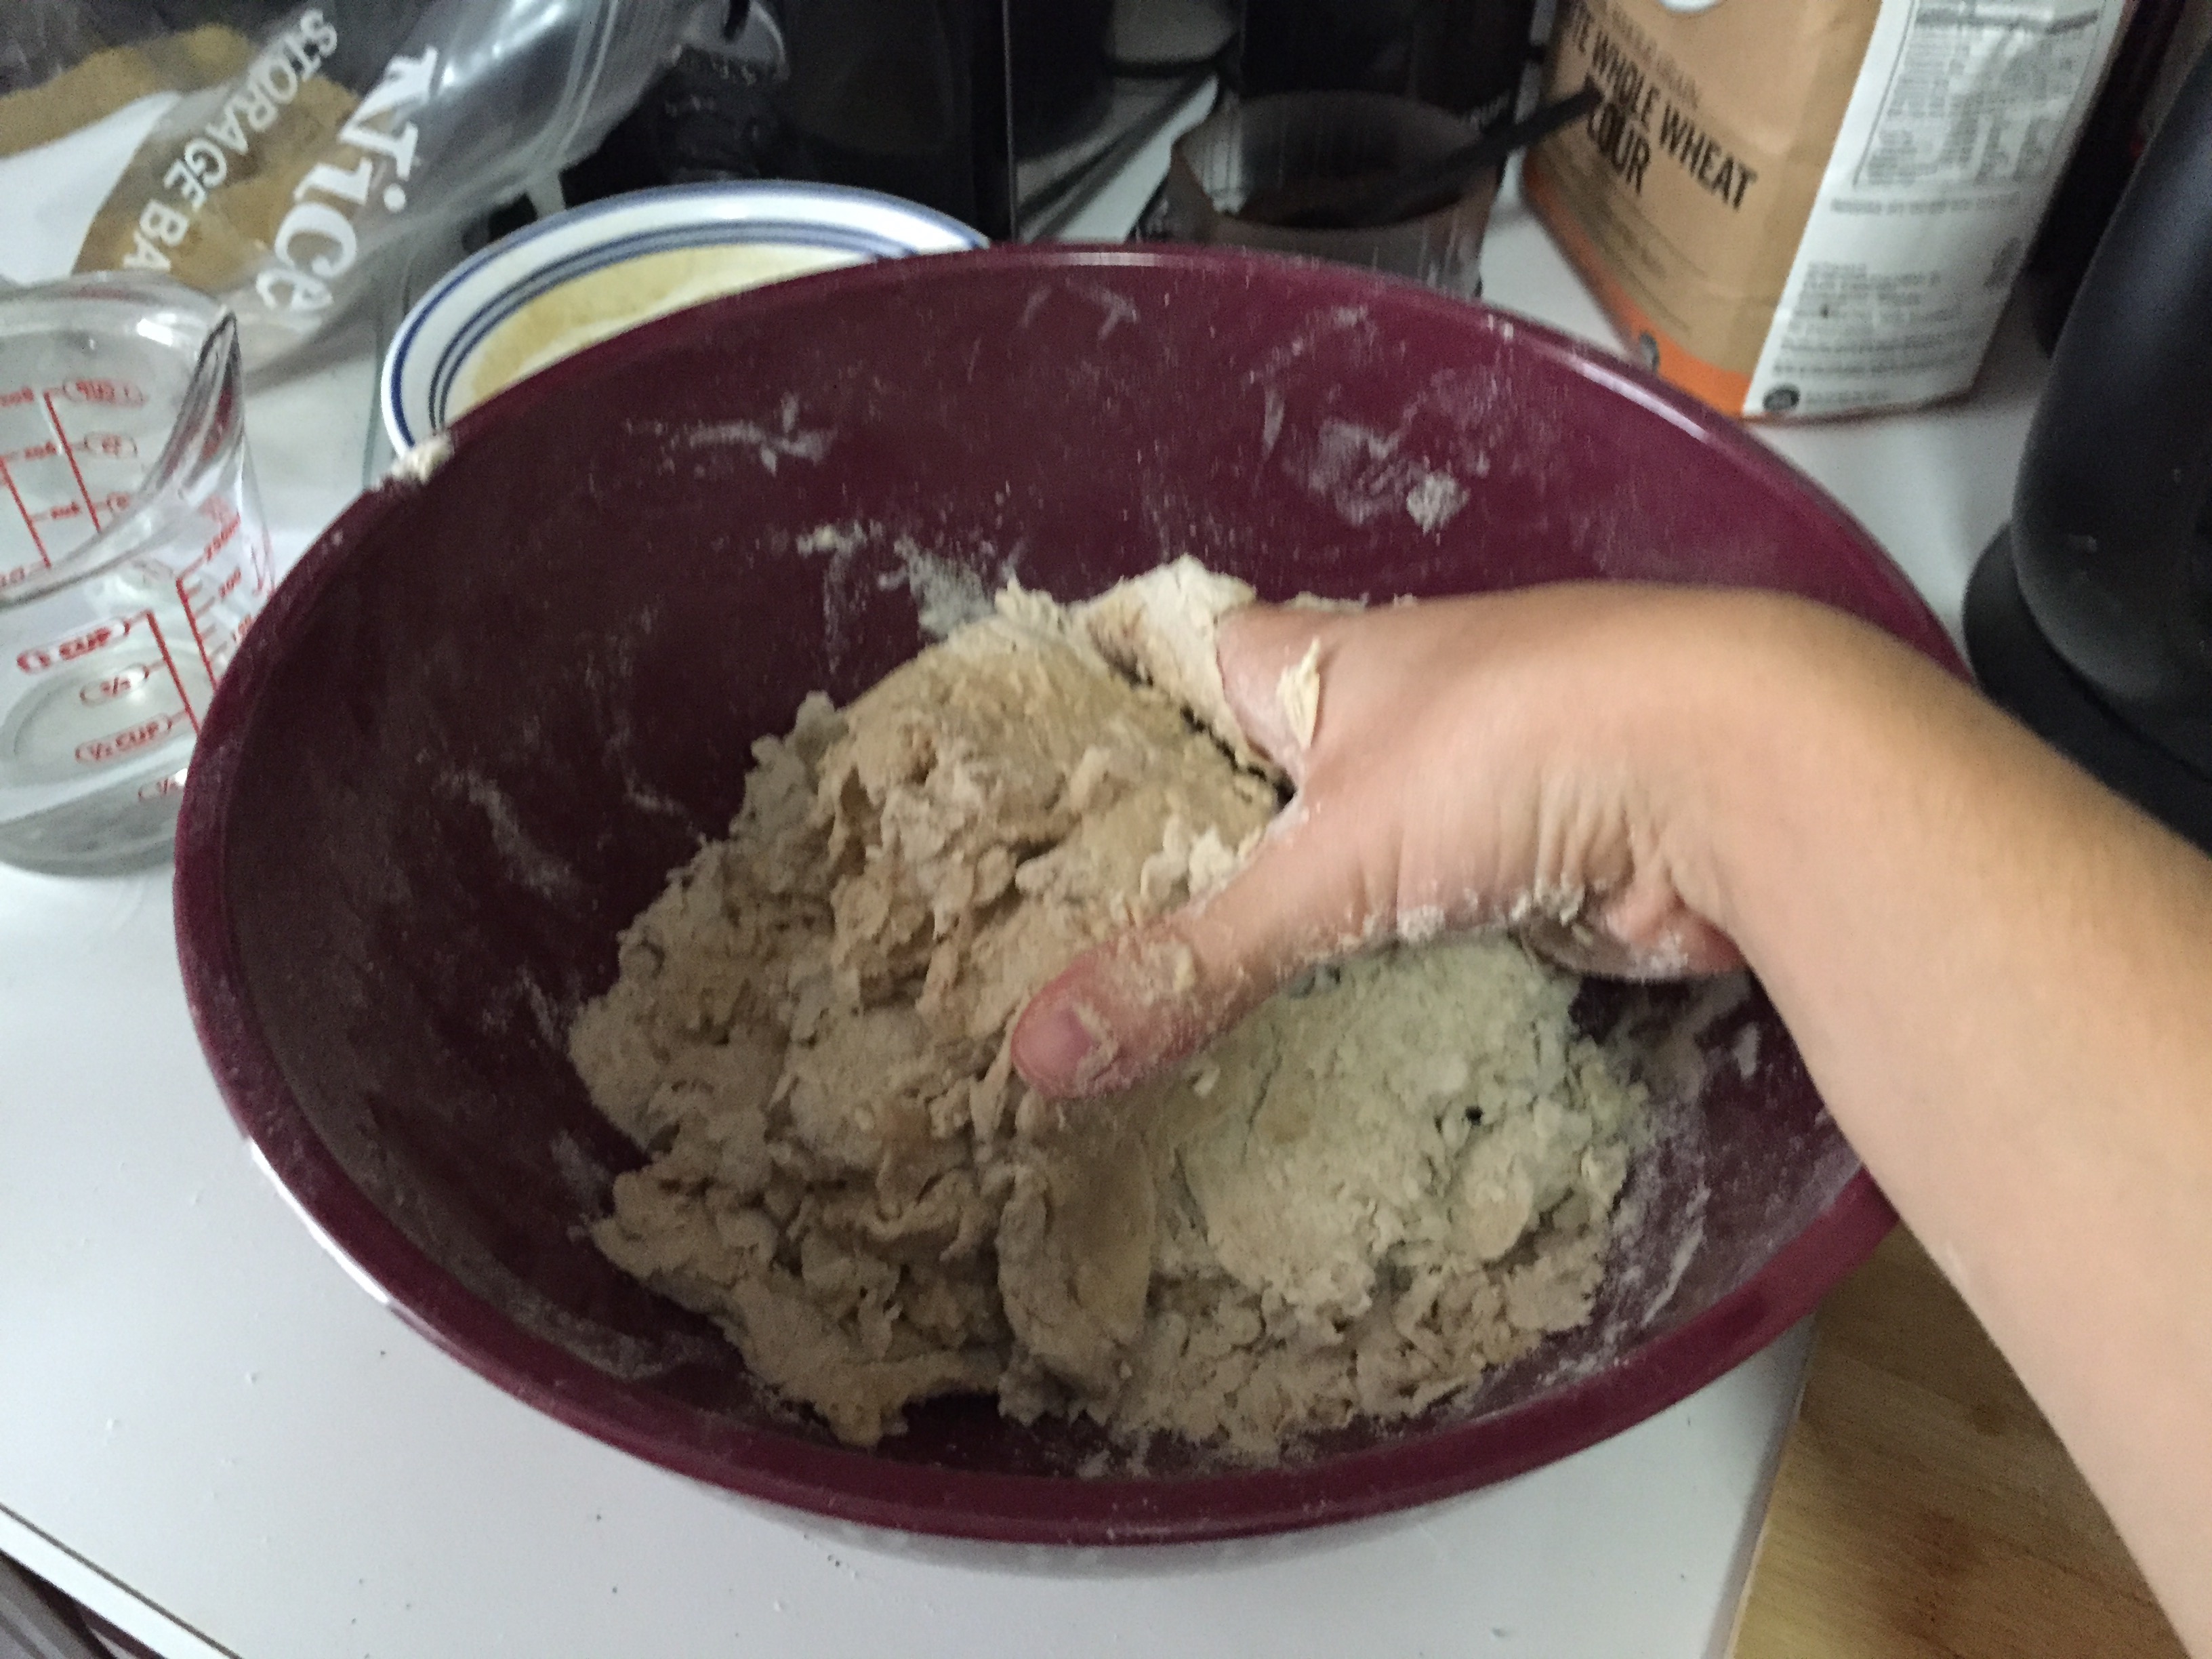
Slowly poured in warm water "liquor"--no amount specified, I went by feel, and ended up using about 1 1/2 cups.
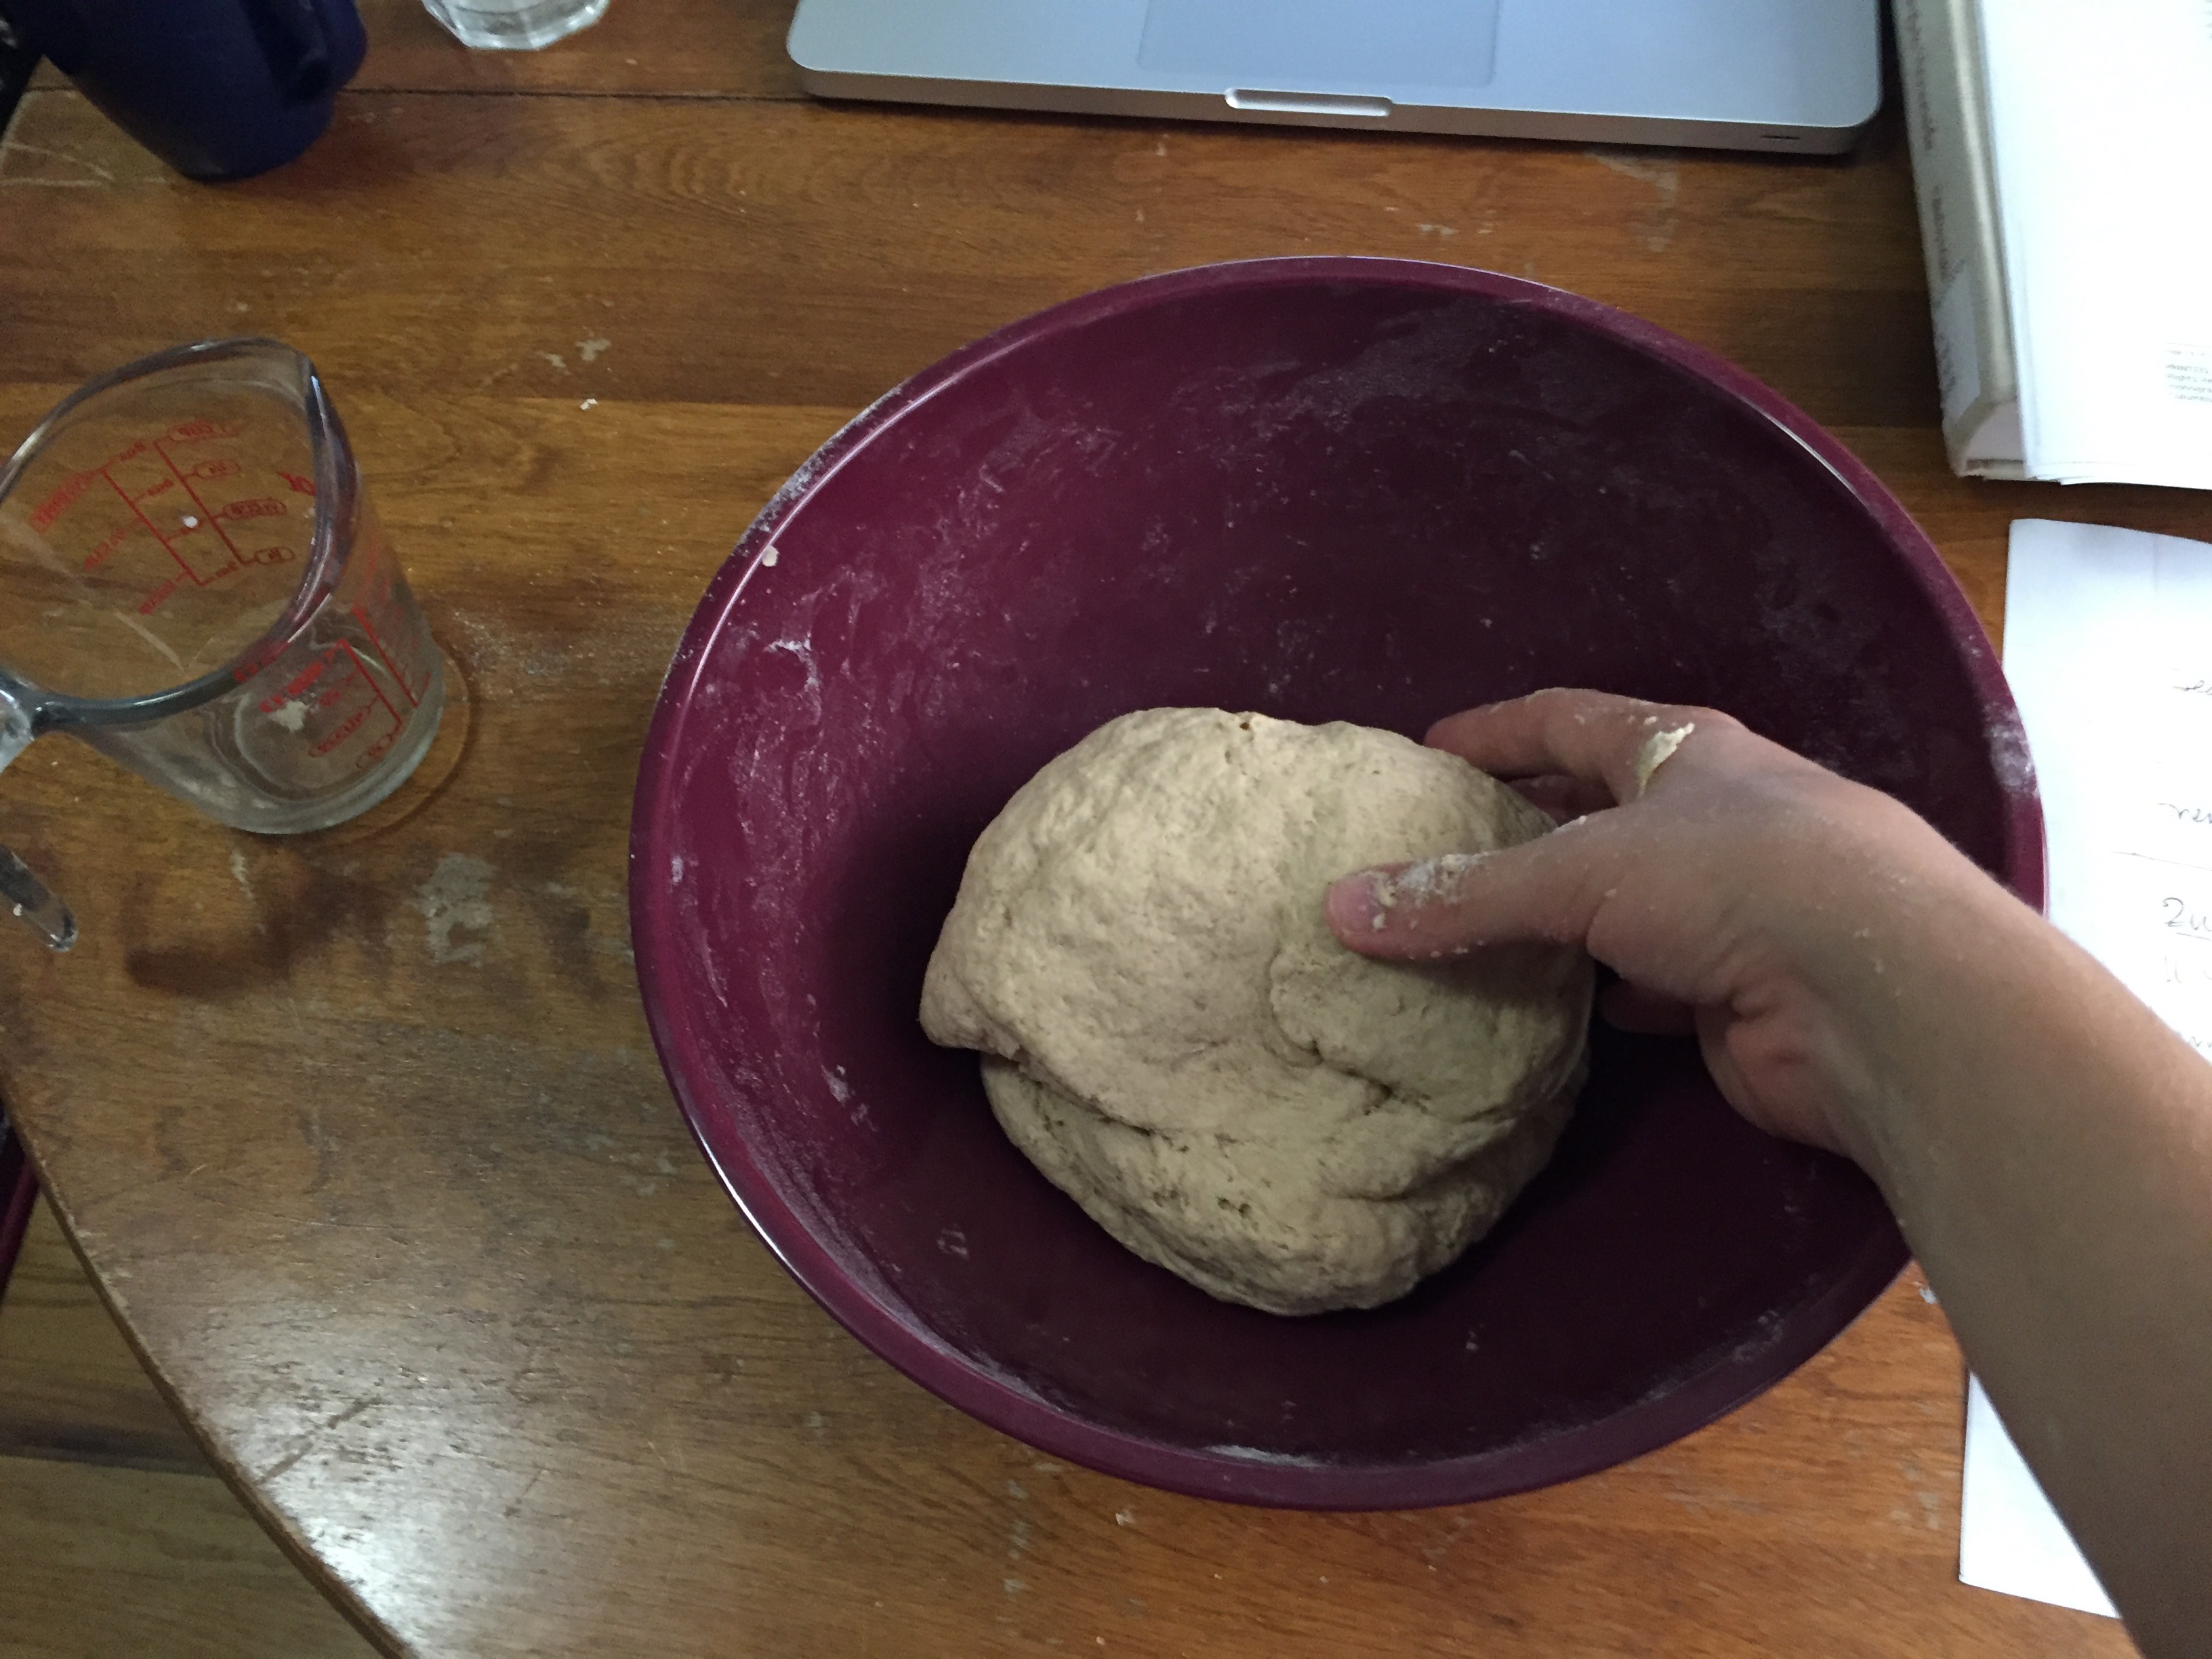
Then, I began to knead together by hand until it felt combined (15 mins).
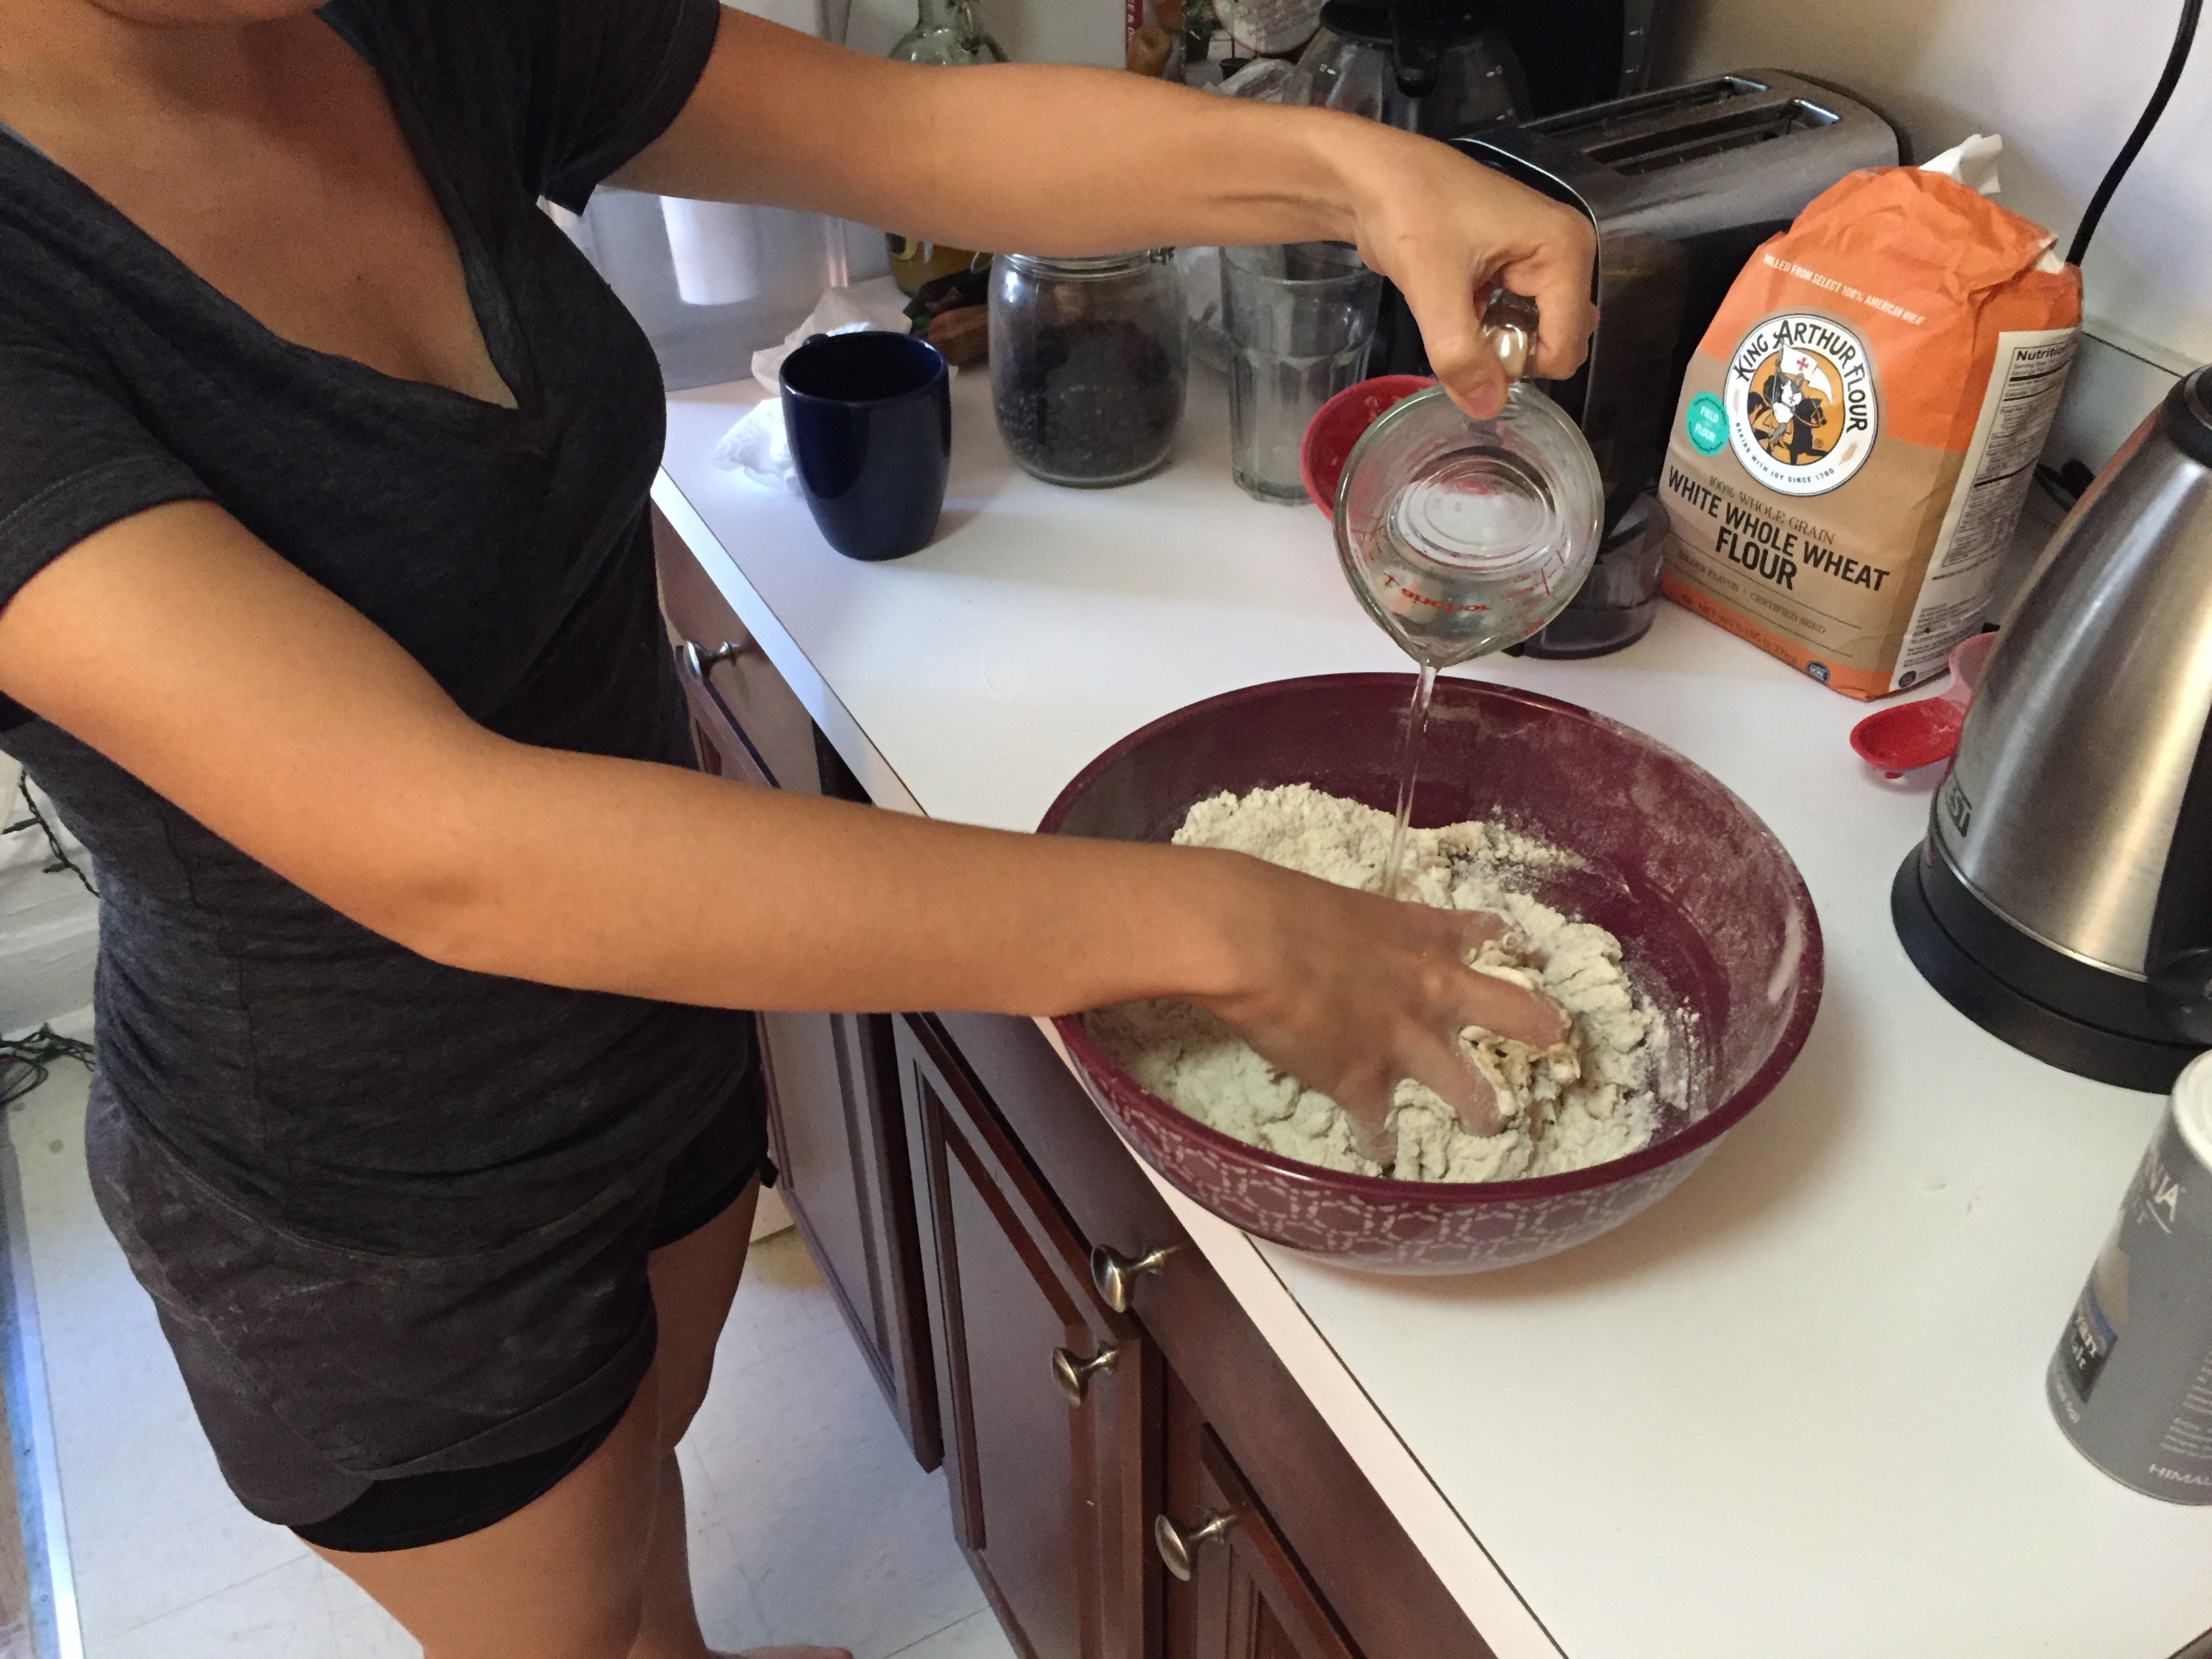
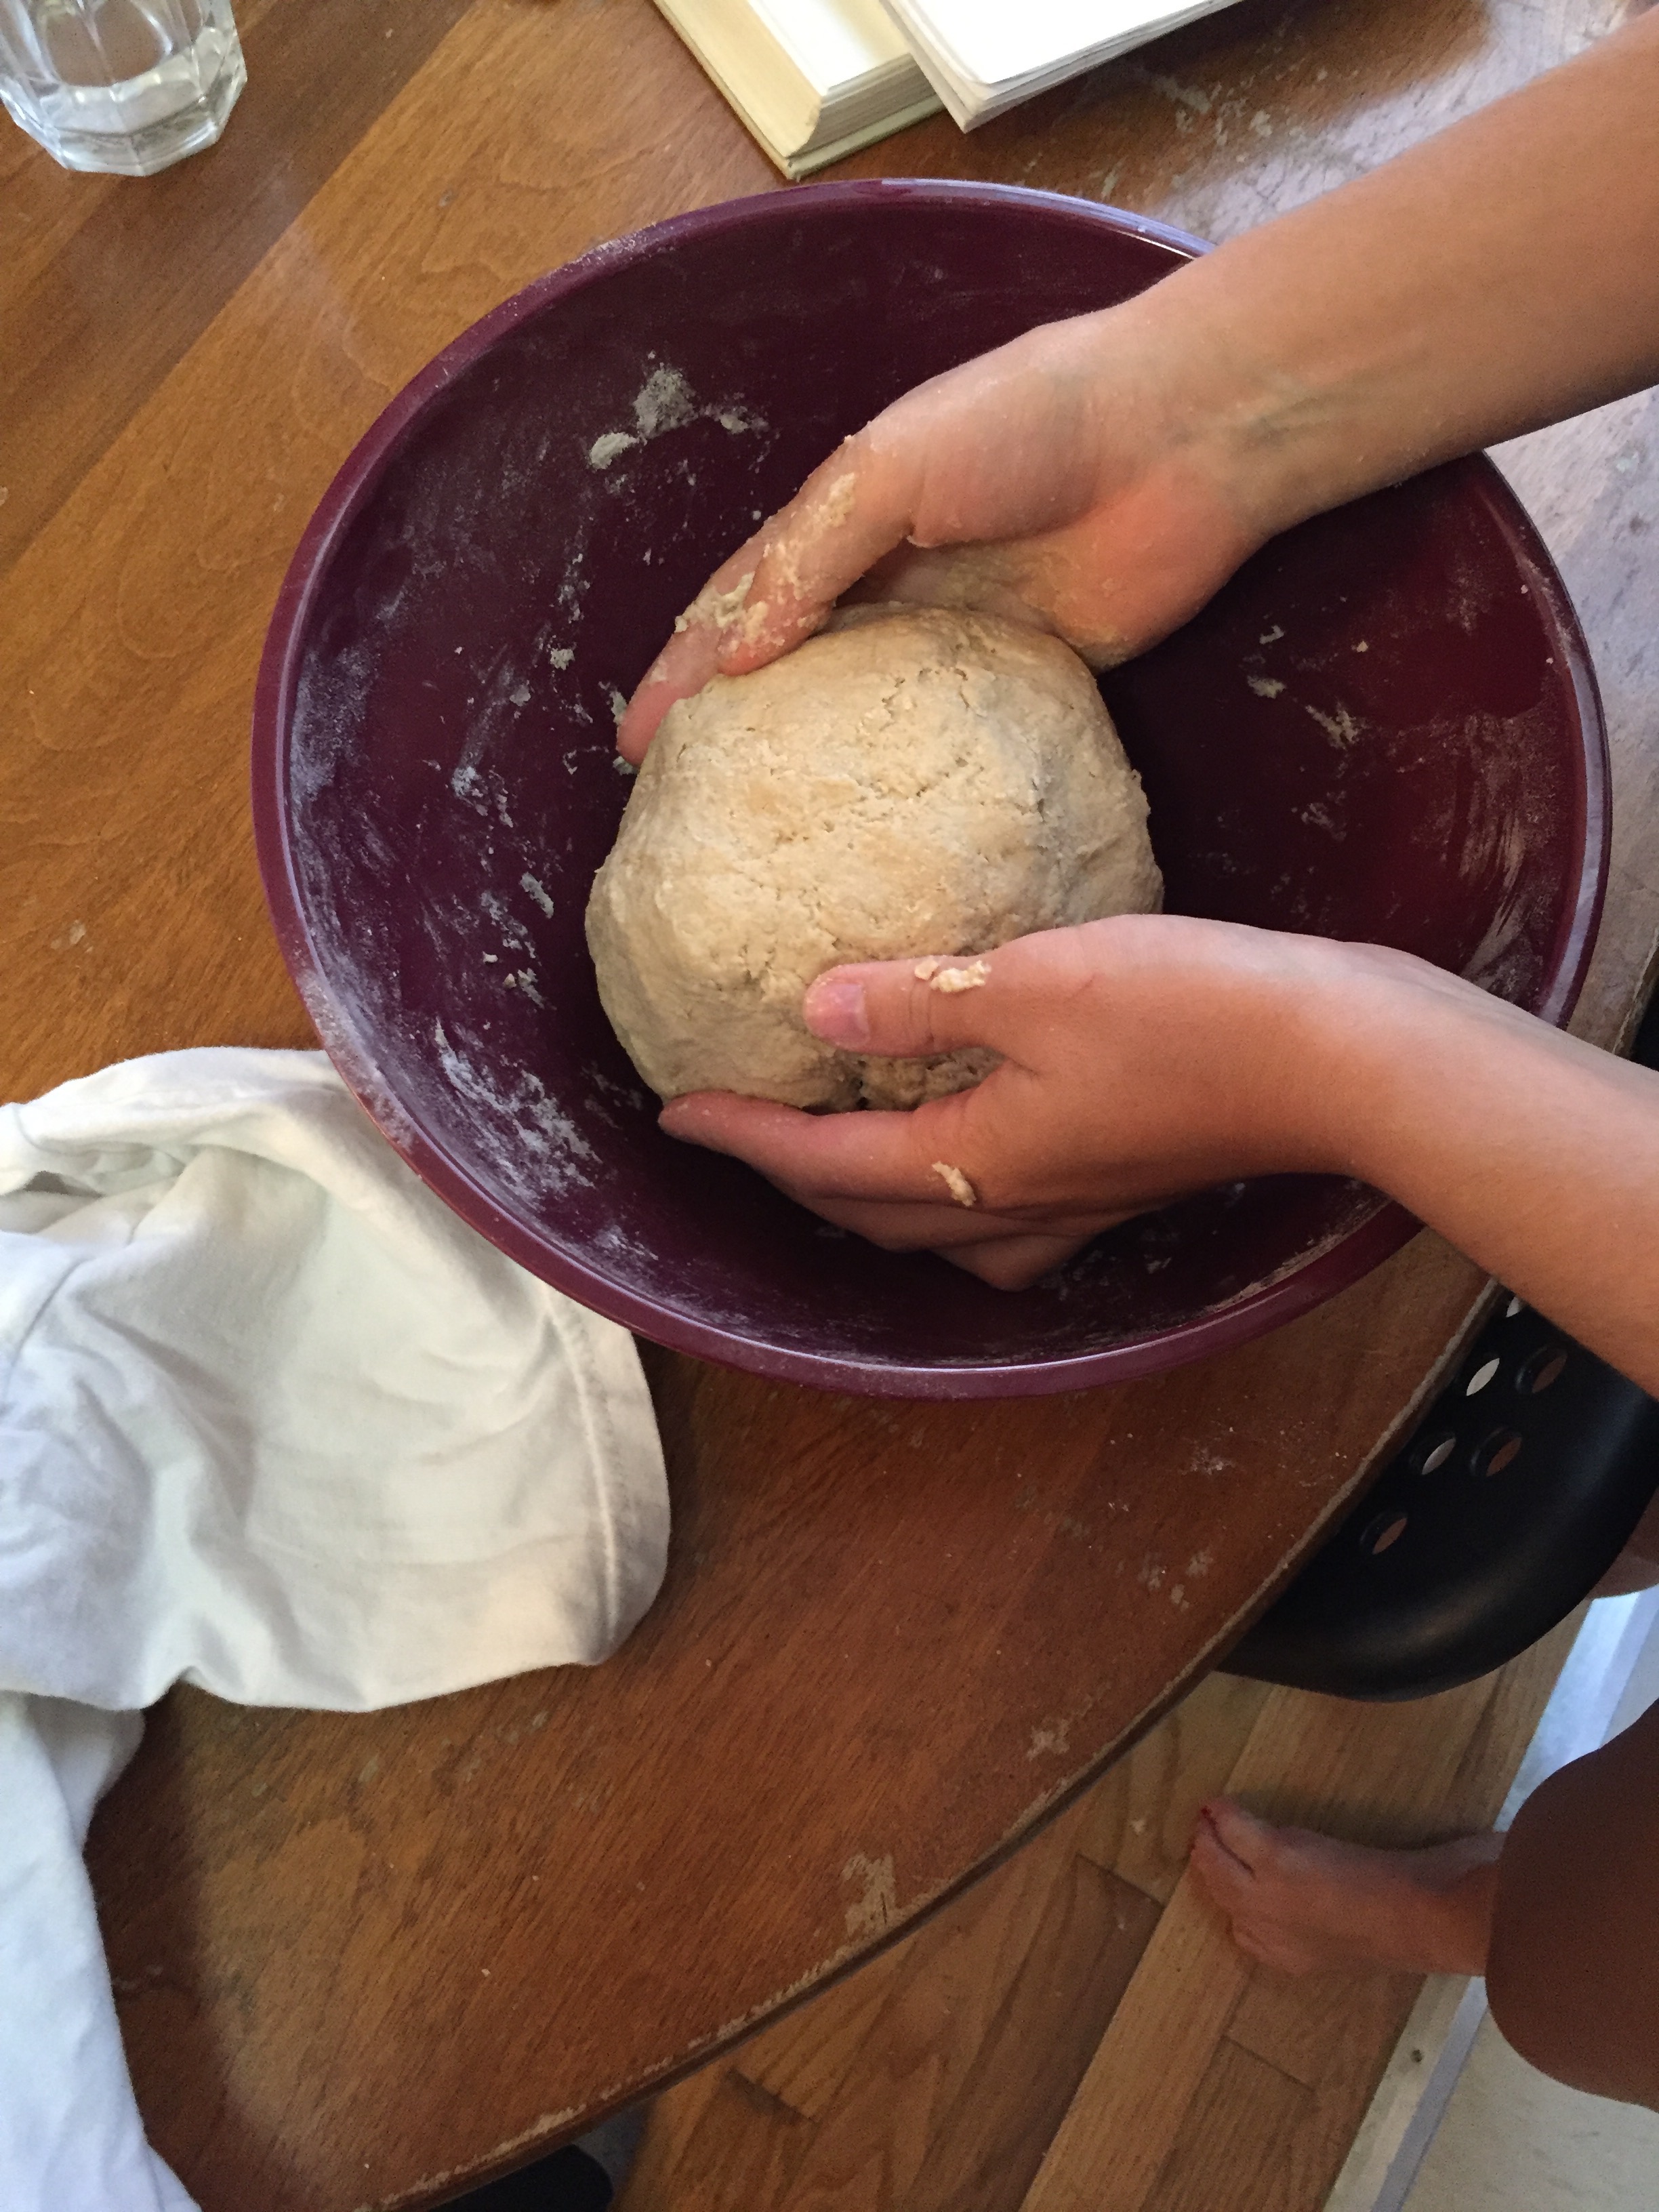
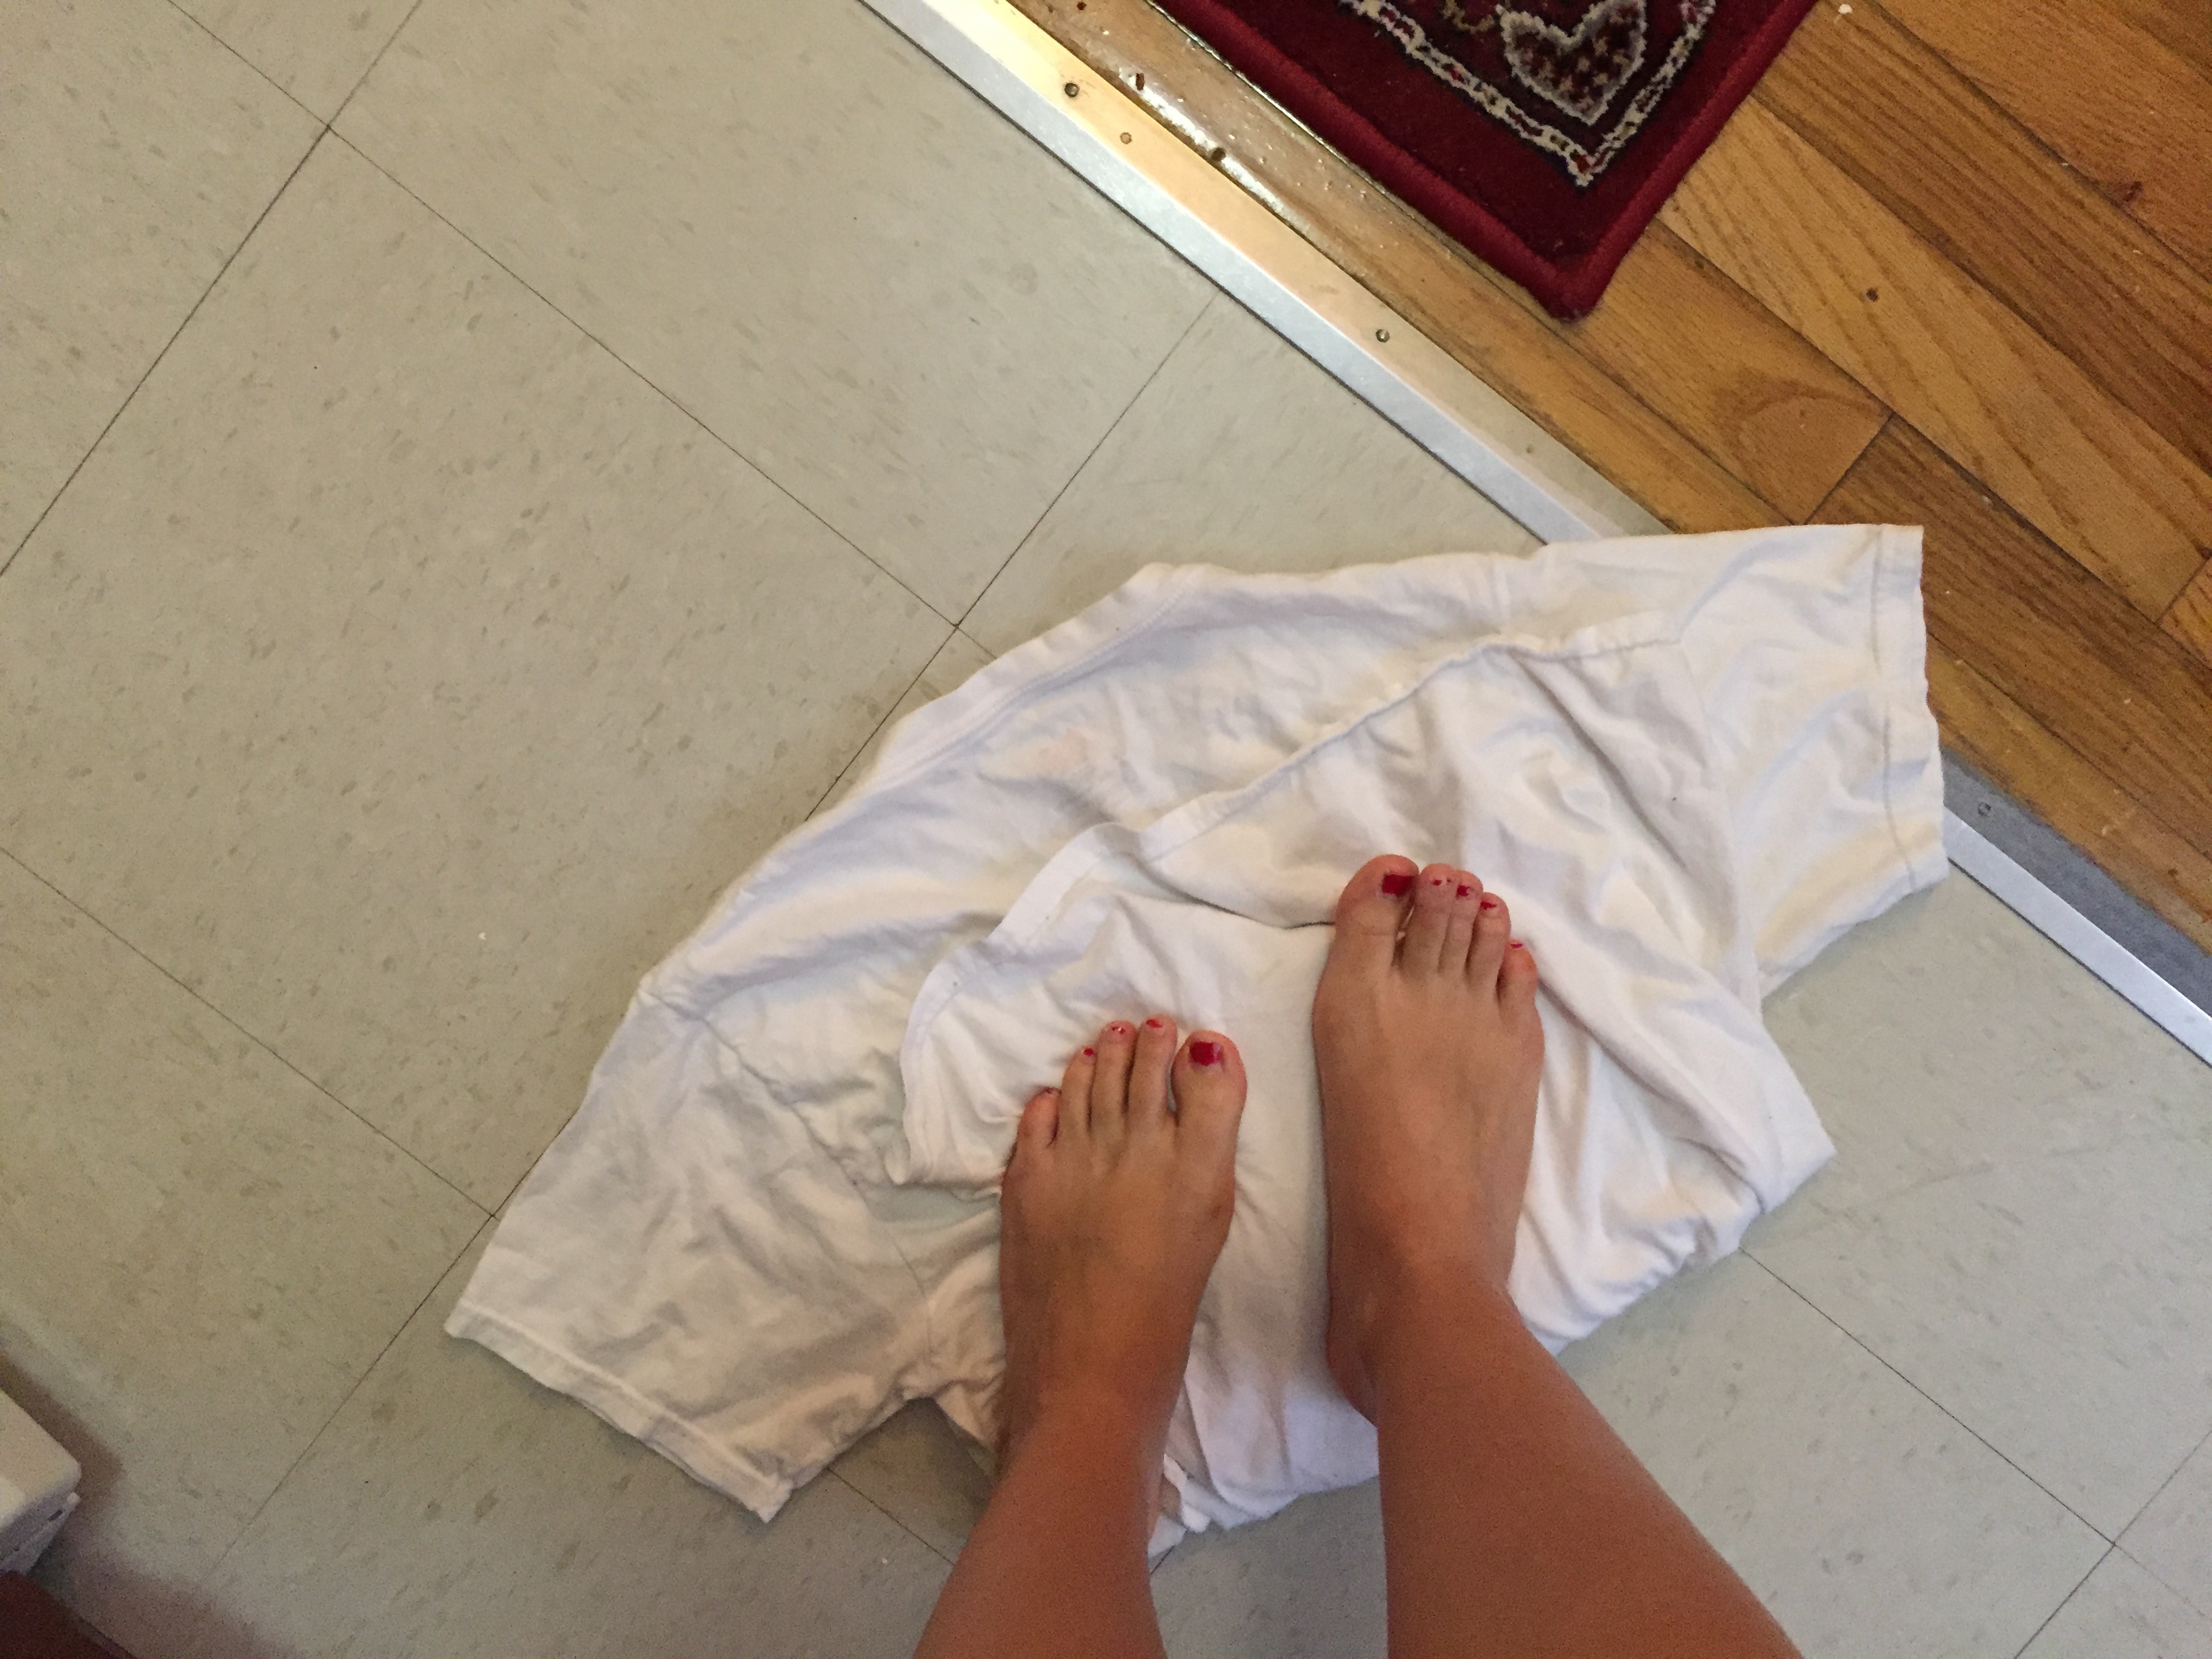
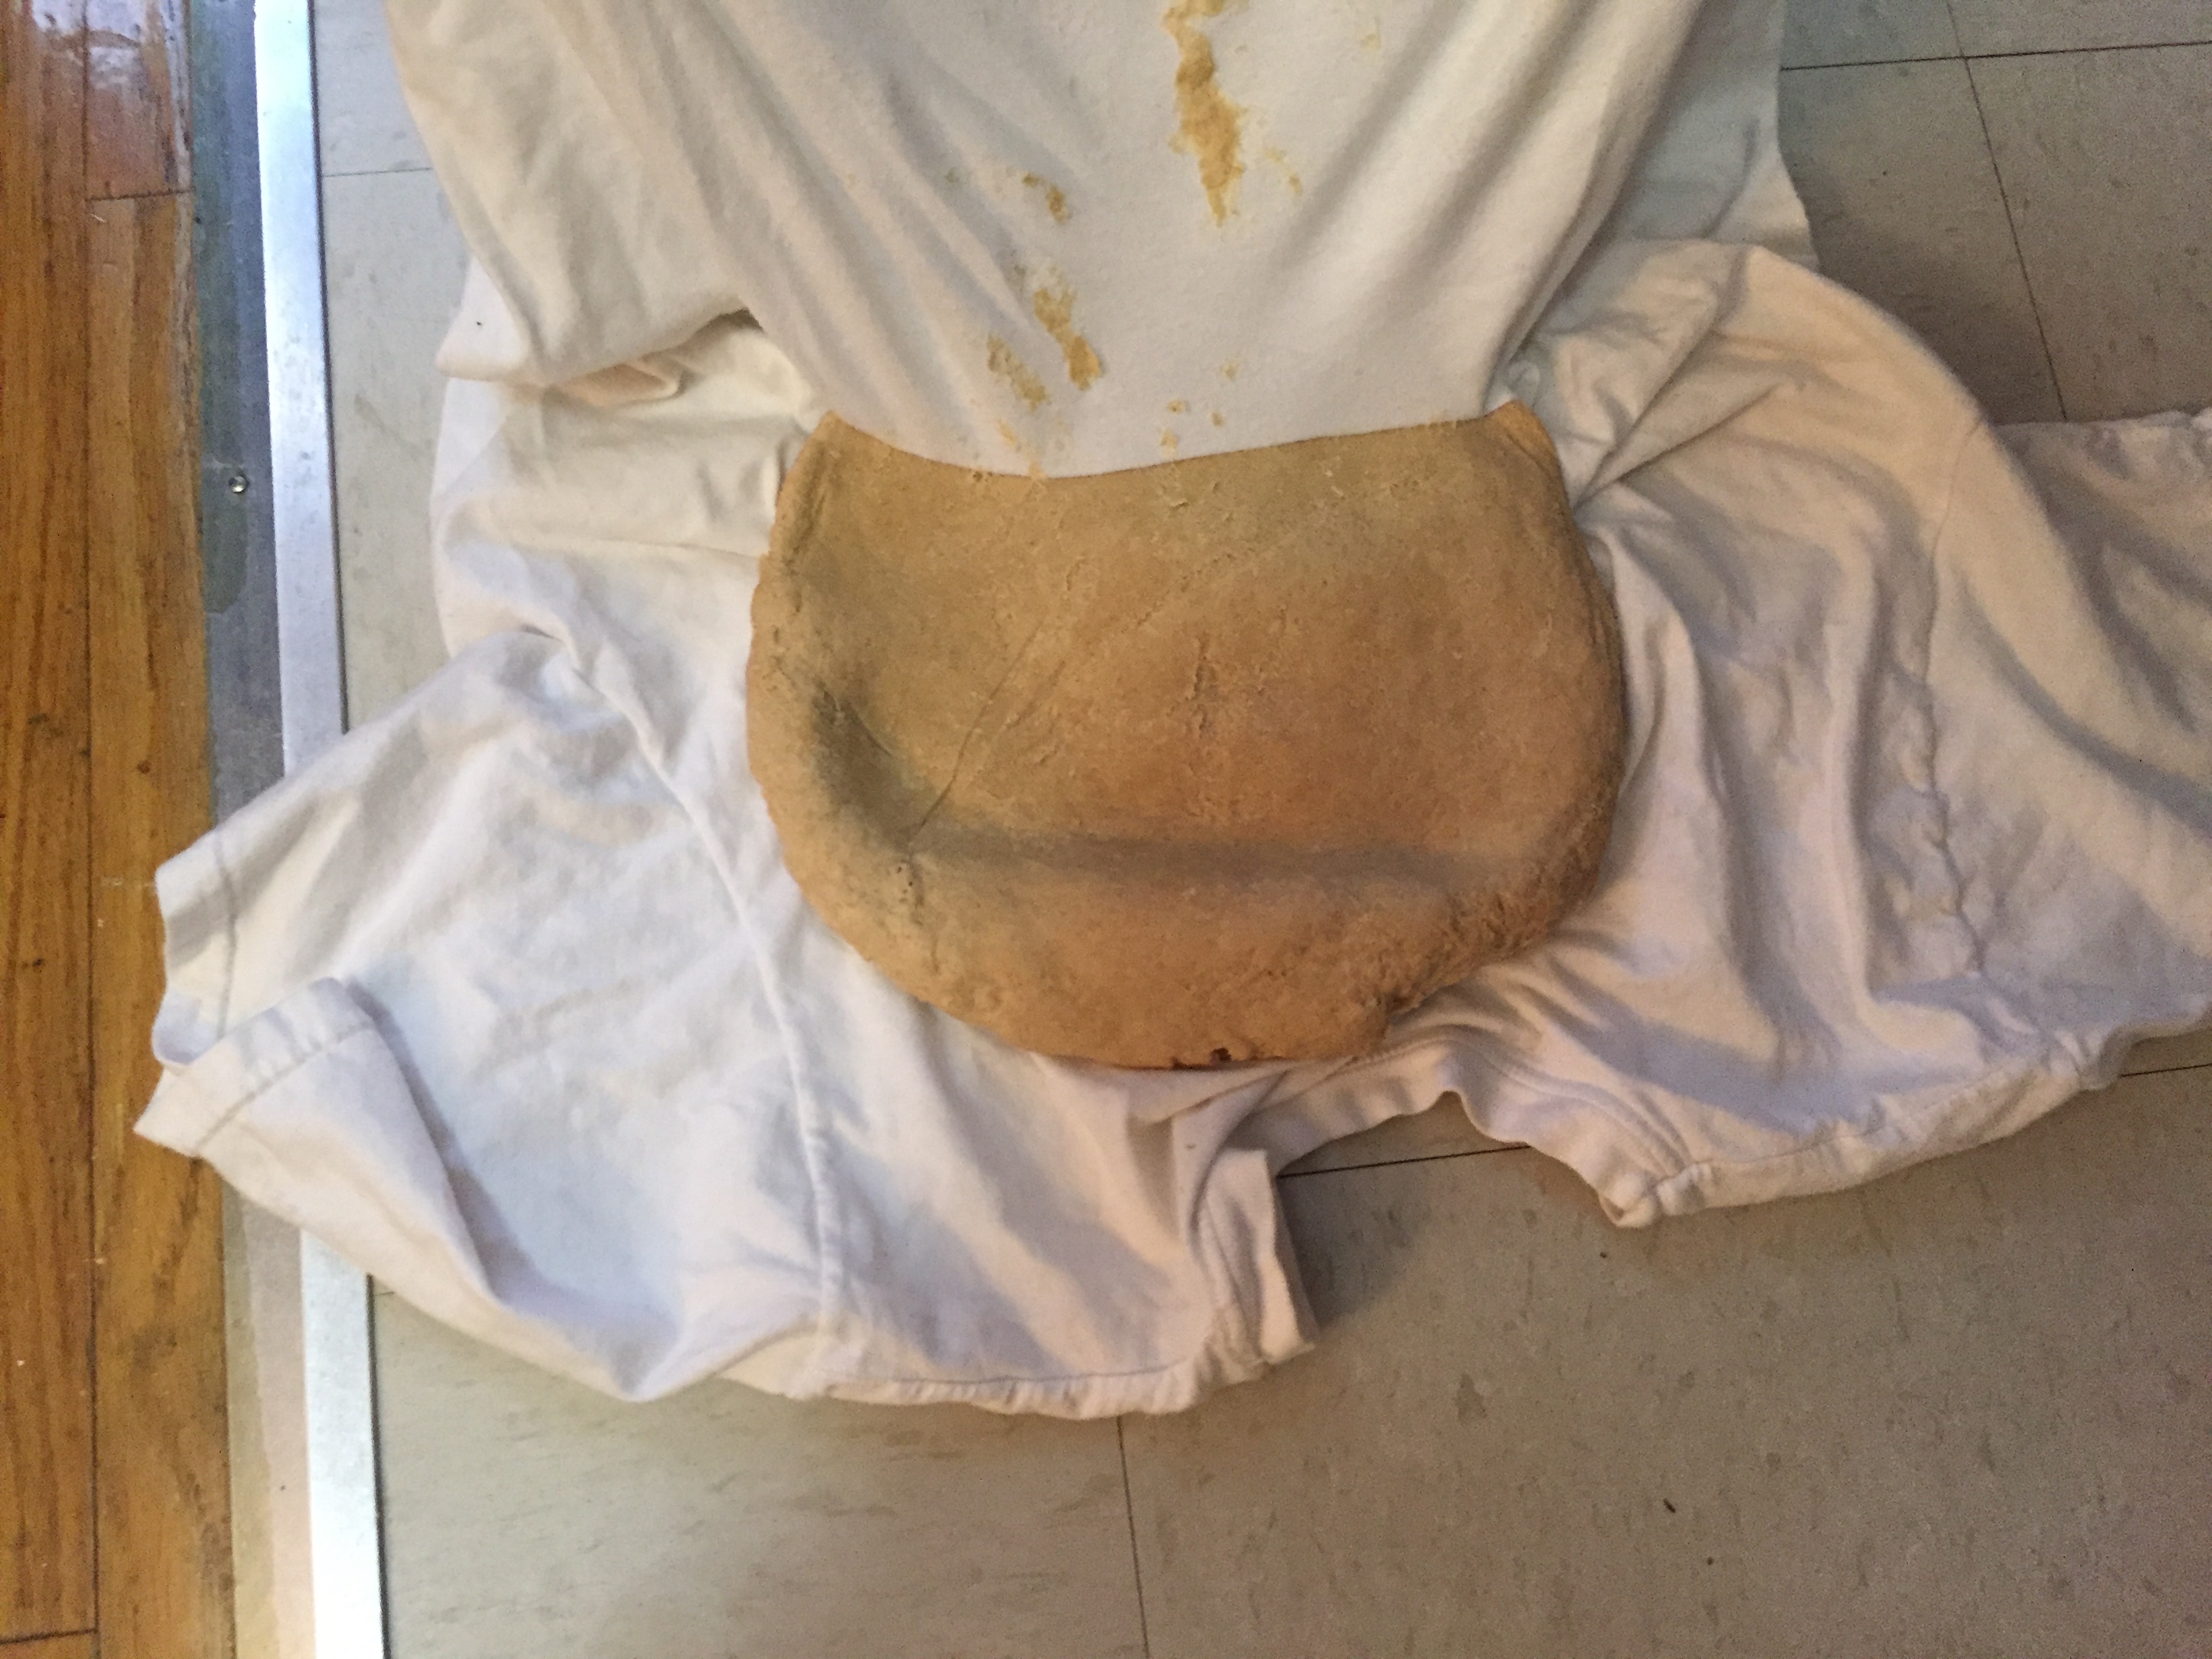
Since I do not have a "brake," I also tried Markham's recommendation of folding it into a cloth (I used a cotton t-shirt) and tread on it with my feet for 5 minutes
after hand kneading. (the recipe said to tread it a good space together; is this a time indication or a spacial direction? My boyfriend, Jose, then also knead it with his hands for 10 minutes.
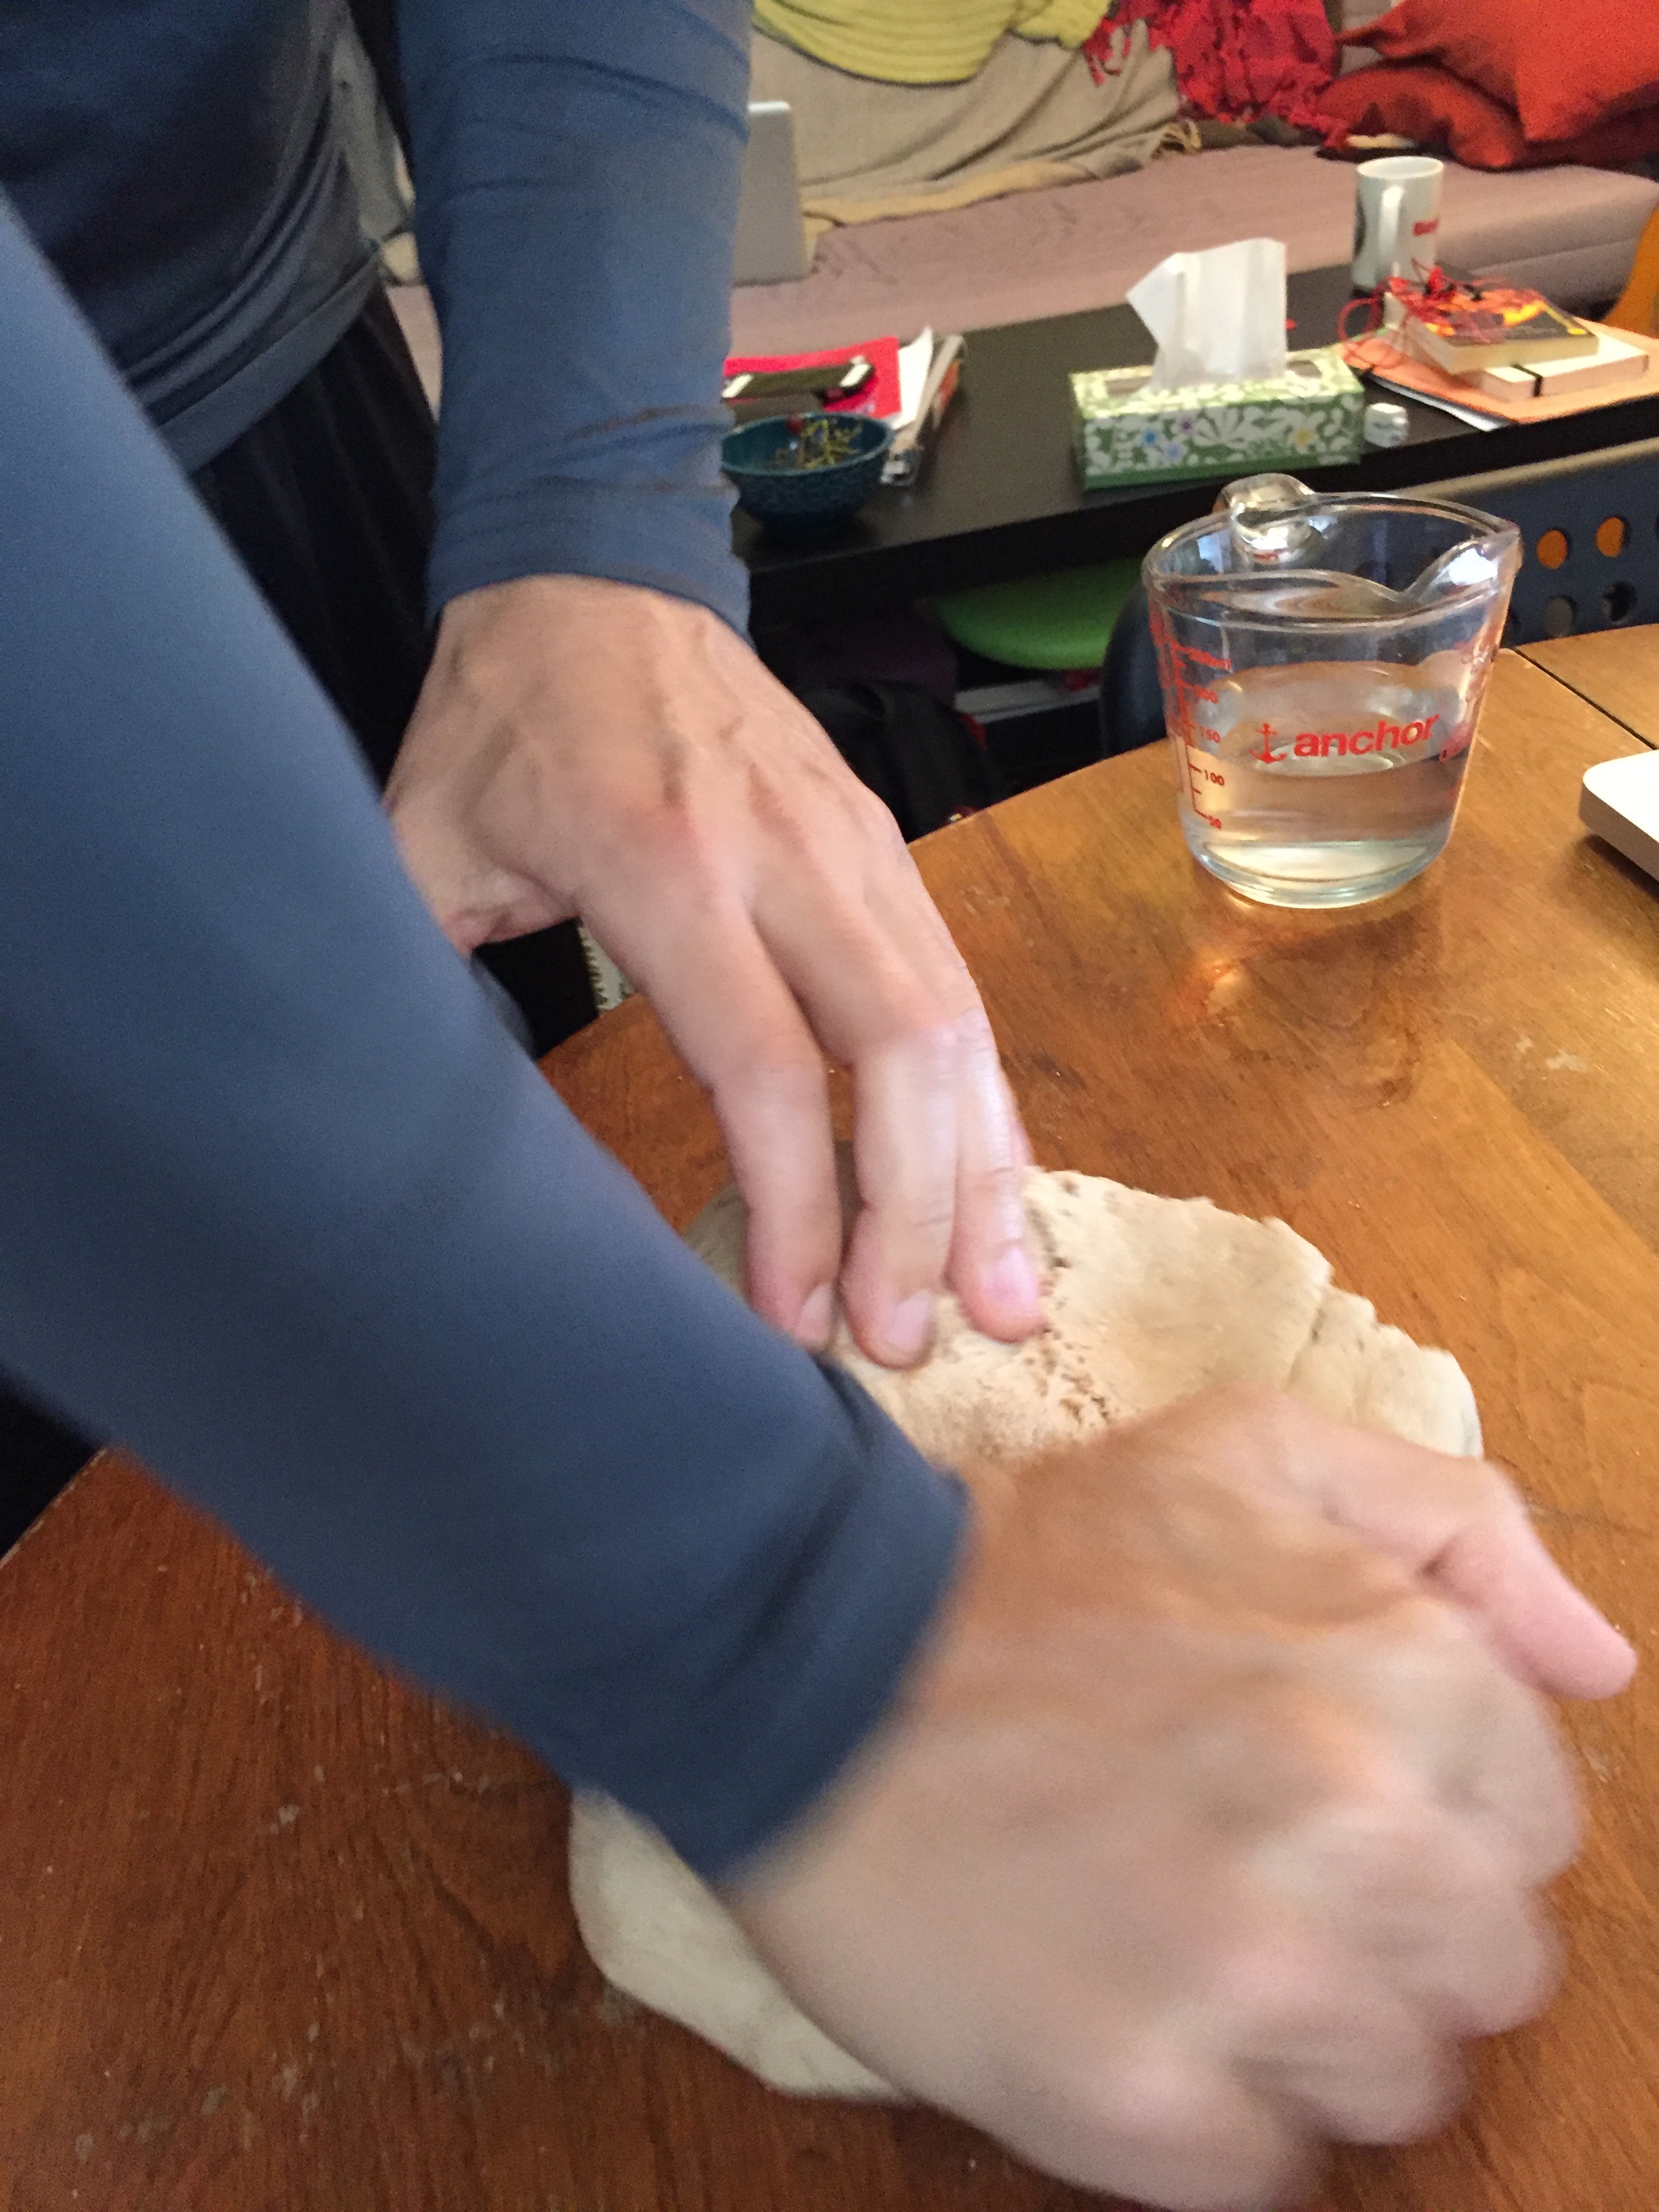
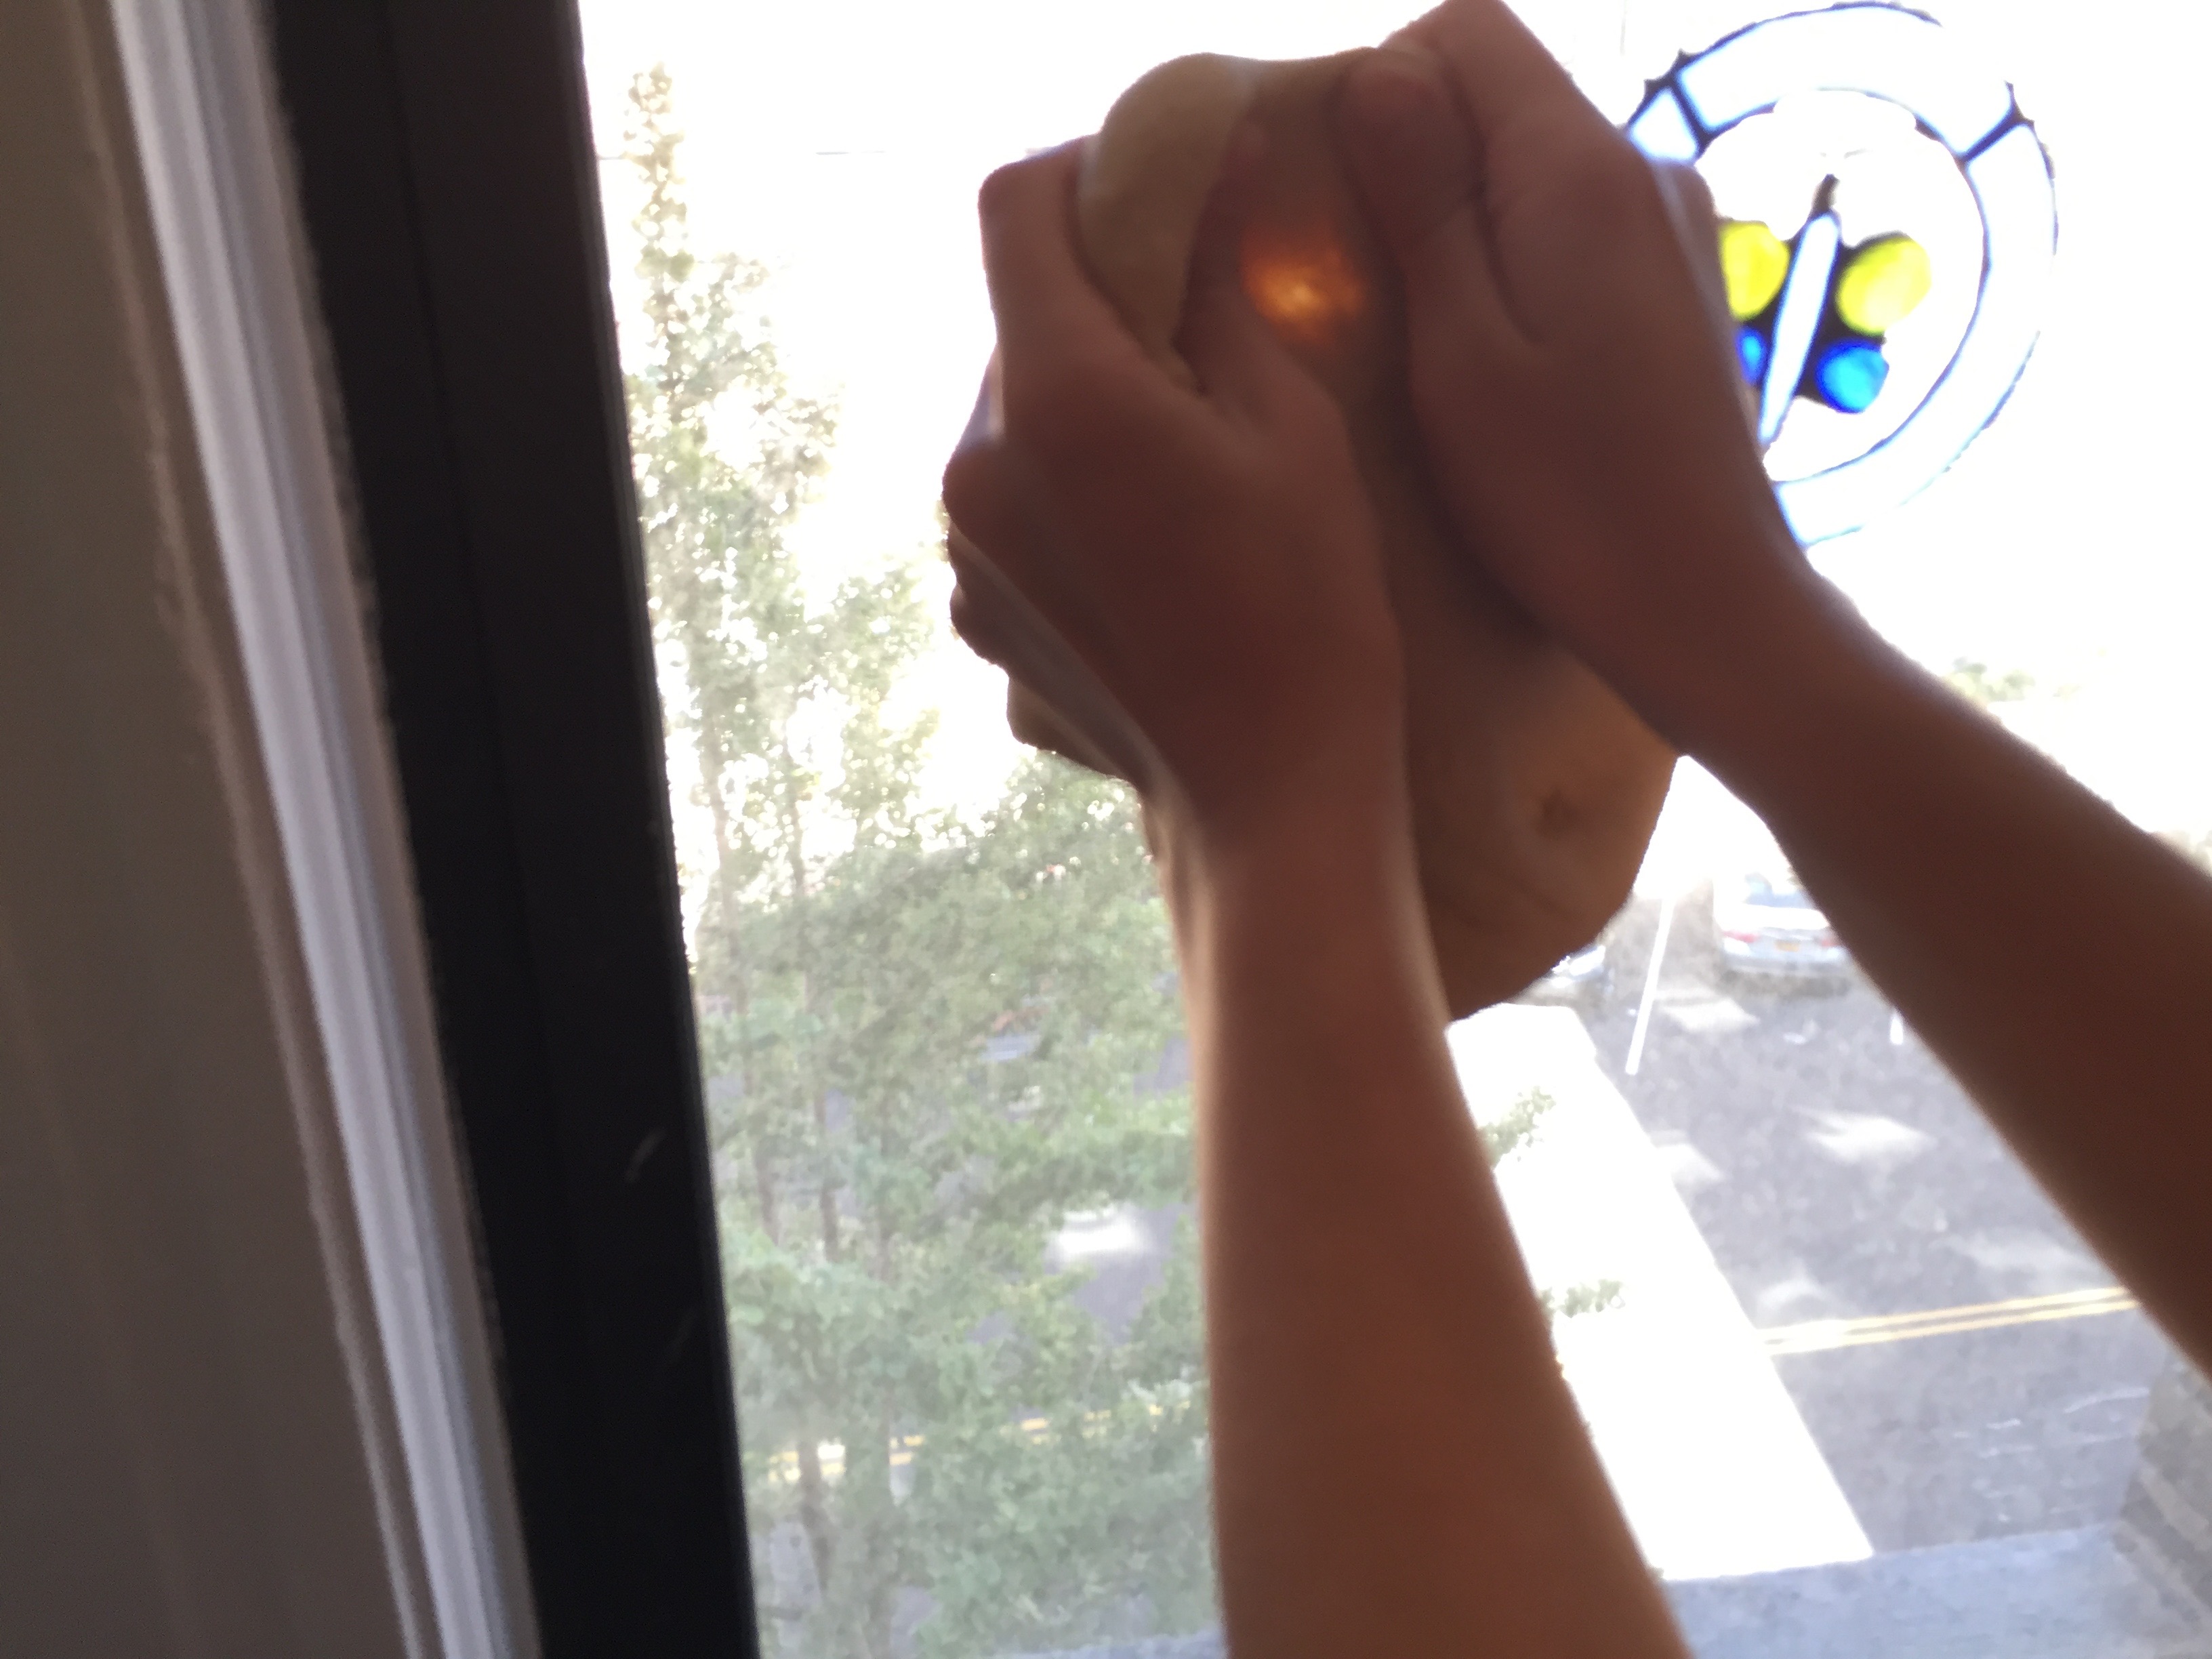
Because of what I've learned watching BBC's Great British Bake Off (Series 3, Episode 3: "Bread") I wanted to knead the dough until the gluten inside became stretchy enough to pass the "window pane test":
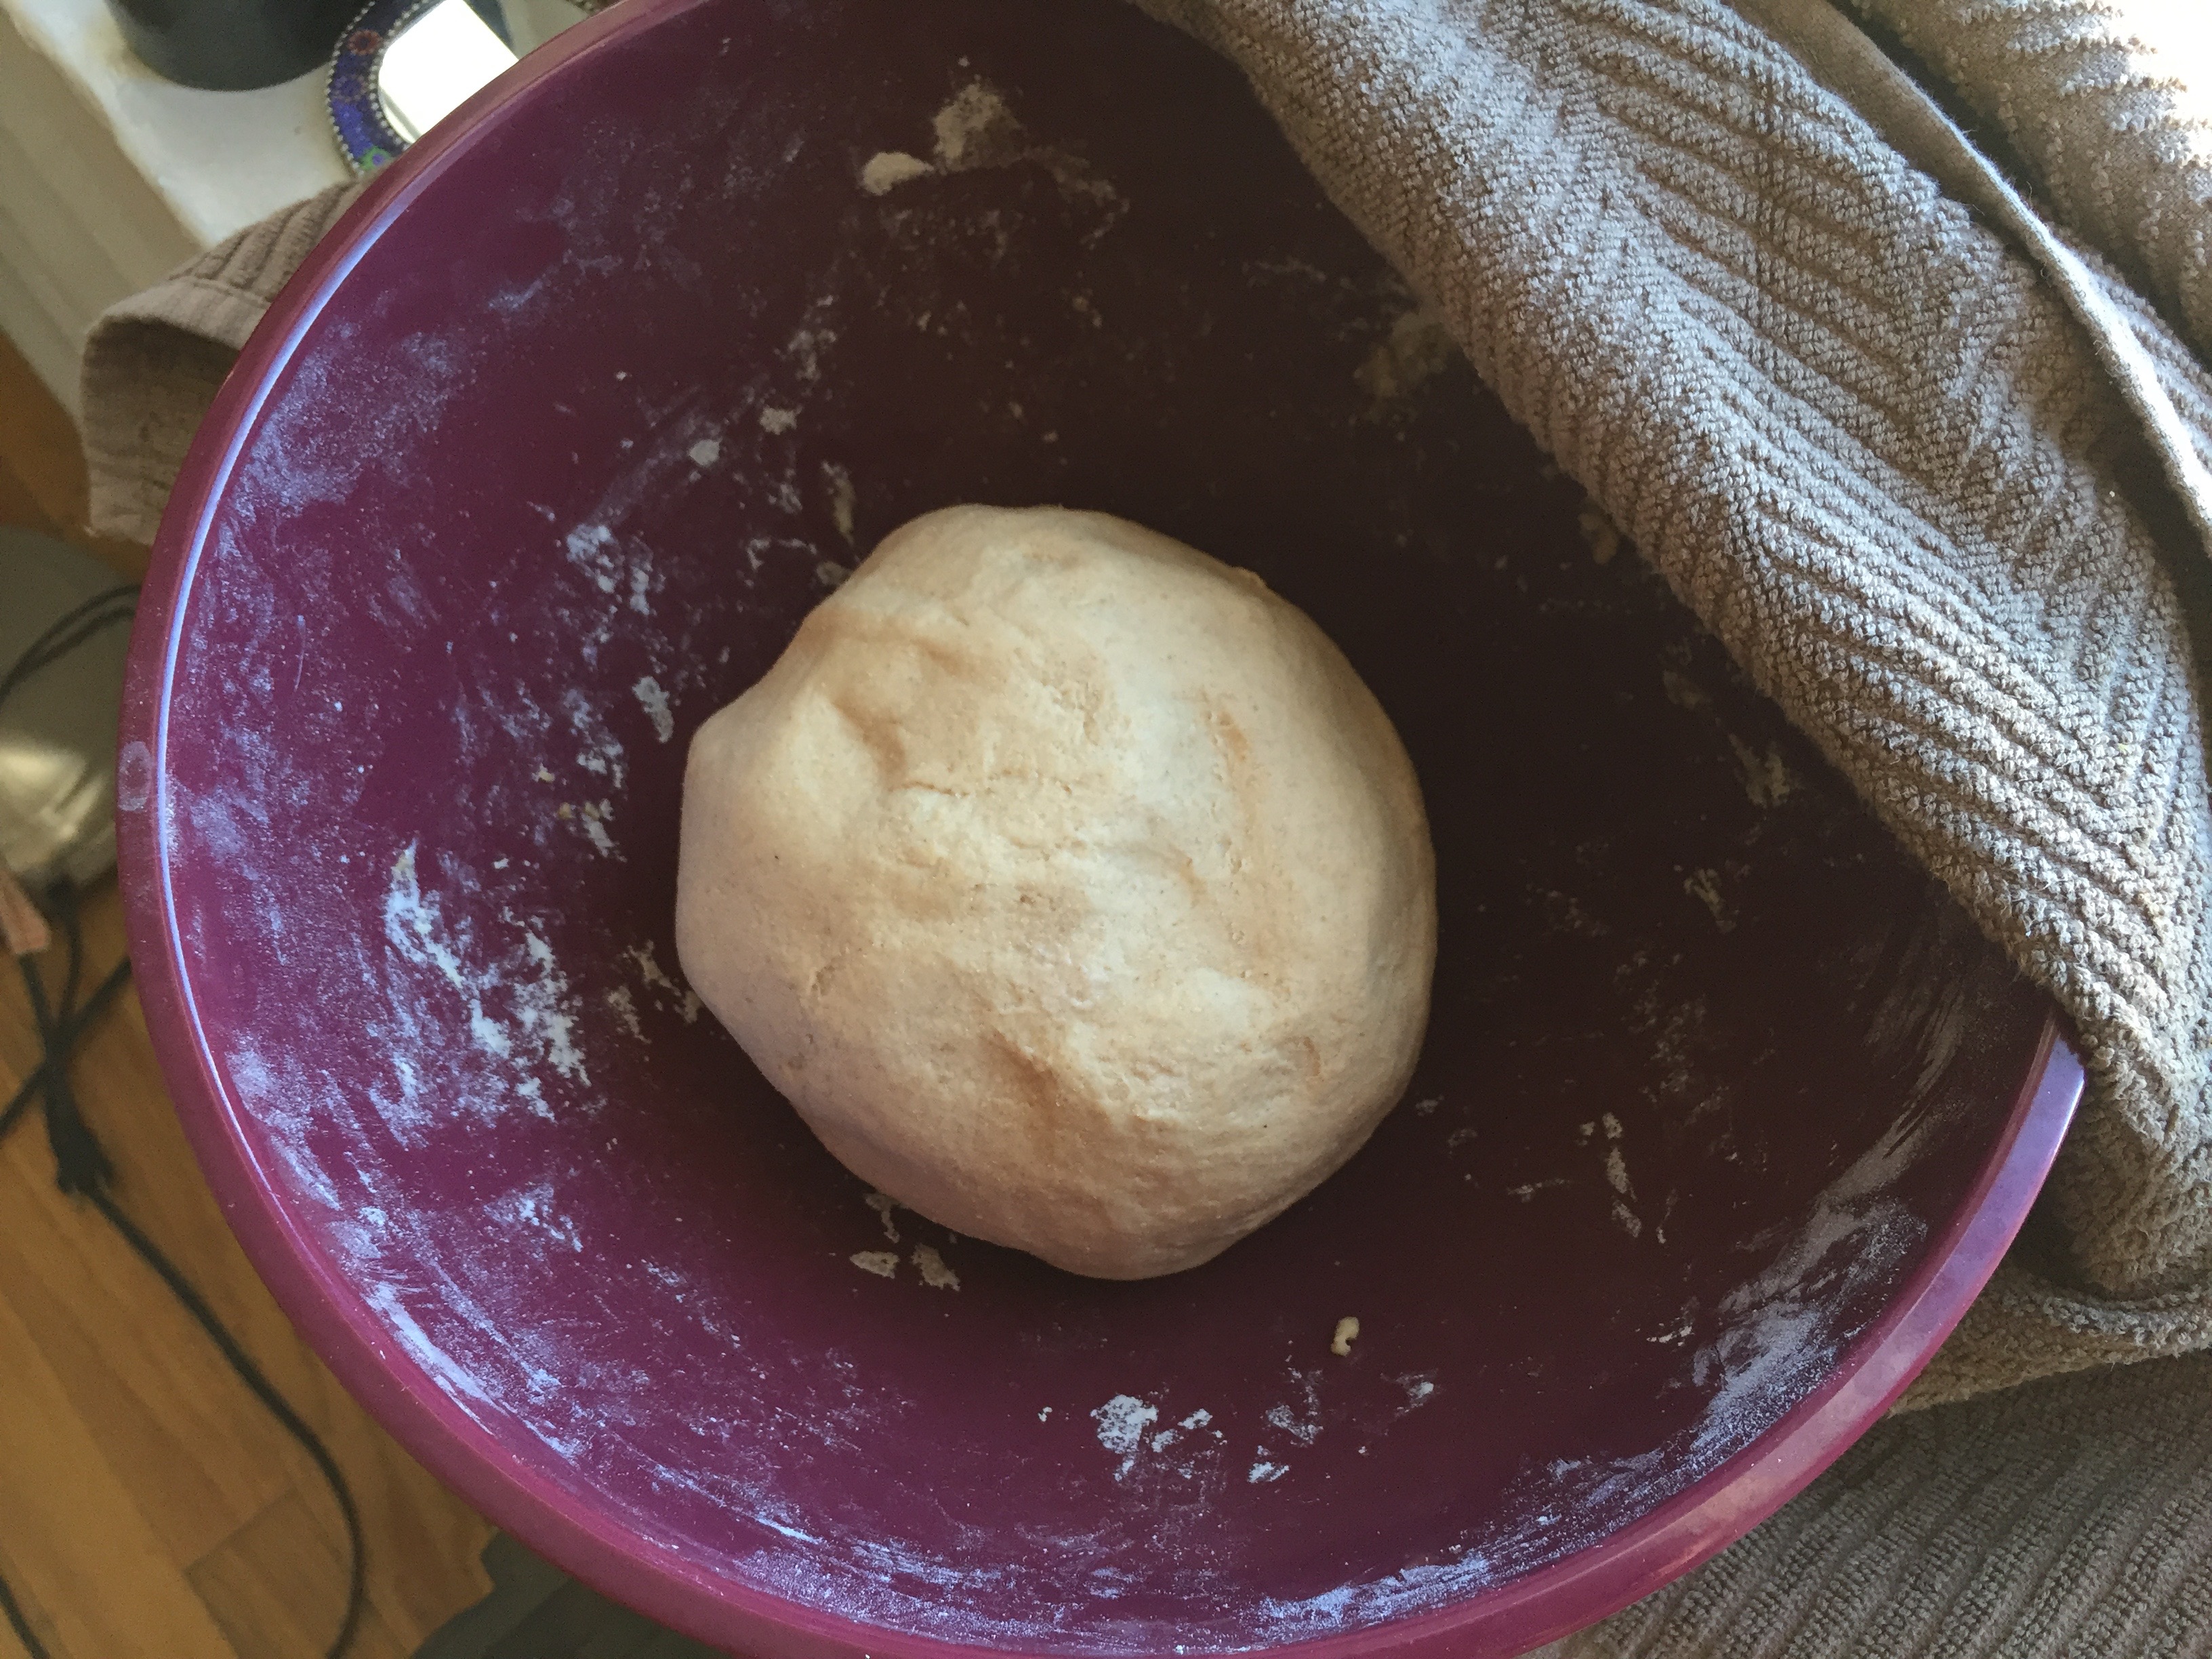
Markham's recipe says to let it rest "an hour or thearabouts to swell" but does not indicate the conditions in which it's supposed to lie. I put the dough in my mixing bowl on a sunny windowsill (covered with a cotton cloth) and set my timer for an hour.
4:00PM
I decided to wait longer than an hour (since Markham wrote "thereabouts") before taking my dough out of the sun.
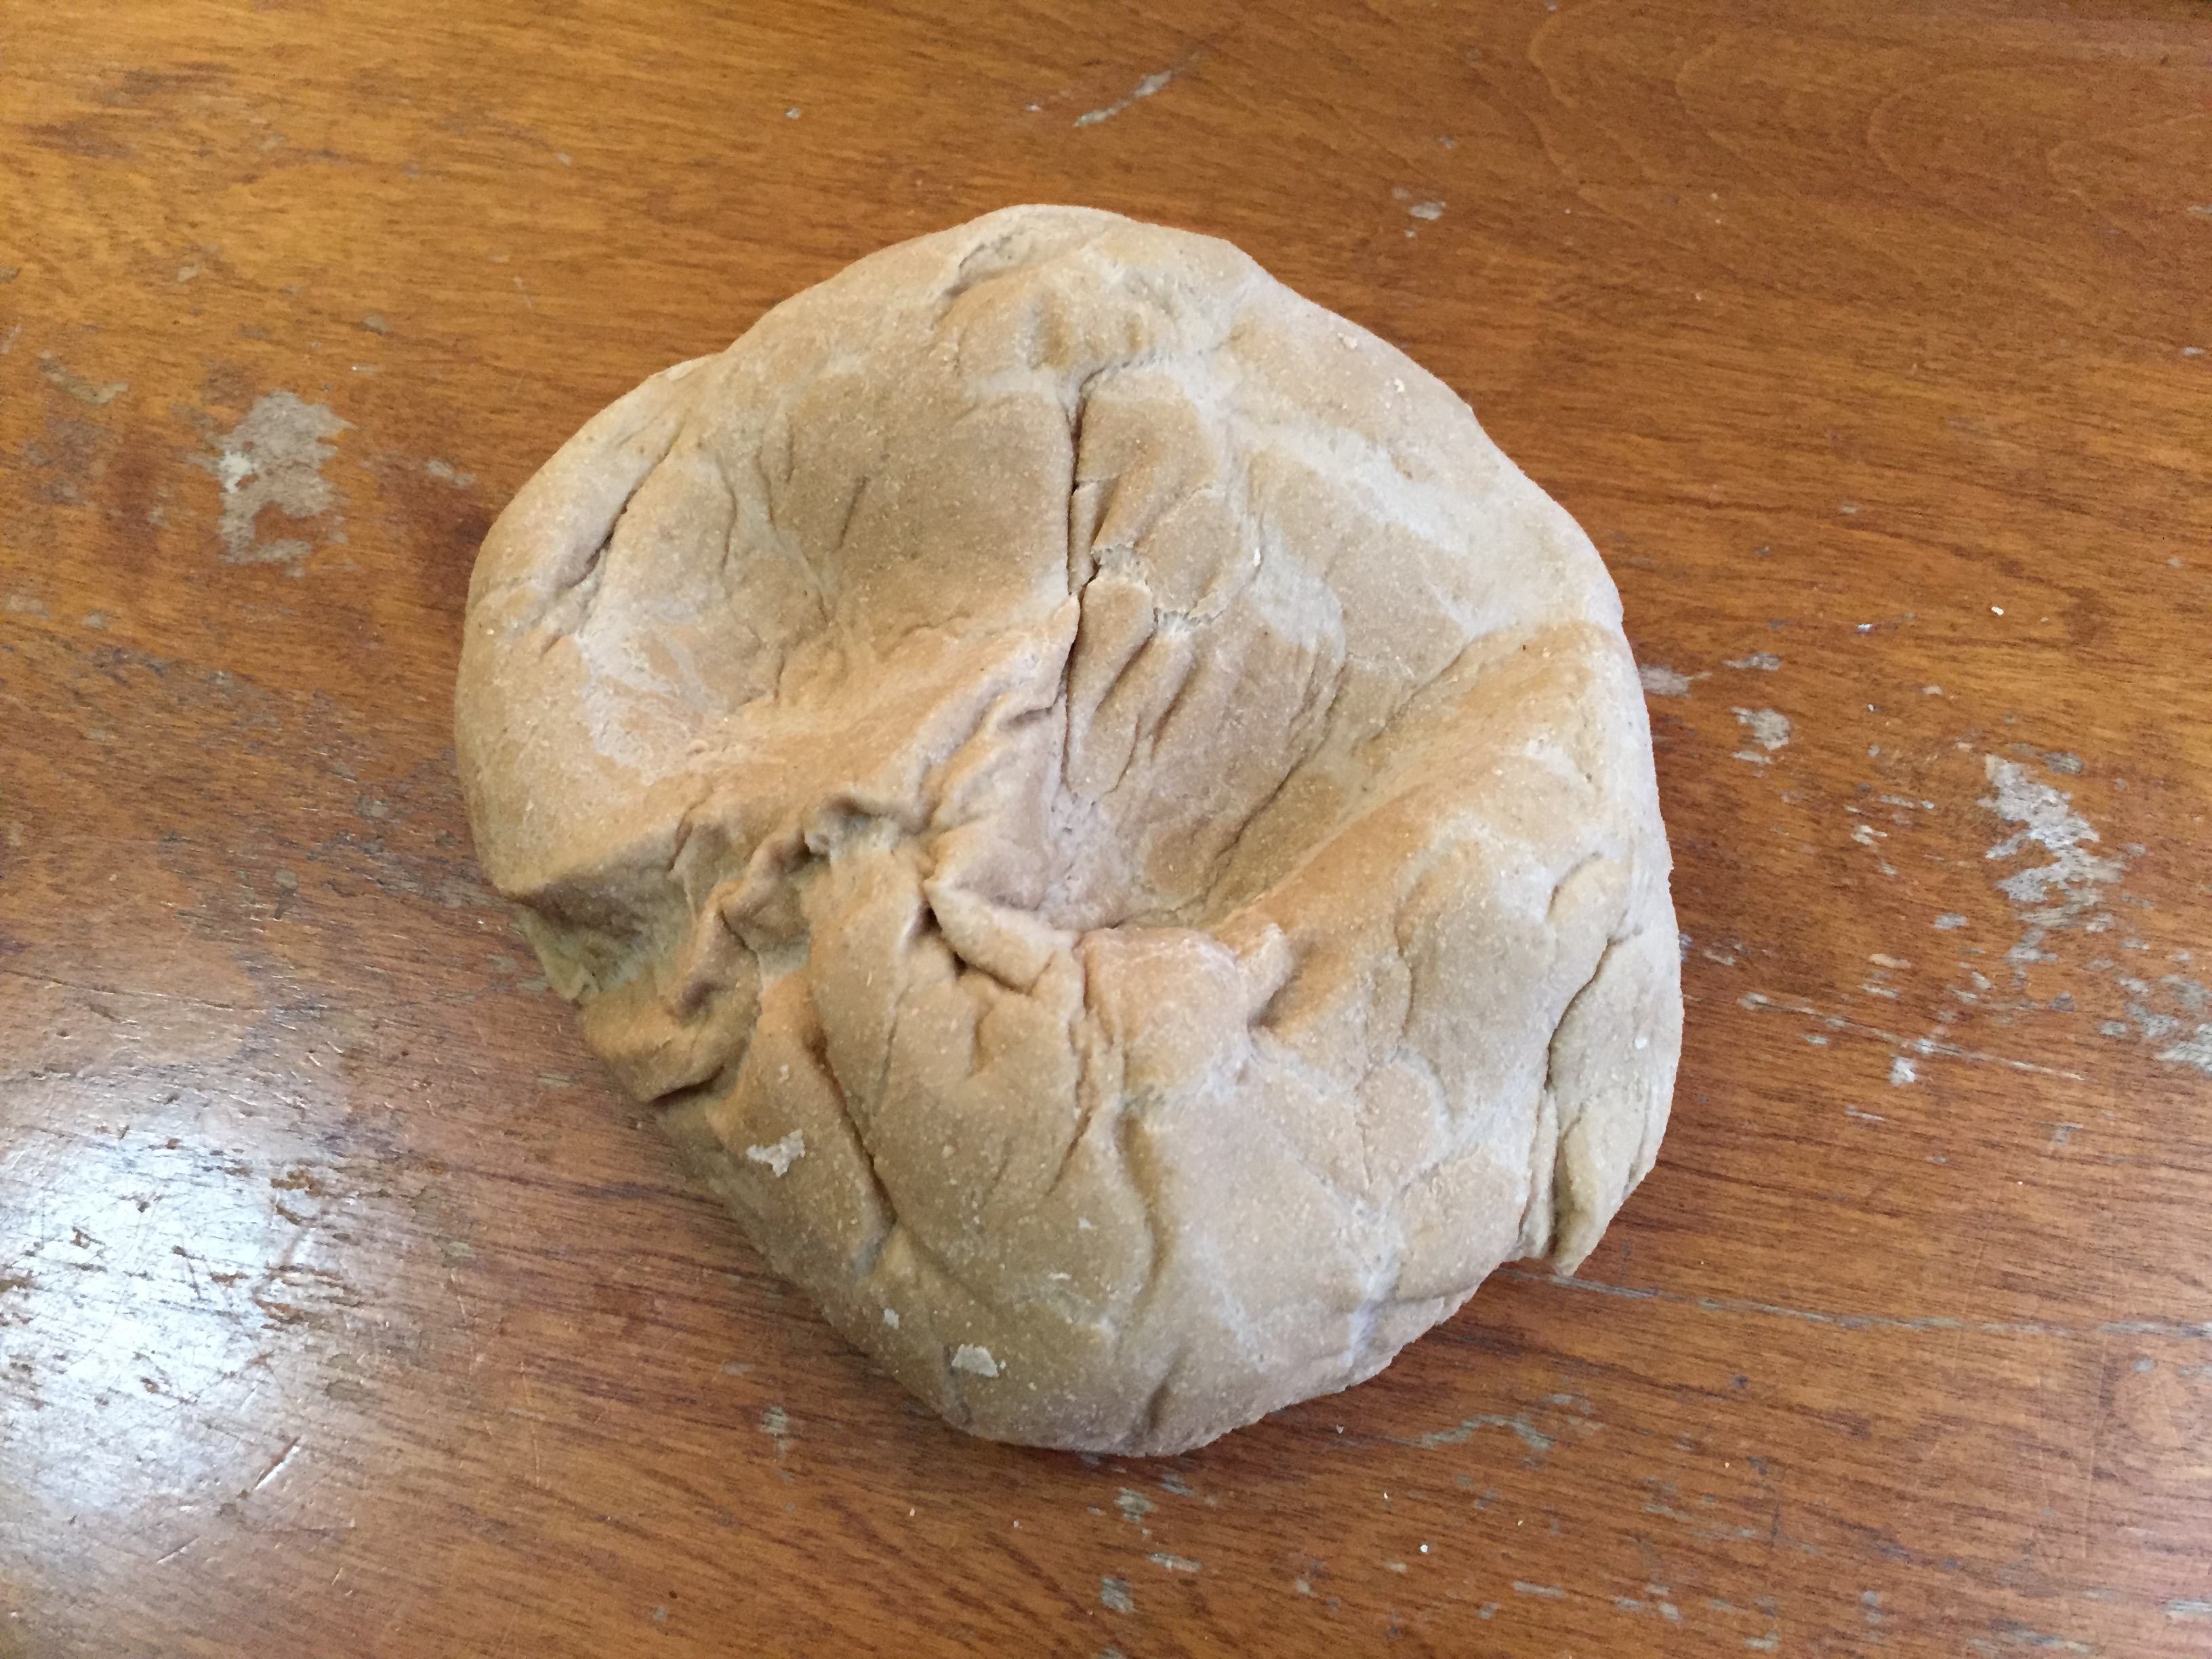
I kneaded the bread for another 5 minutes by hand (see Best's description of "moulding" above) before making it into two "manchets," "scotching" and "scoring" as I interpreted below. I then baked on parchment paper for 30 mins at 350F (the recipe did not specify a time or a temperature, just "gentle heat" and I have baked similar sized loaves for 30 mins at 350F). I kept an eye on it as it baked to make sure it was OK. After 20 minutes, a nice smell permeated the kitchen.
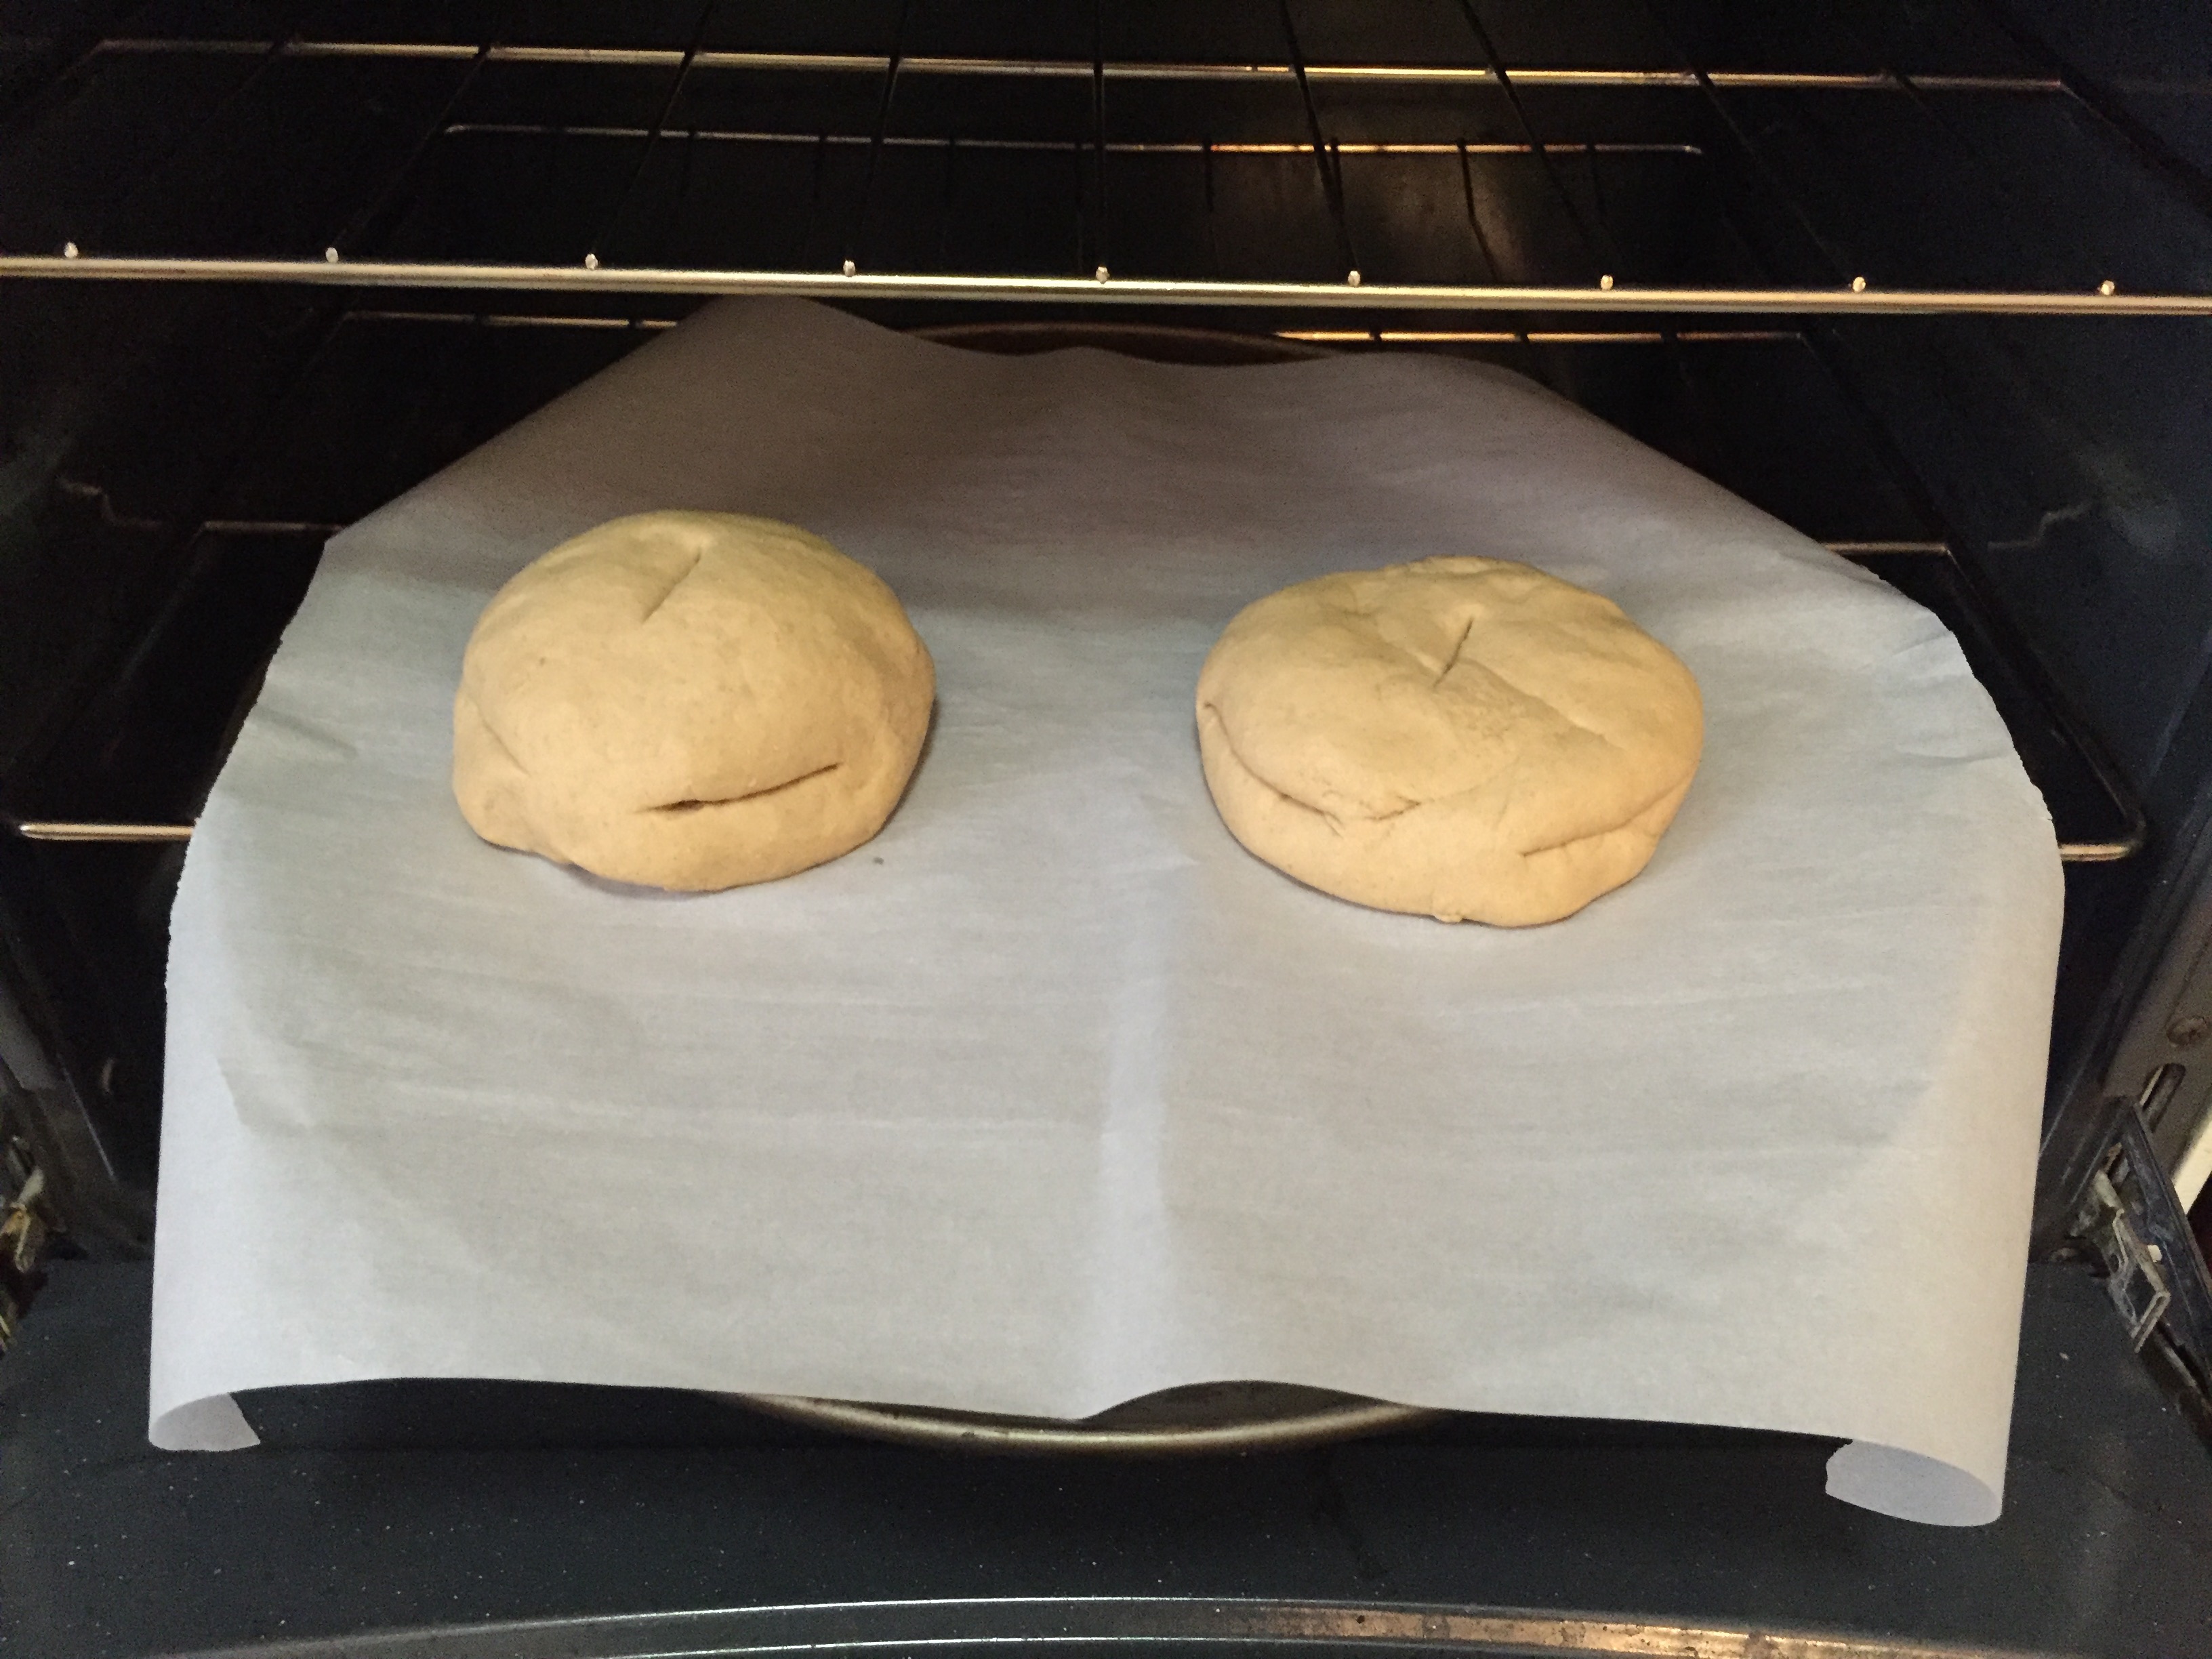
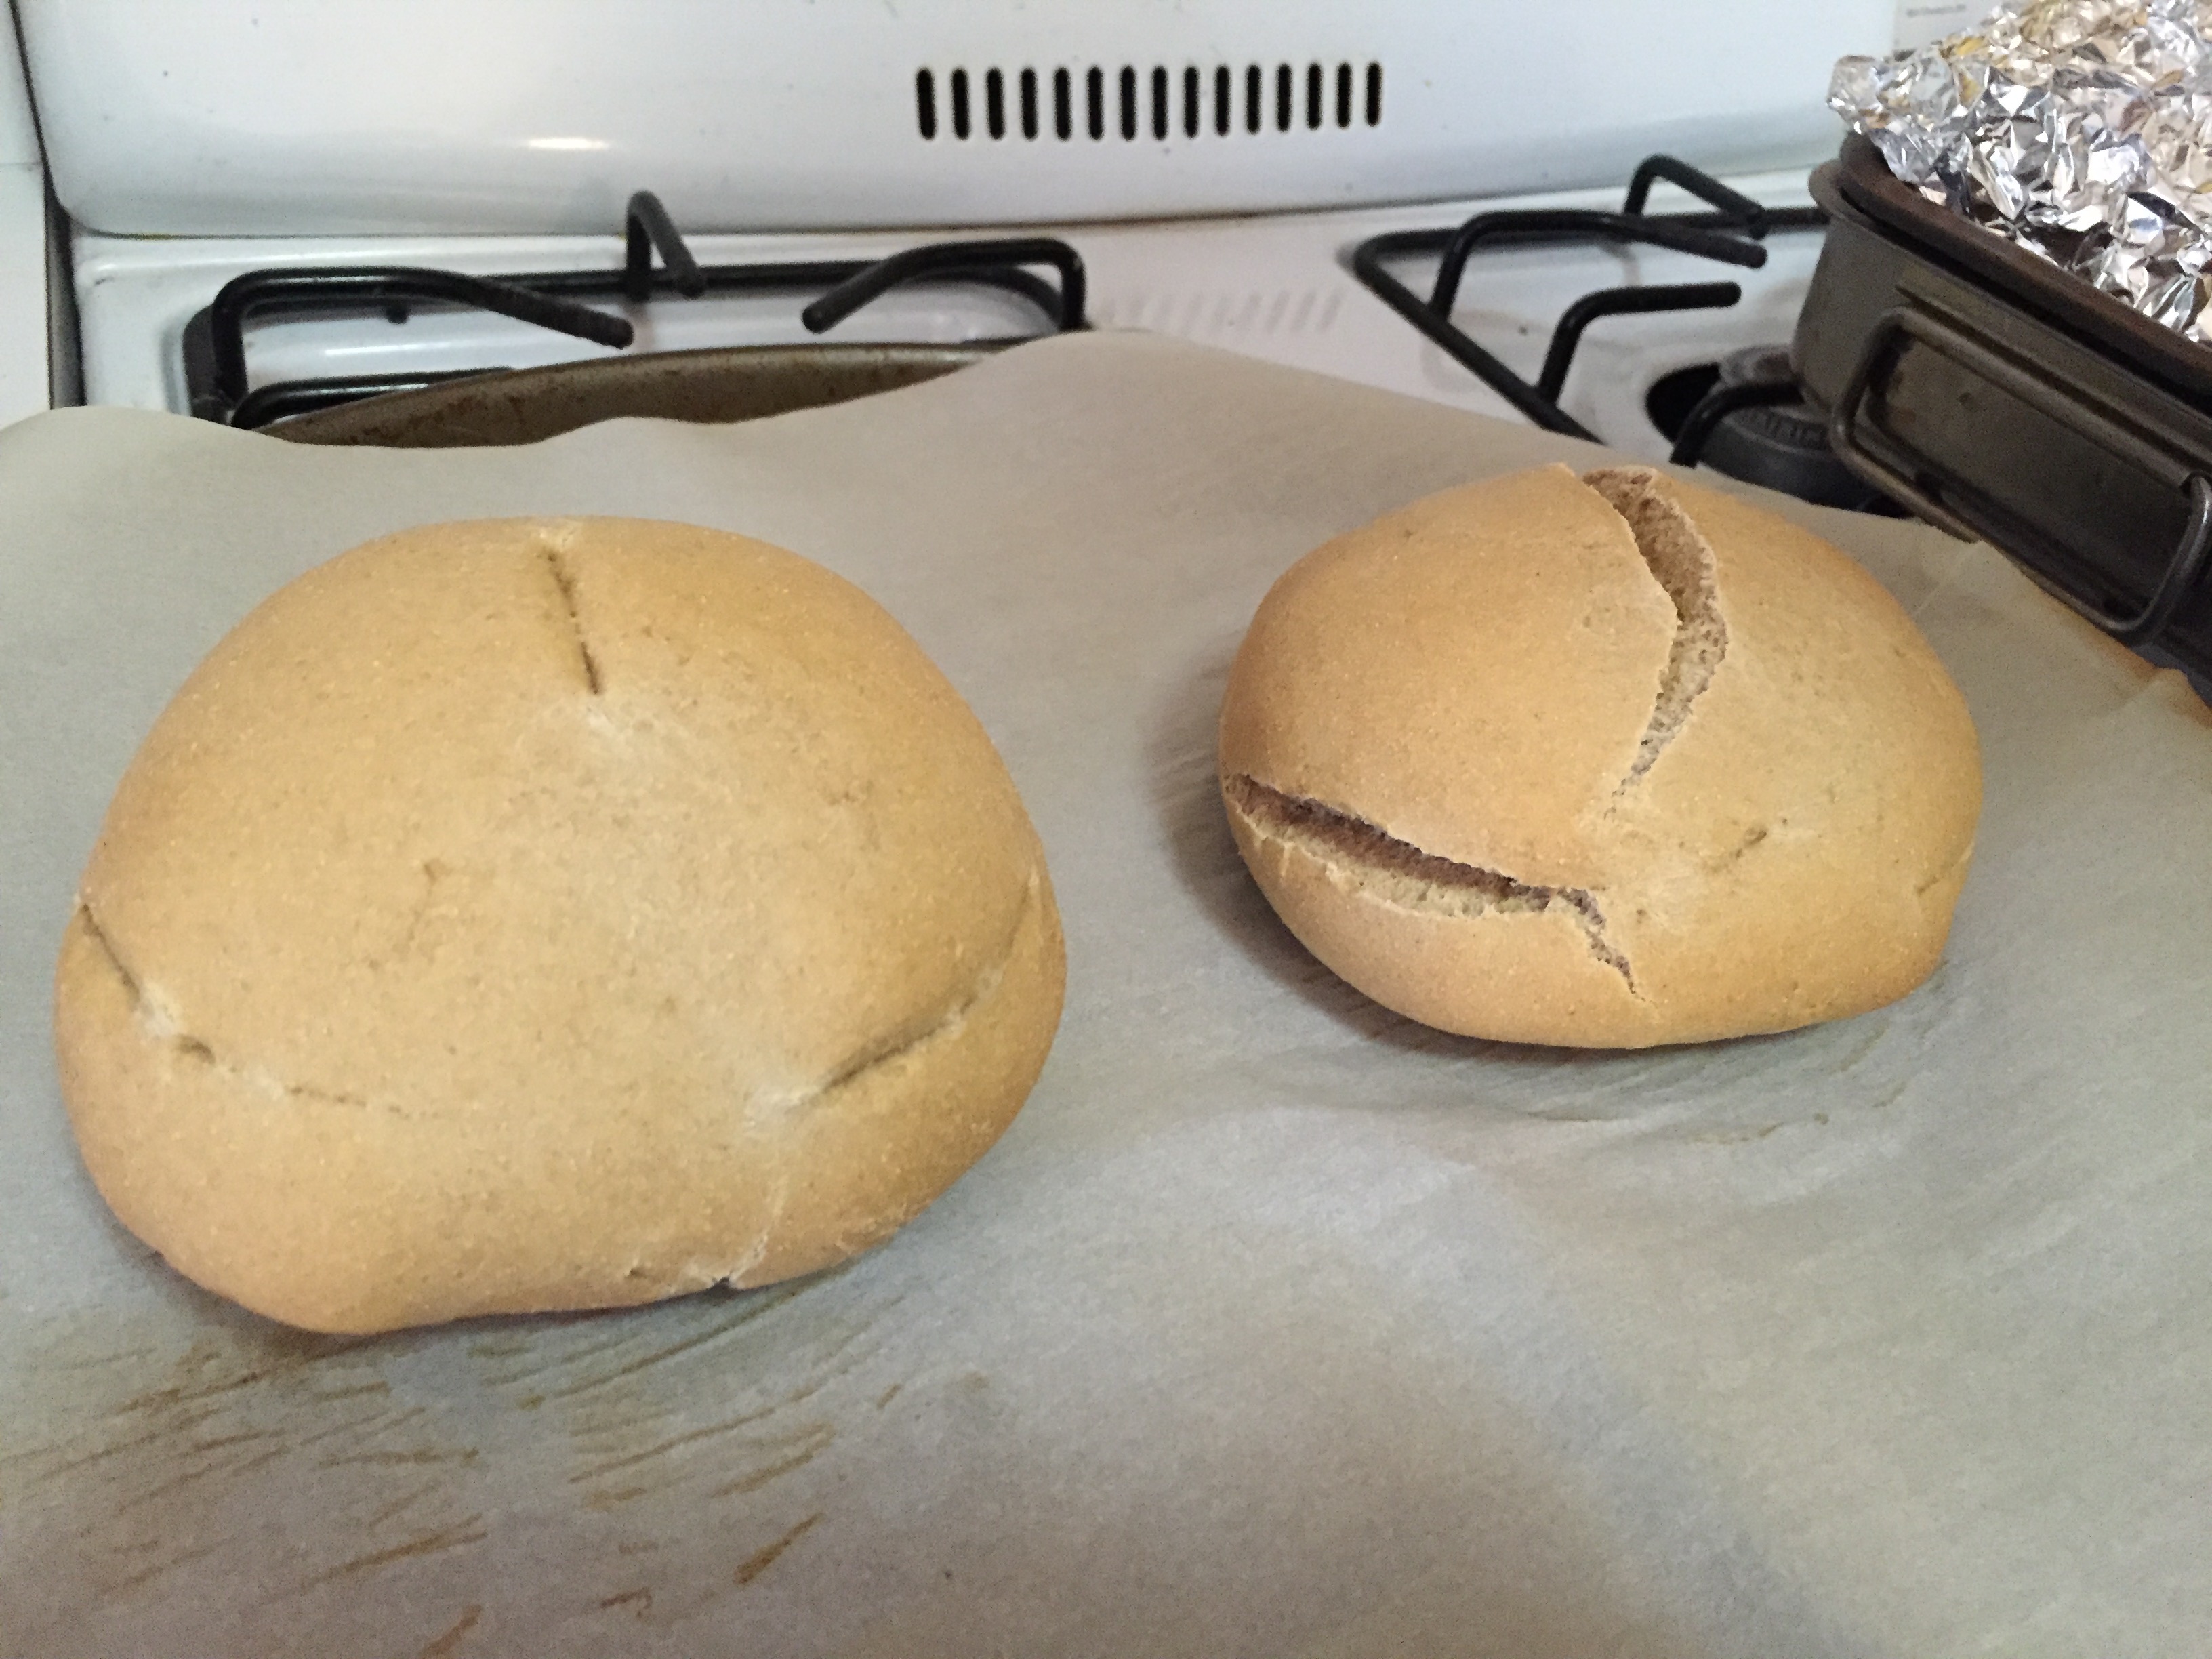
4:45PM
Referencing the BnF recipes on 140v that say to use bread "just out of the oven," I cut the bread open with a knife (my interpretation of getting at the pith) to reveal the middle part of the loaf immediately after taking the loaves out of the oven.
It was very hot and I could not touch the bread with my bare hands (I used an oven mitt, would the author/practitioner have used a cloth?). The bread smelled good but tasted rather bland (I didn't use much salt).
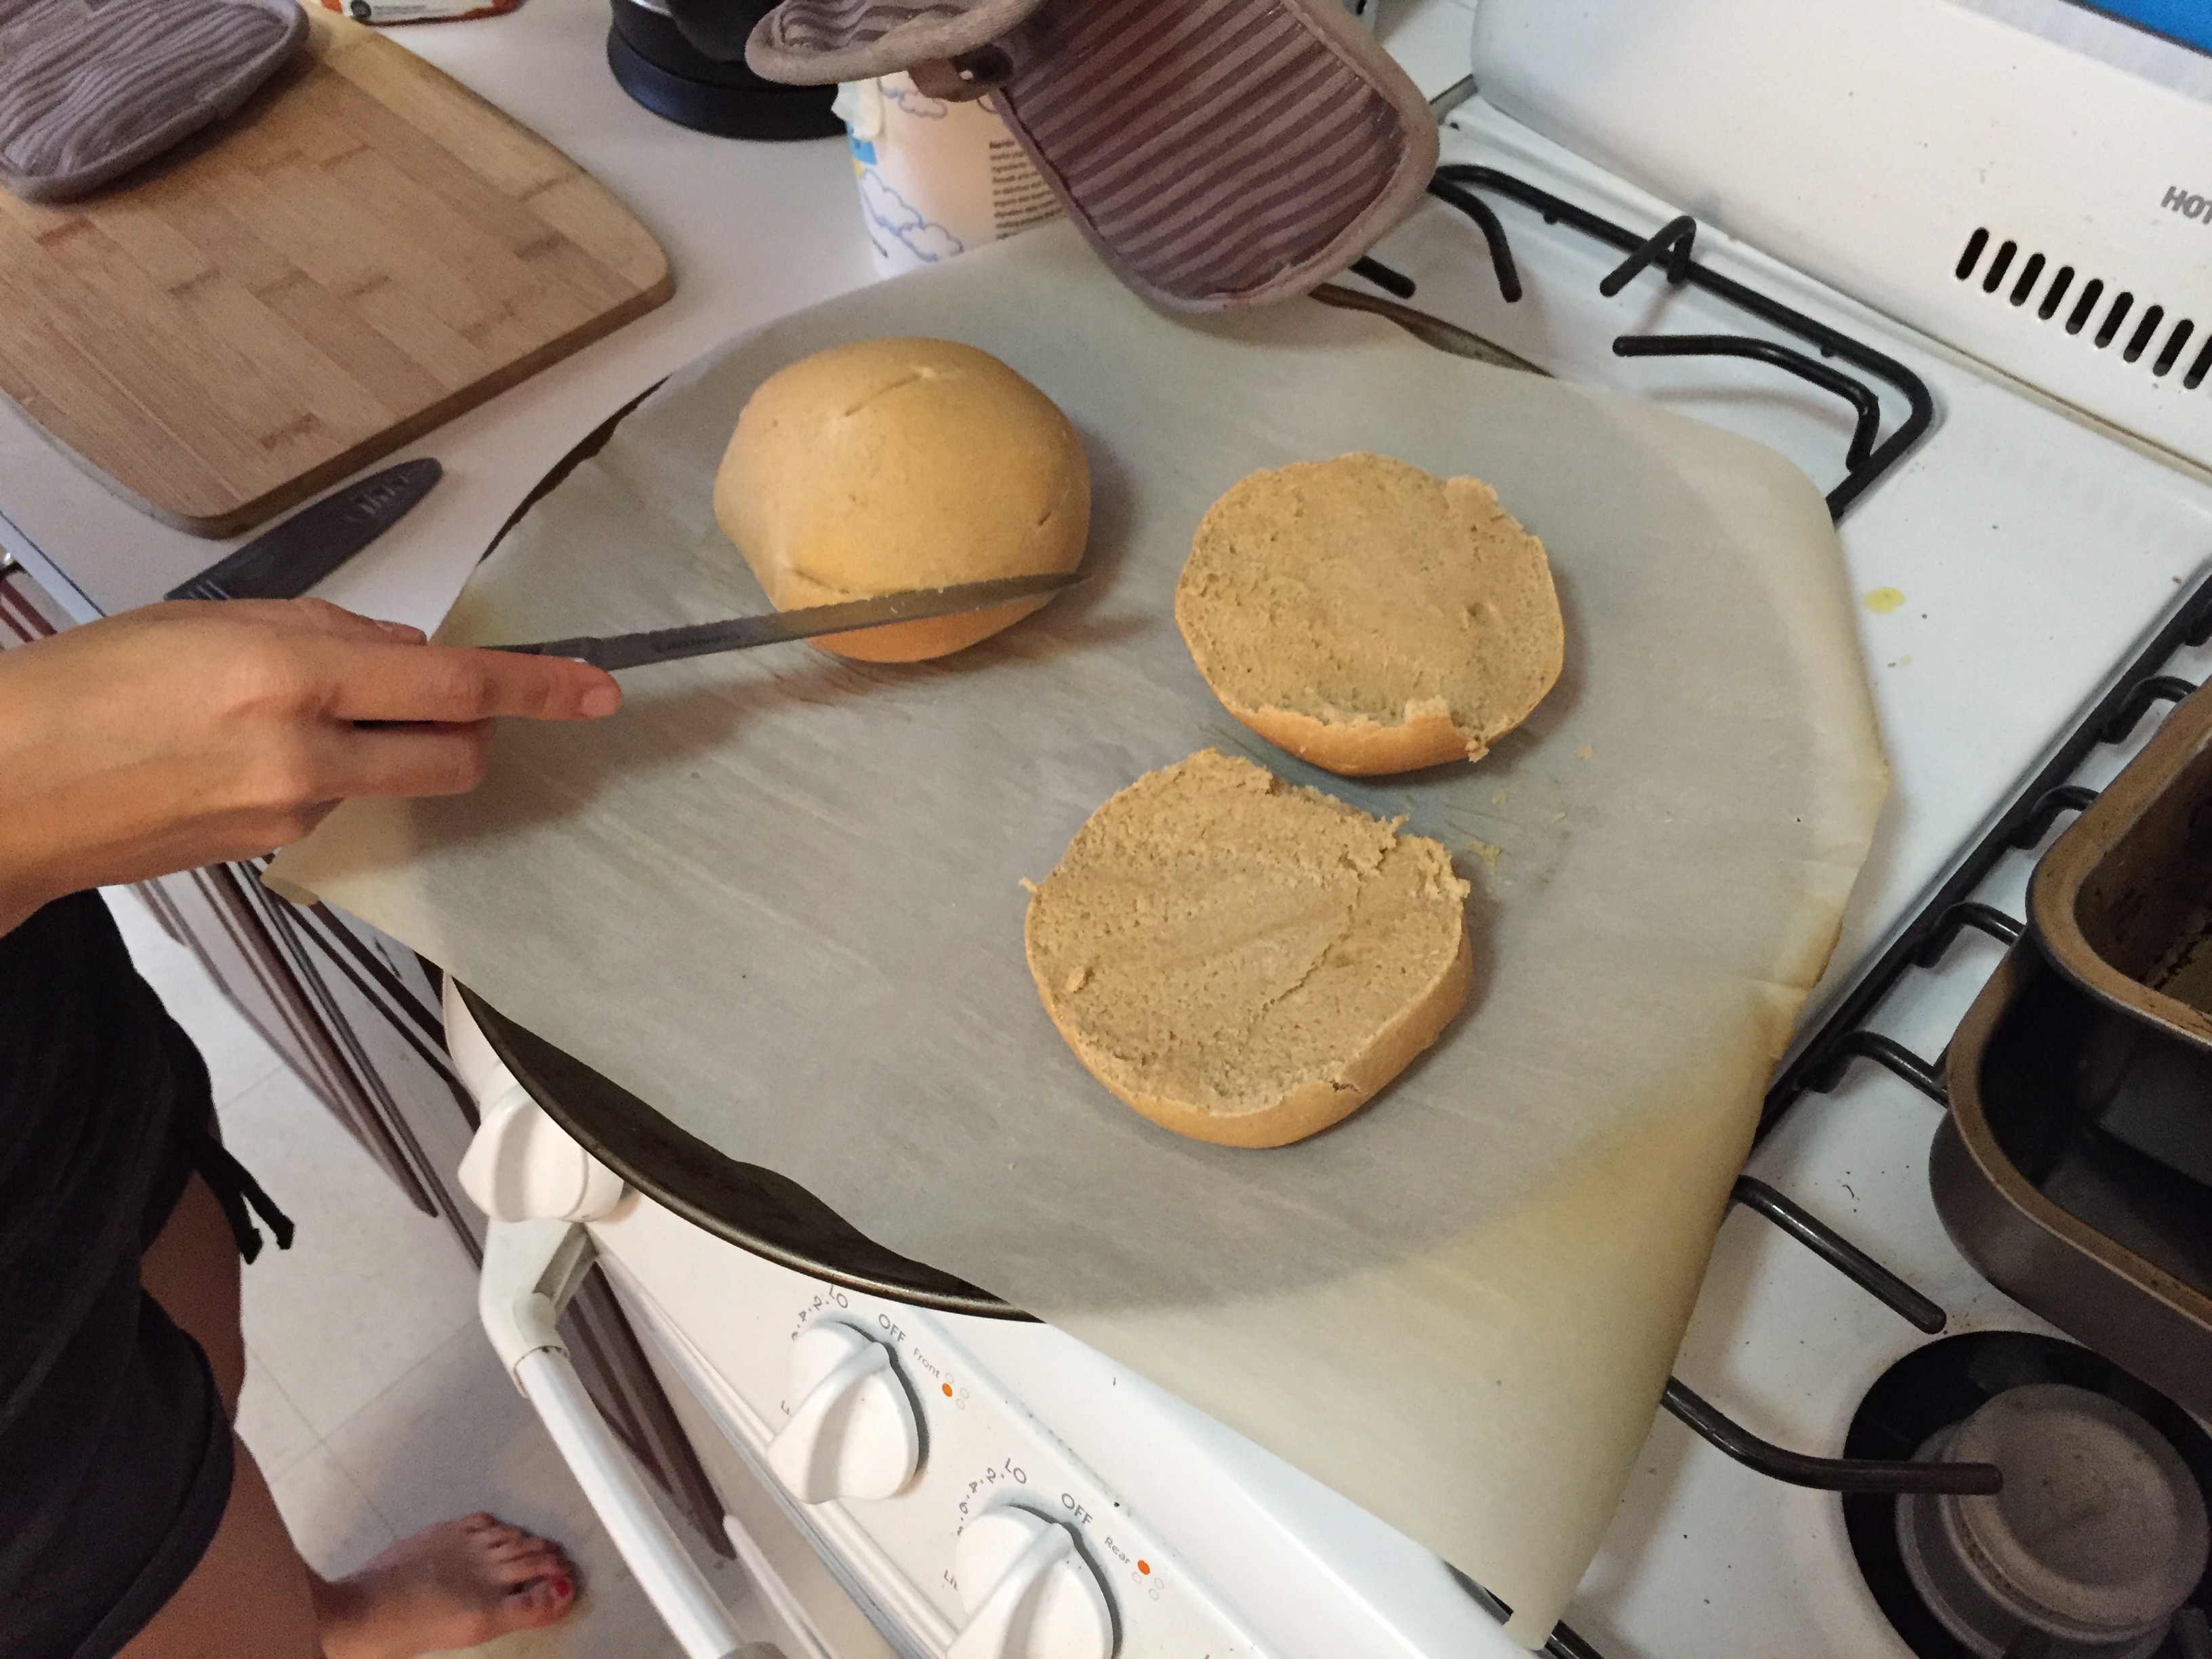
I then pressed objects (a wooden rooster and a metal puzzle) into the hot and soft bread and put them to dry in the oven with the door open (interpretation of the manuscript's directions for drying out mold). Since there is no time specified for drying, kept them in a hot oven for 10 mins and then turned the oven off and let the molds dry as the oven cooled. Then I removed the objects and set the molds on the counter.
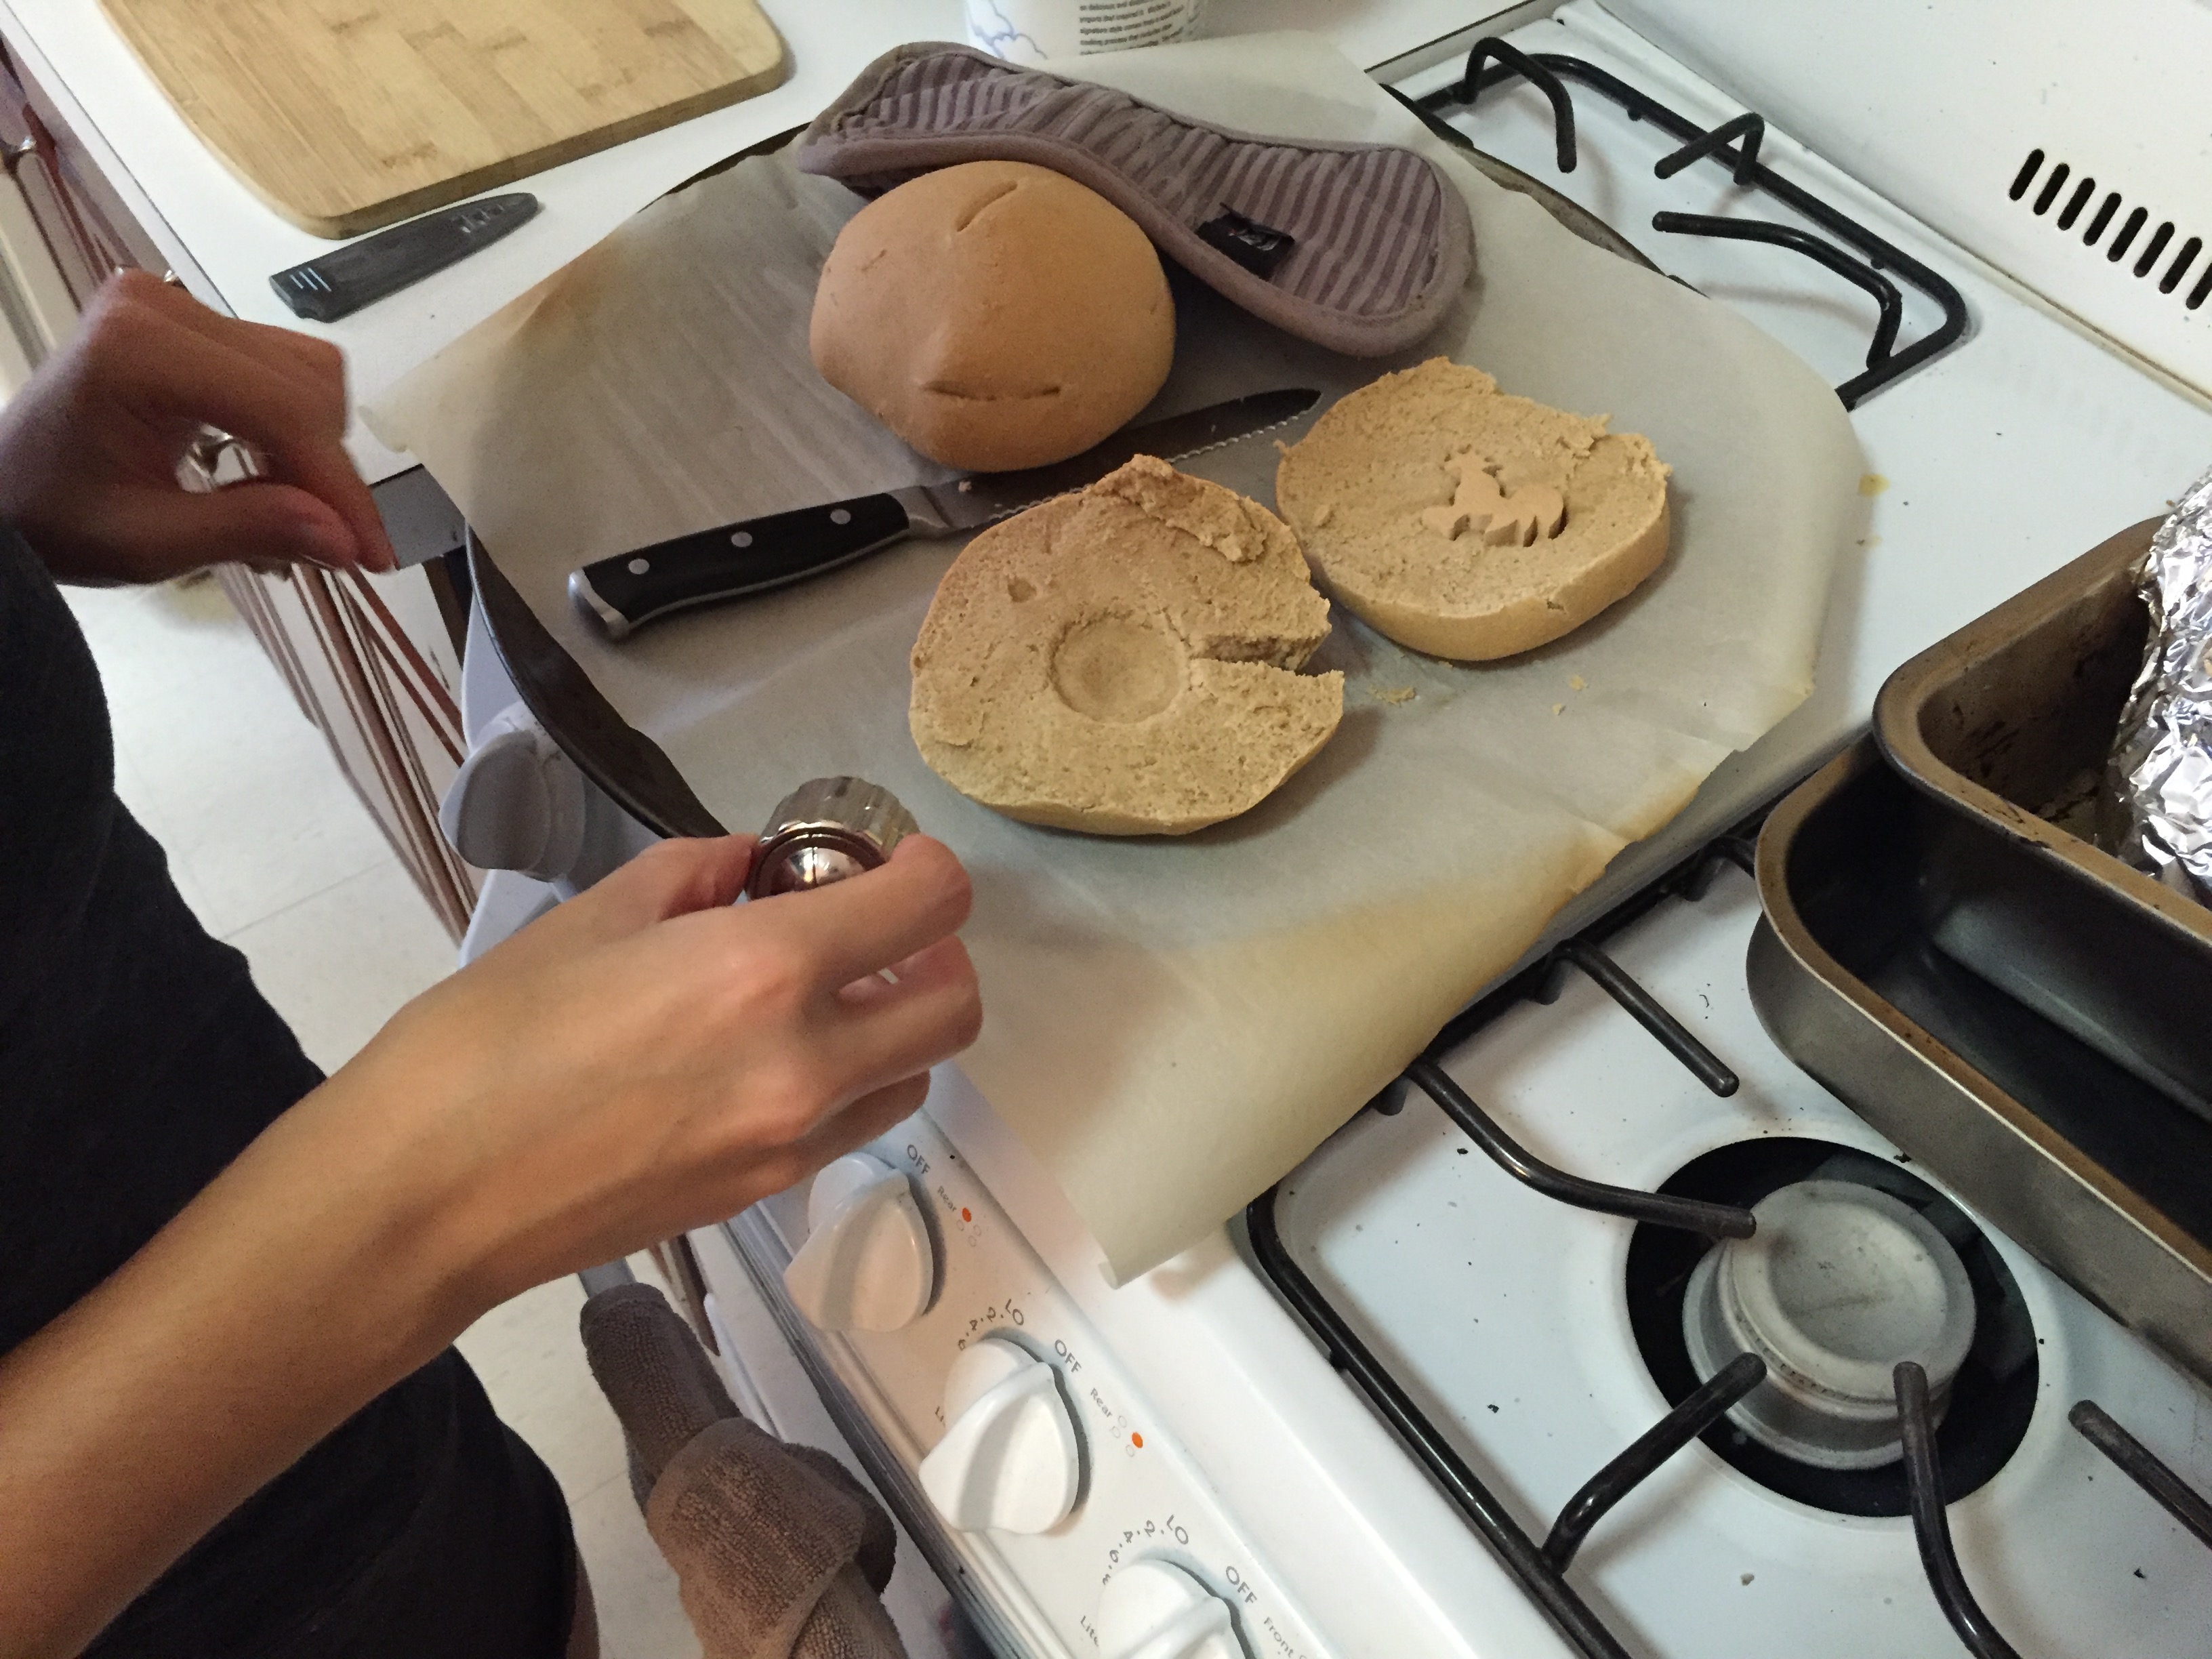
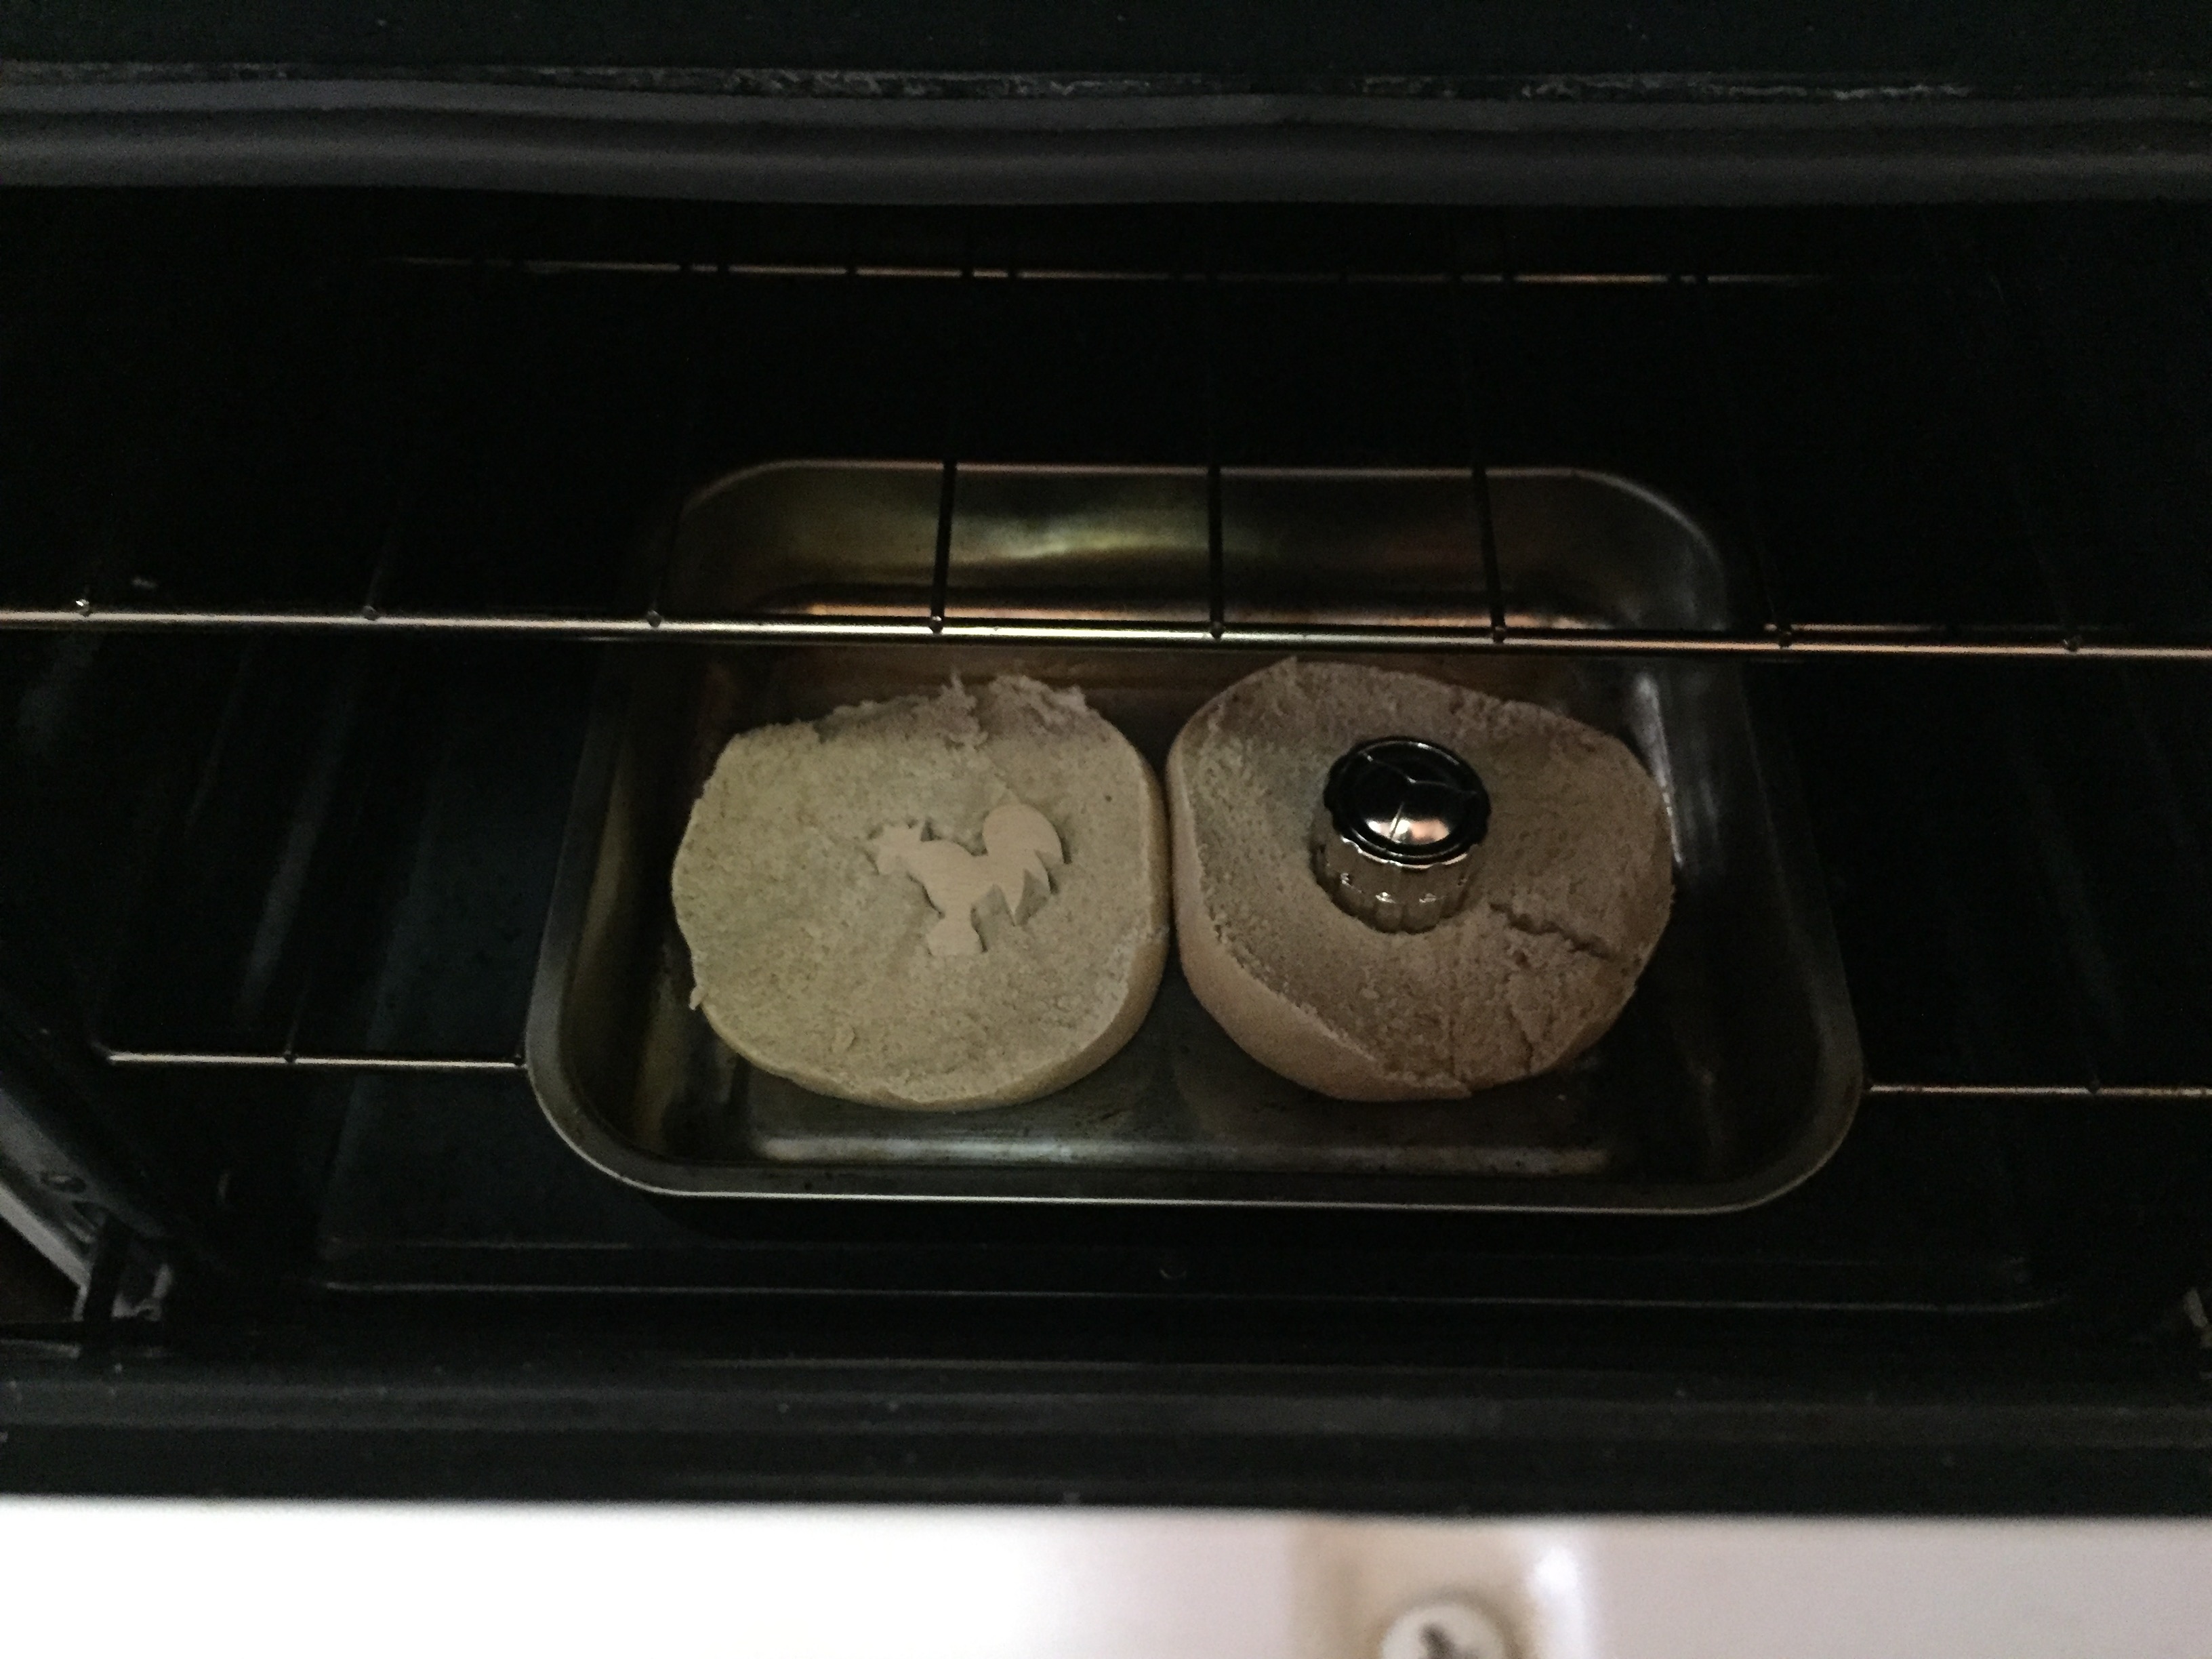
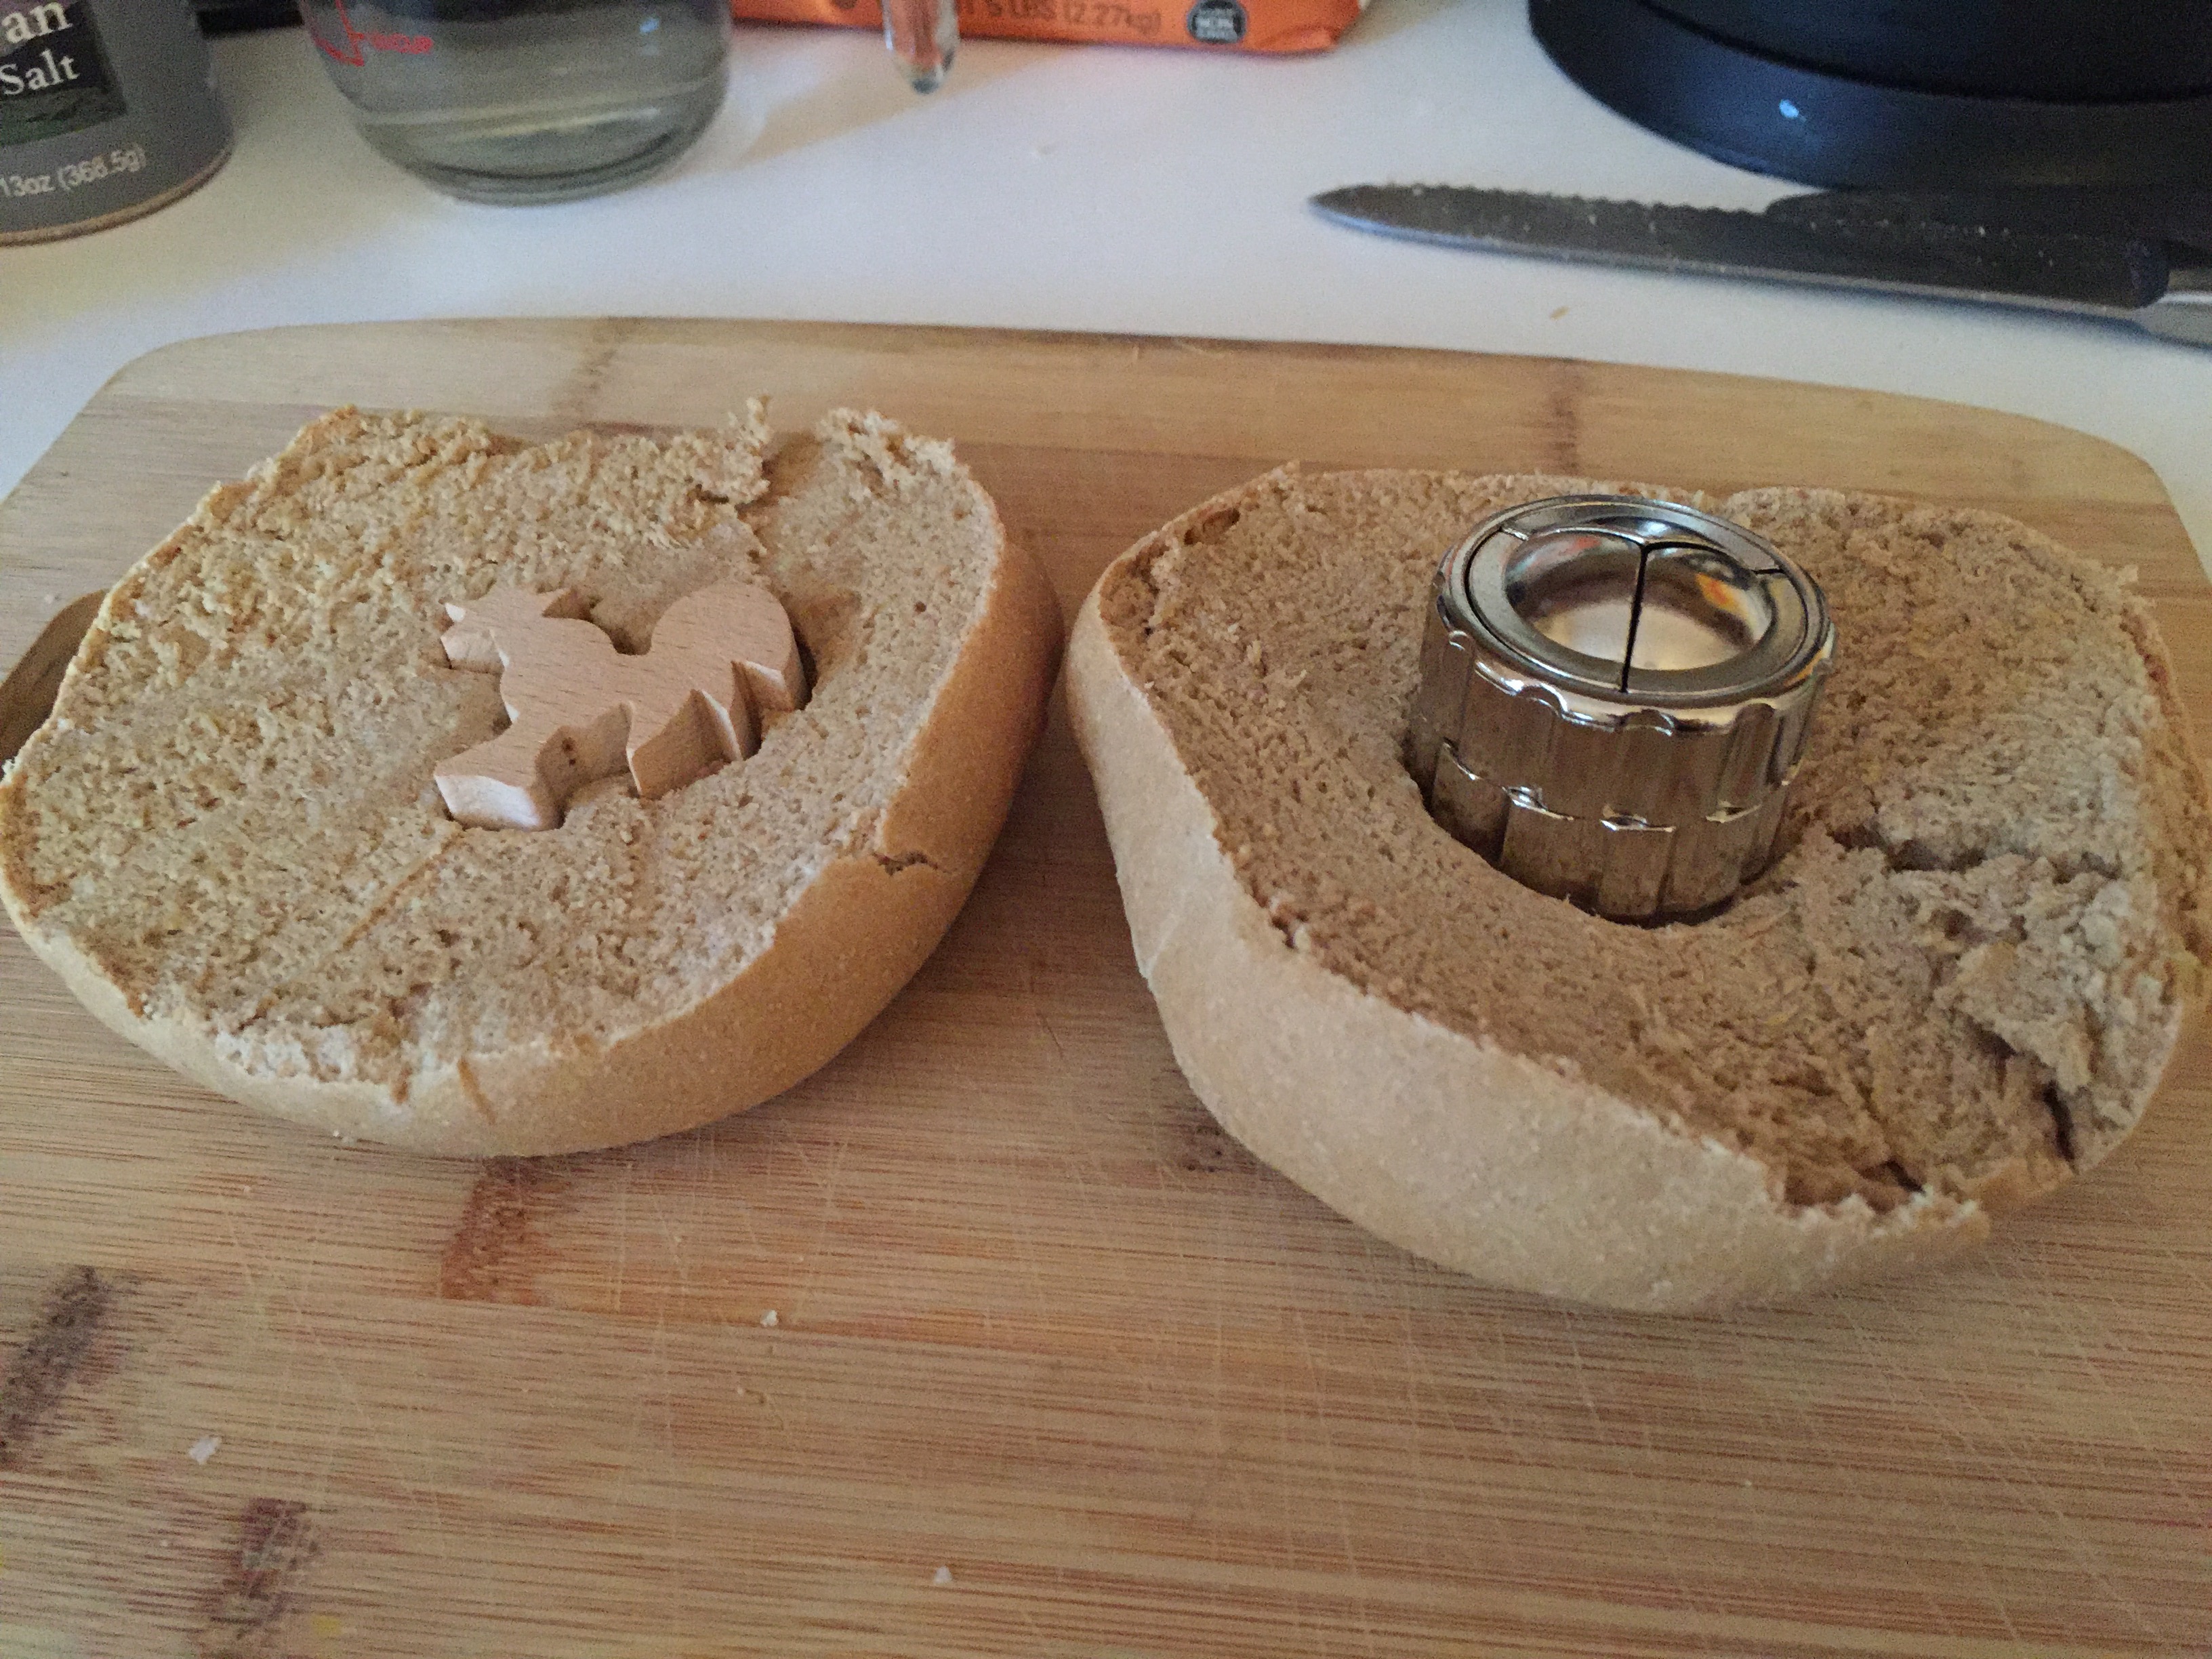
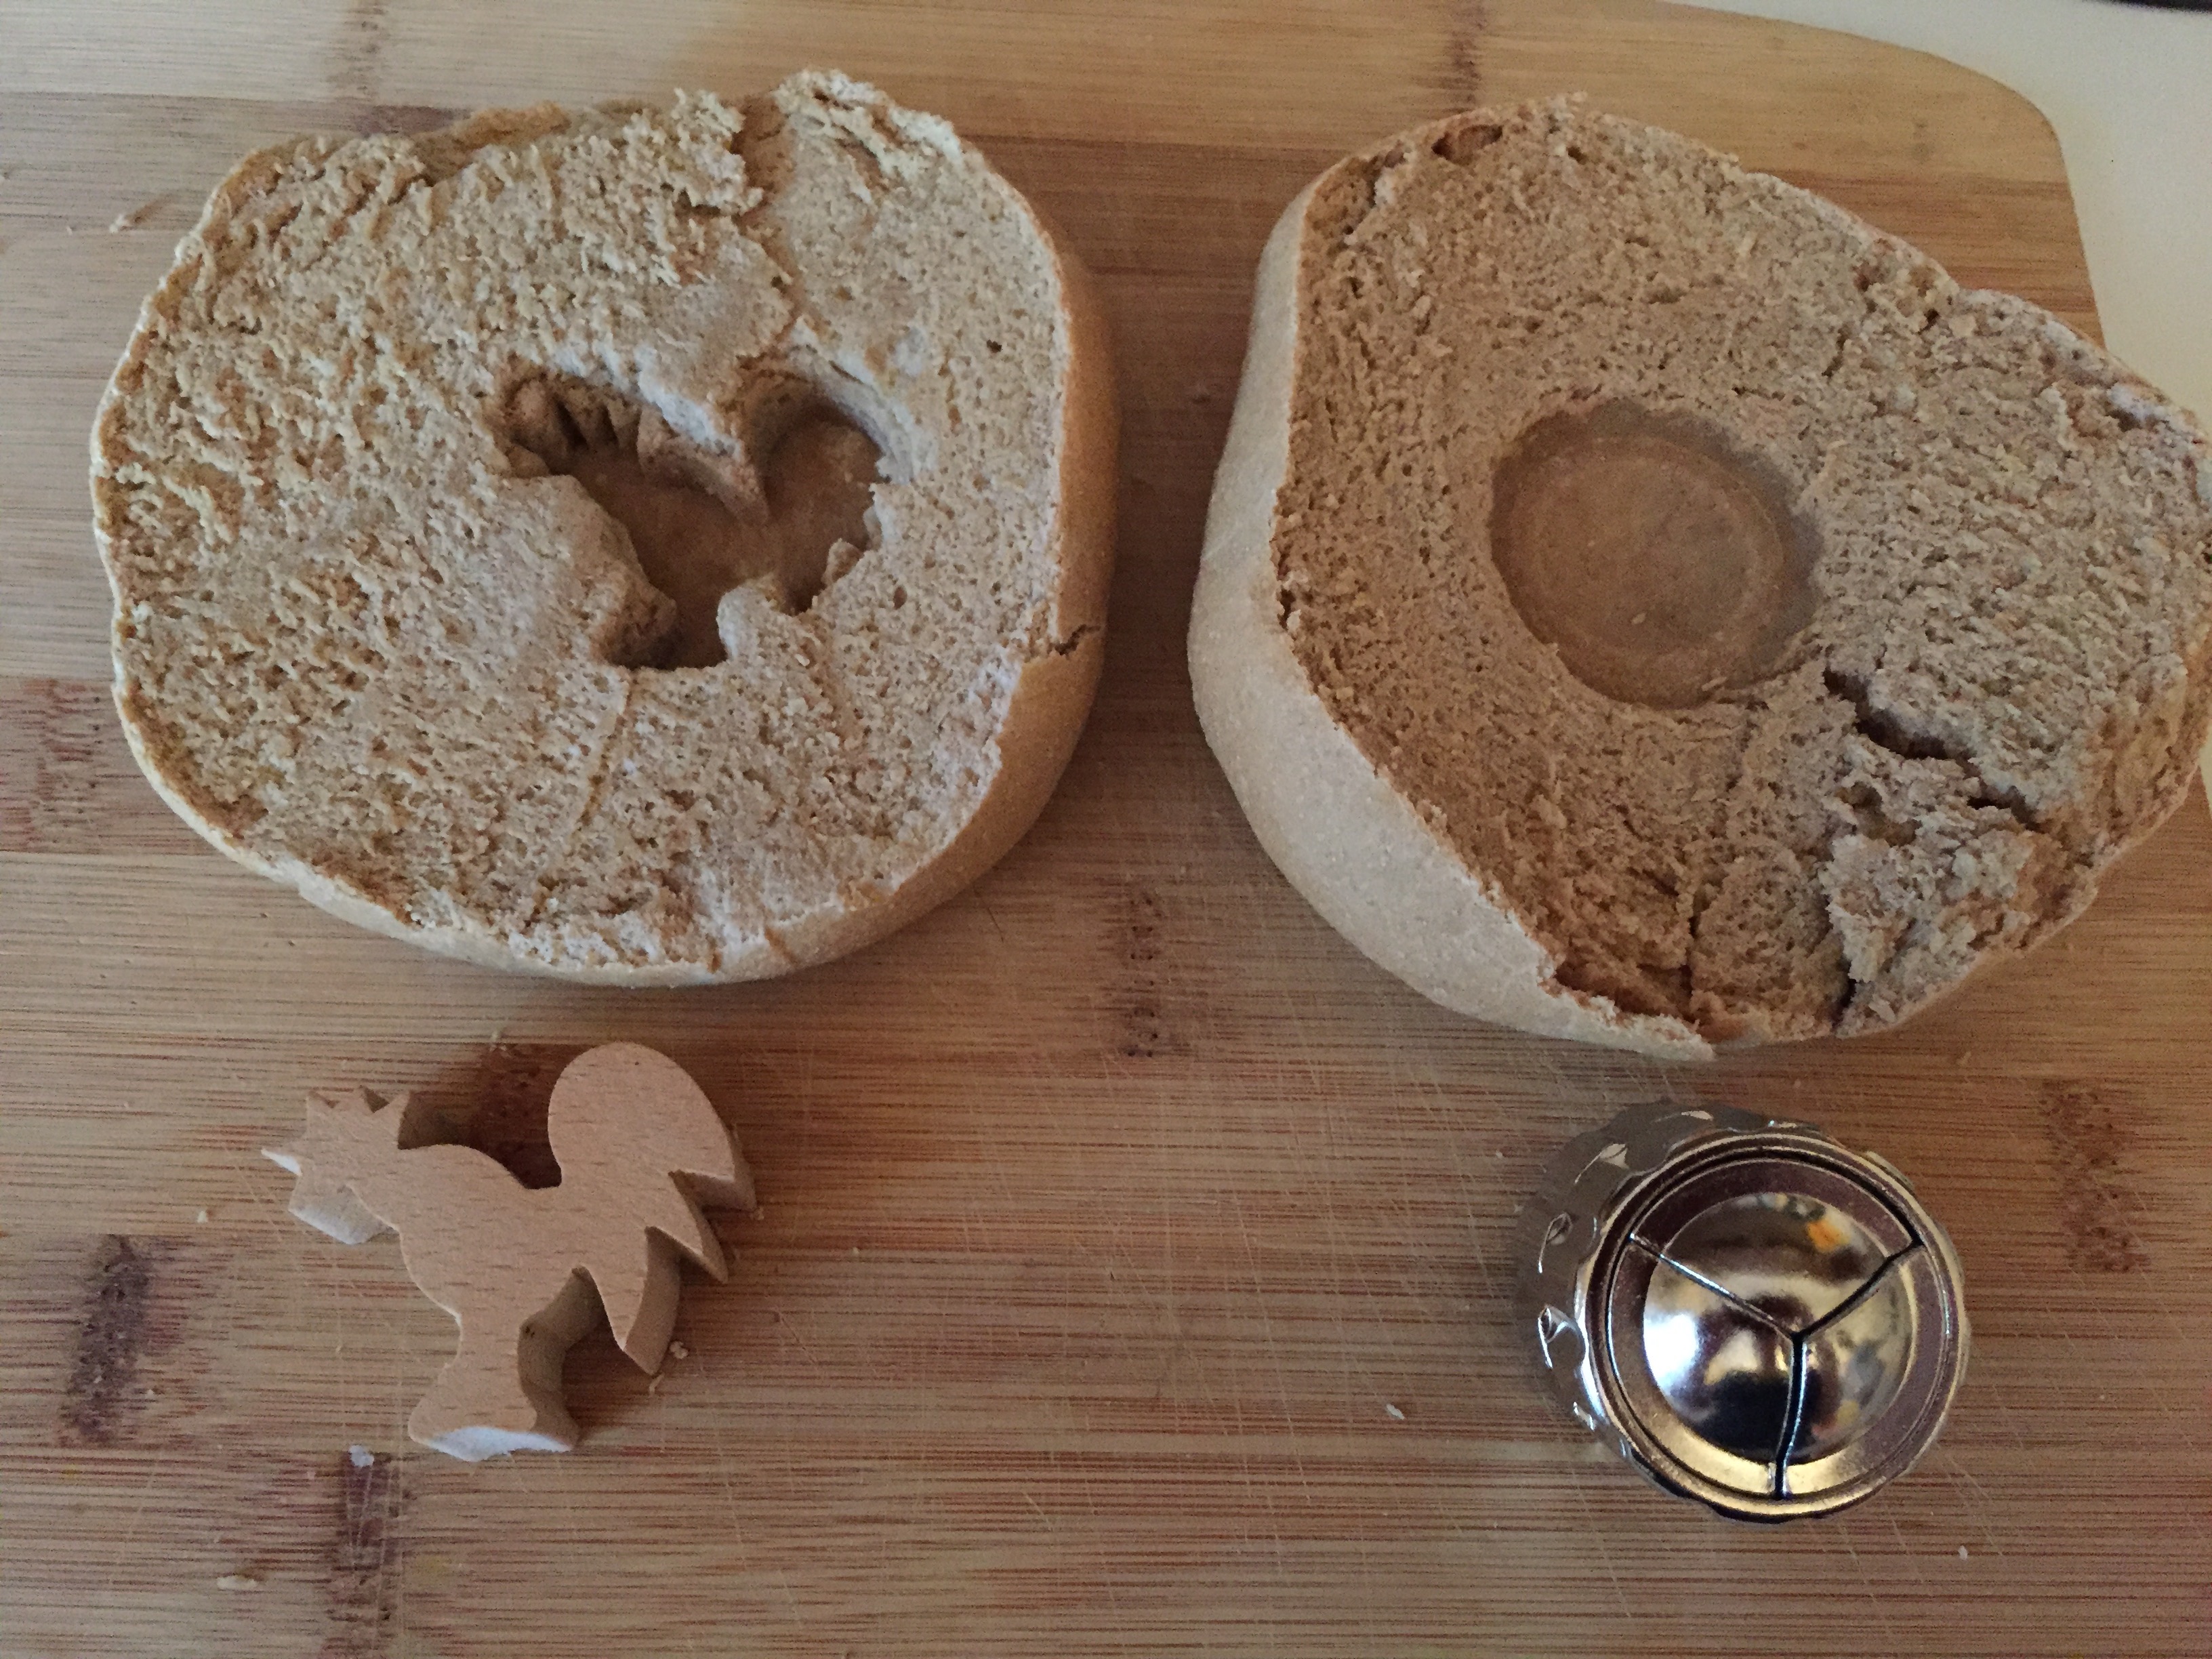
The flatter part of the bread was stronger than the rounded top in holding up to the pressure of the object. In the bread molding field notes from Fall 2014, students also scooped the pith out with a spoon and molded that around the object. I plan to try this method during my second trial tomorrow.
Second Bread Assay--with "ale barm"
Name: Joslyn DeVinney (with some photo and kneading help (less than yesterday) from Jose Bahamonde--boyfriend)
Date and Time:
2016.09.25, 11:45am-3:00pm
Location: my apartment, 120th Street and Amsterdam, 4th Floor
Room conditions: according to my iPhone, outdoor temperature is 68 degrees fahrenheit; it feels chillier inside than yesterday during first trial
Coffee intake: 3 cups
Subject: second attempt at making bread for bread molding reconstruction (this time using my experimental "ale barm")
See Recipe Research section above for a more in-depth discussion of ingredients/materials/process.
For this trial, I repeated the process of the first except I used 6 tsp of "ale barm" like Markham instructs and not sourdough starter and I did the experiment earlier in the day (changes in process from first trial are noted below).
I wondered how the ale barm would effect the rise and taste of the bread. After sitting all night, the barm smelled sour and yeasty. It was not as bubbly as I anticipated.
11:45AM

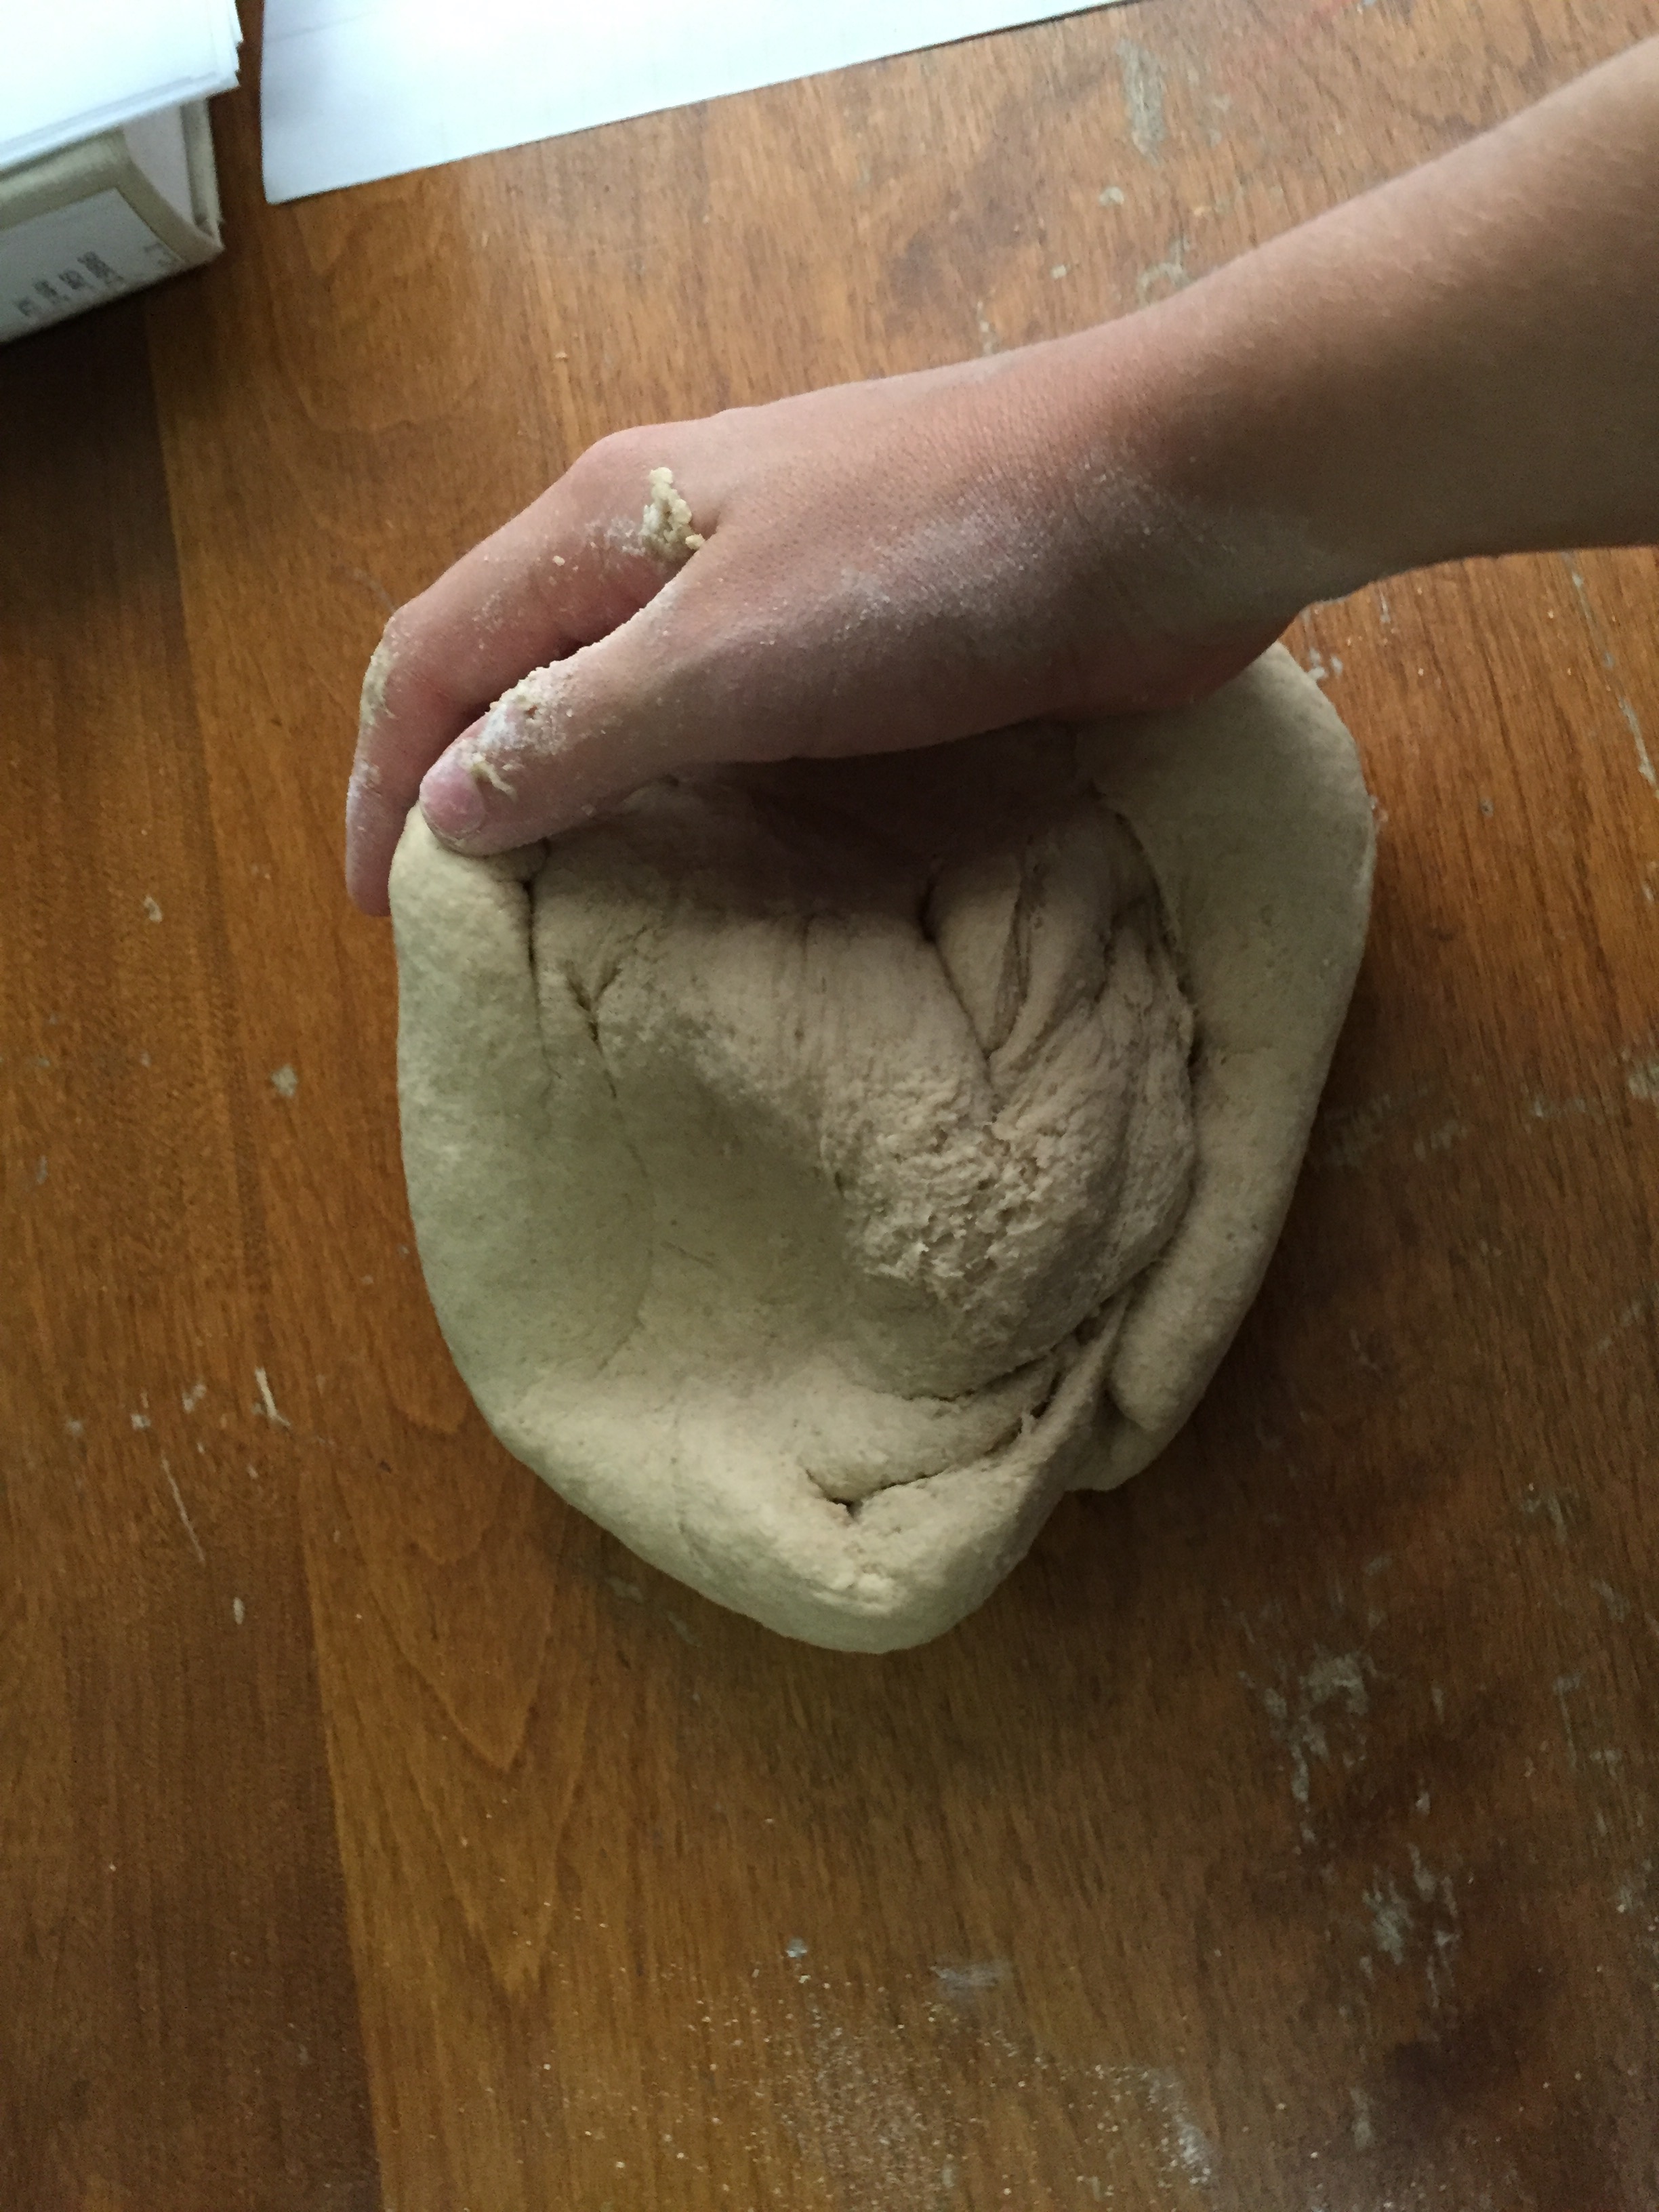
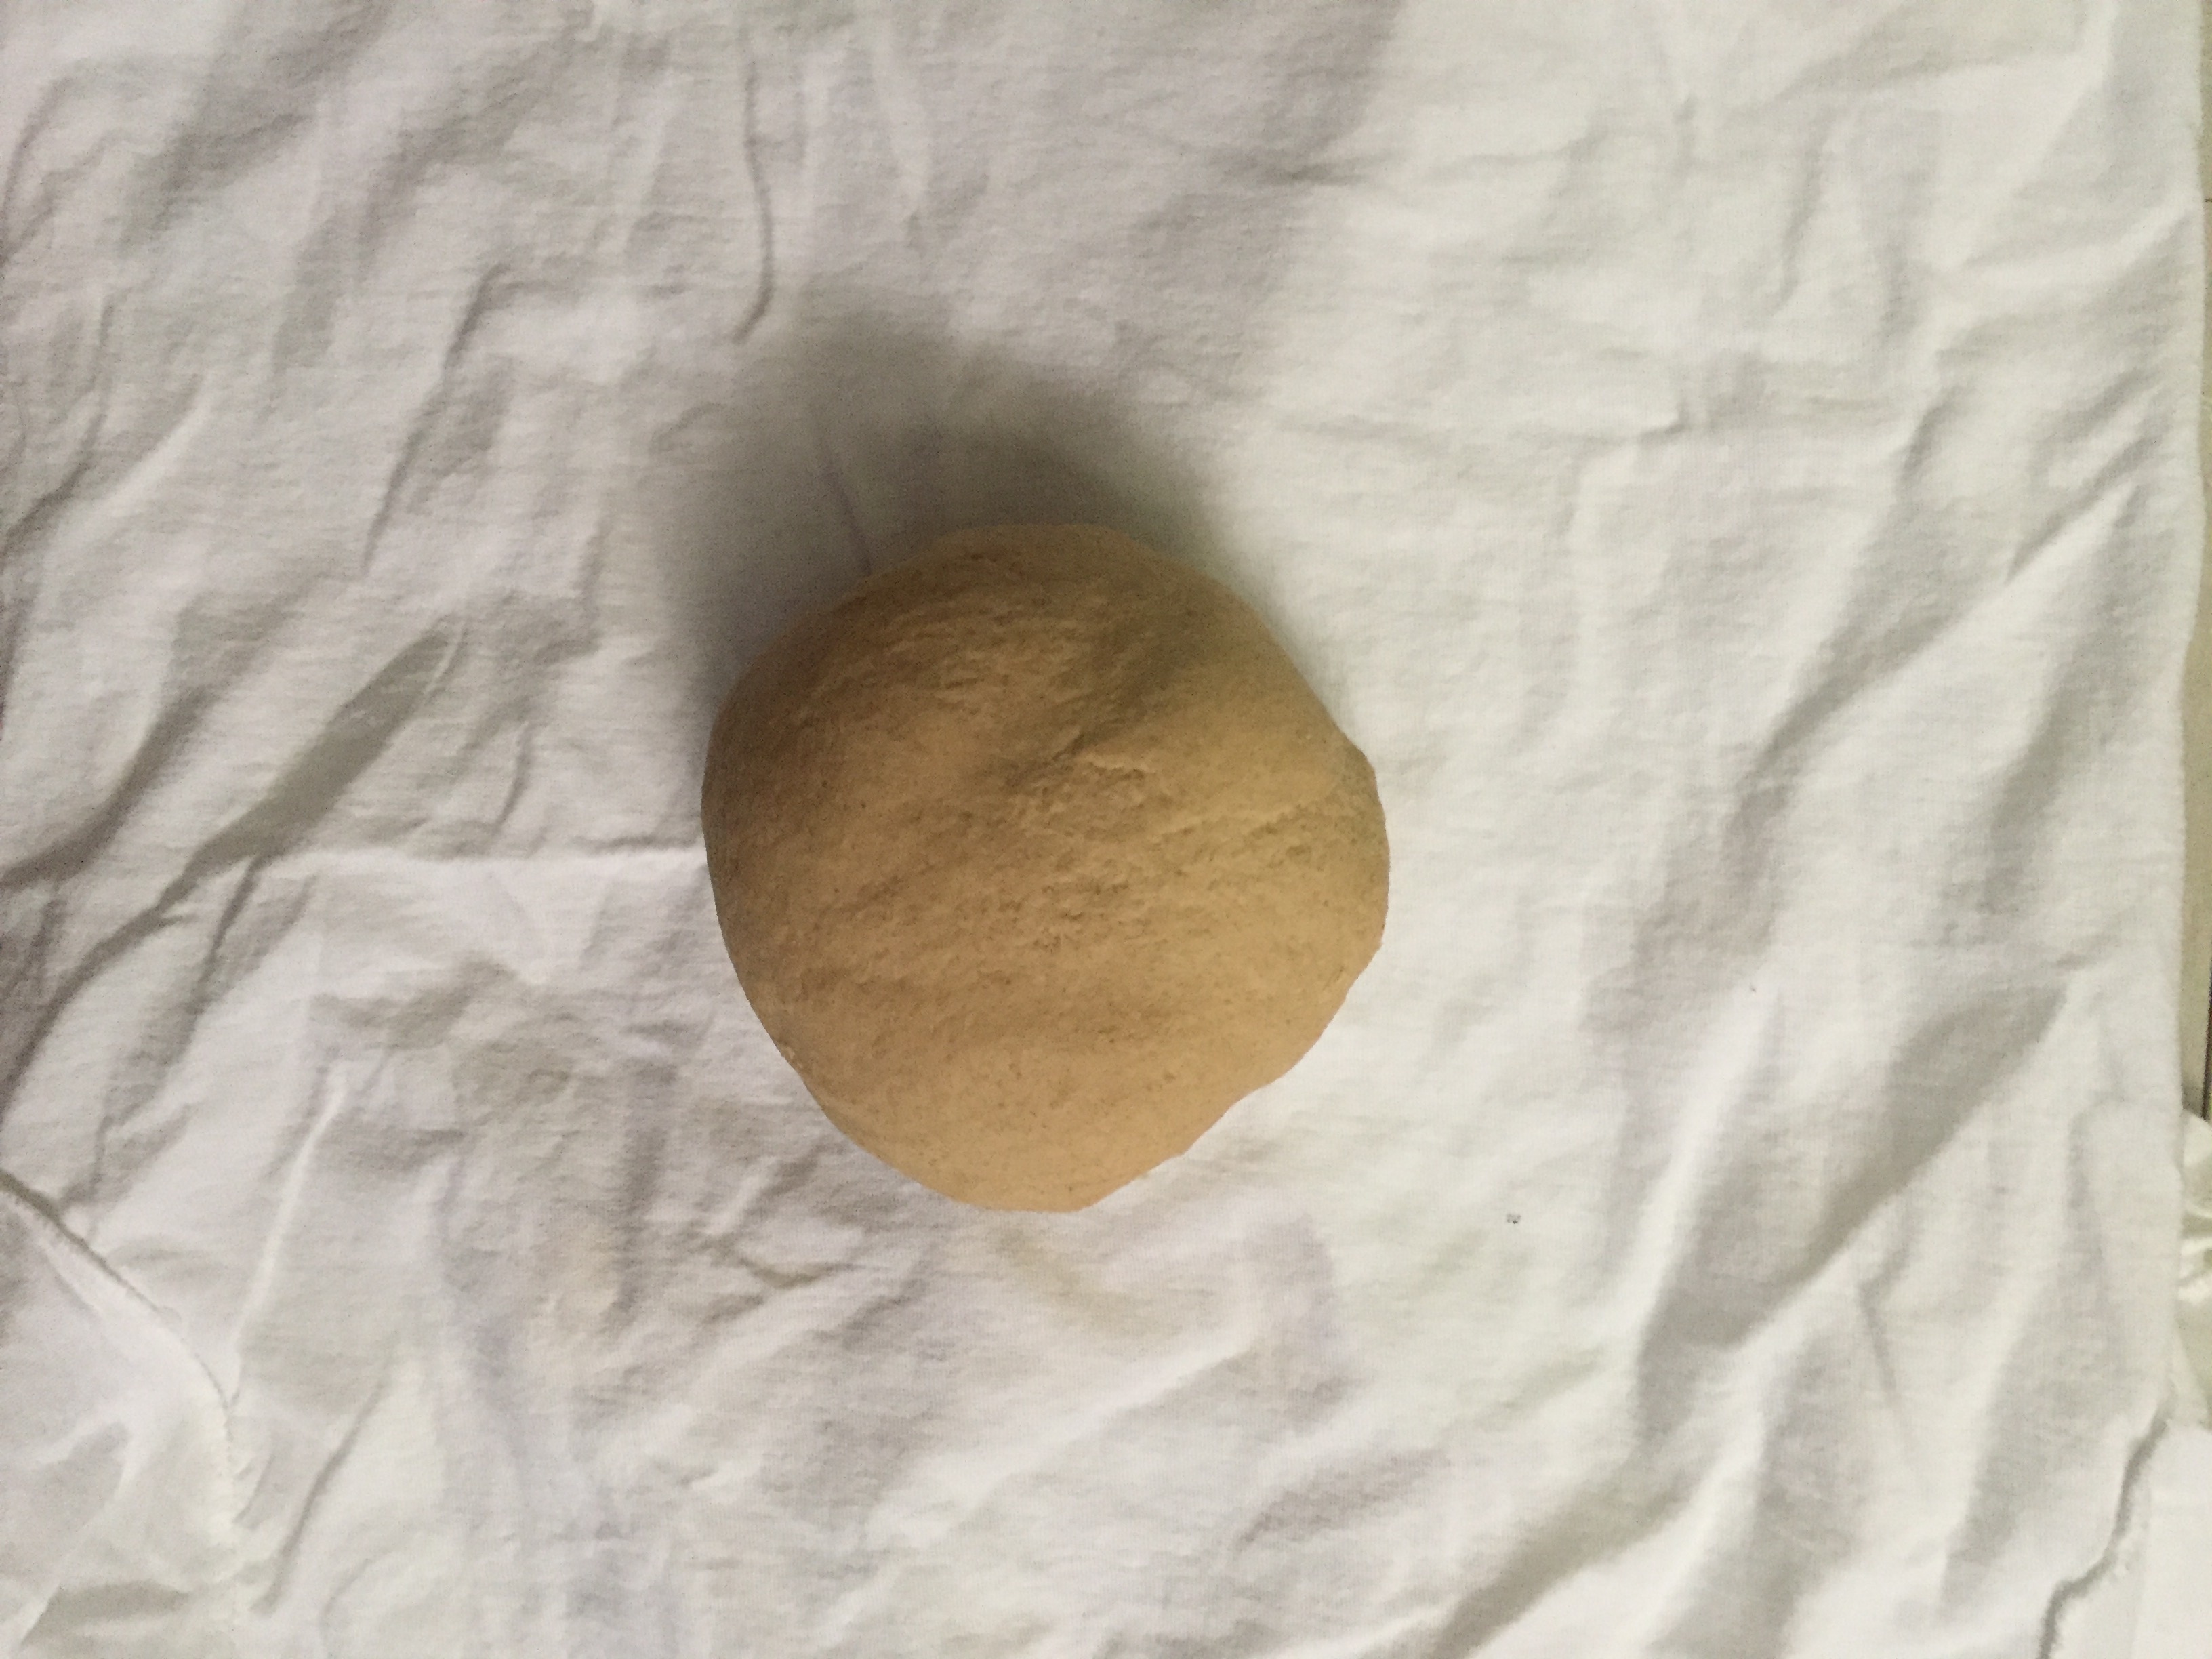
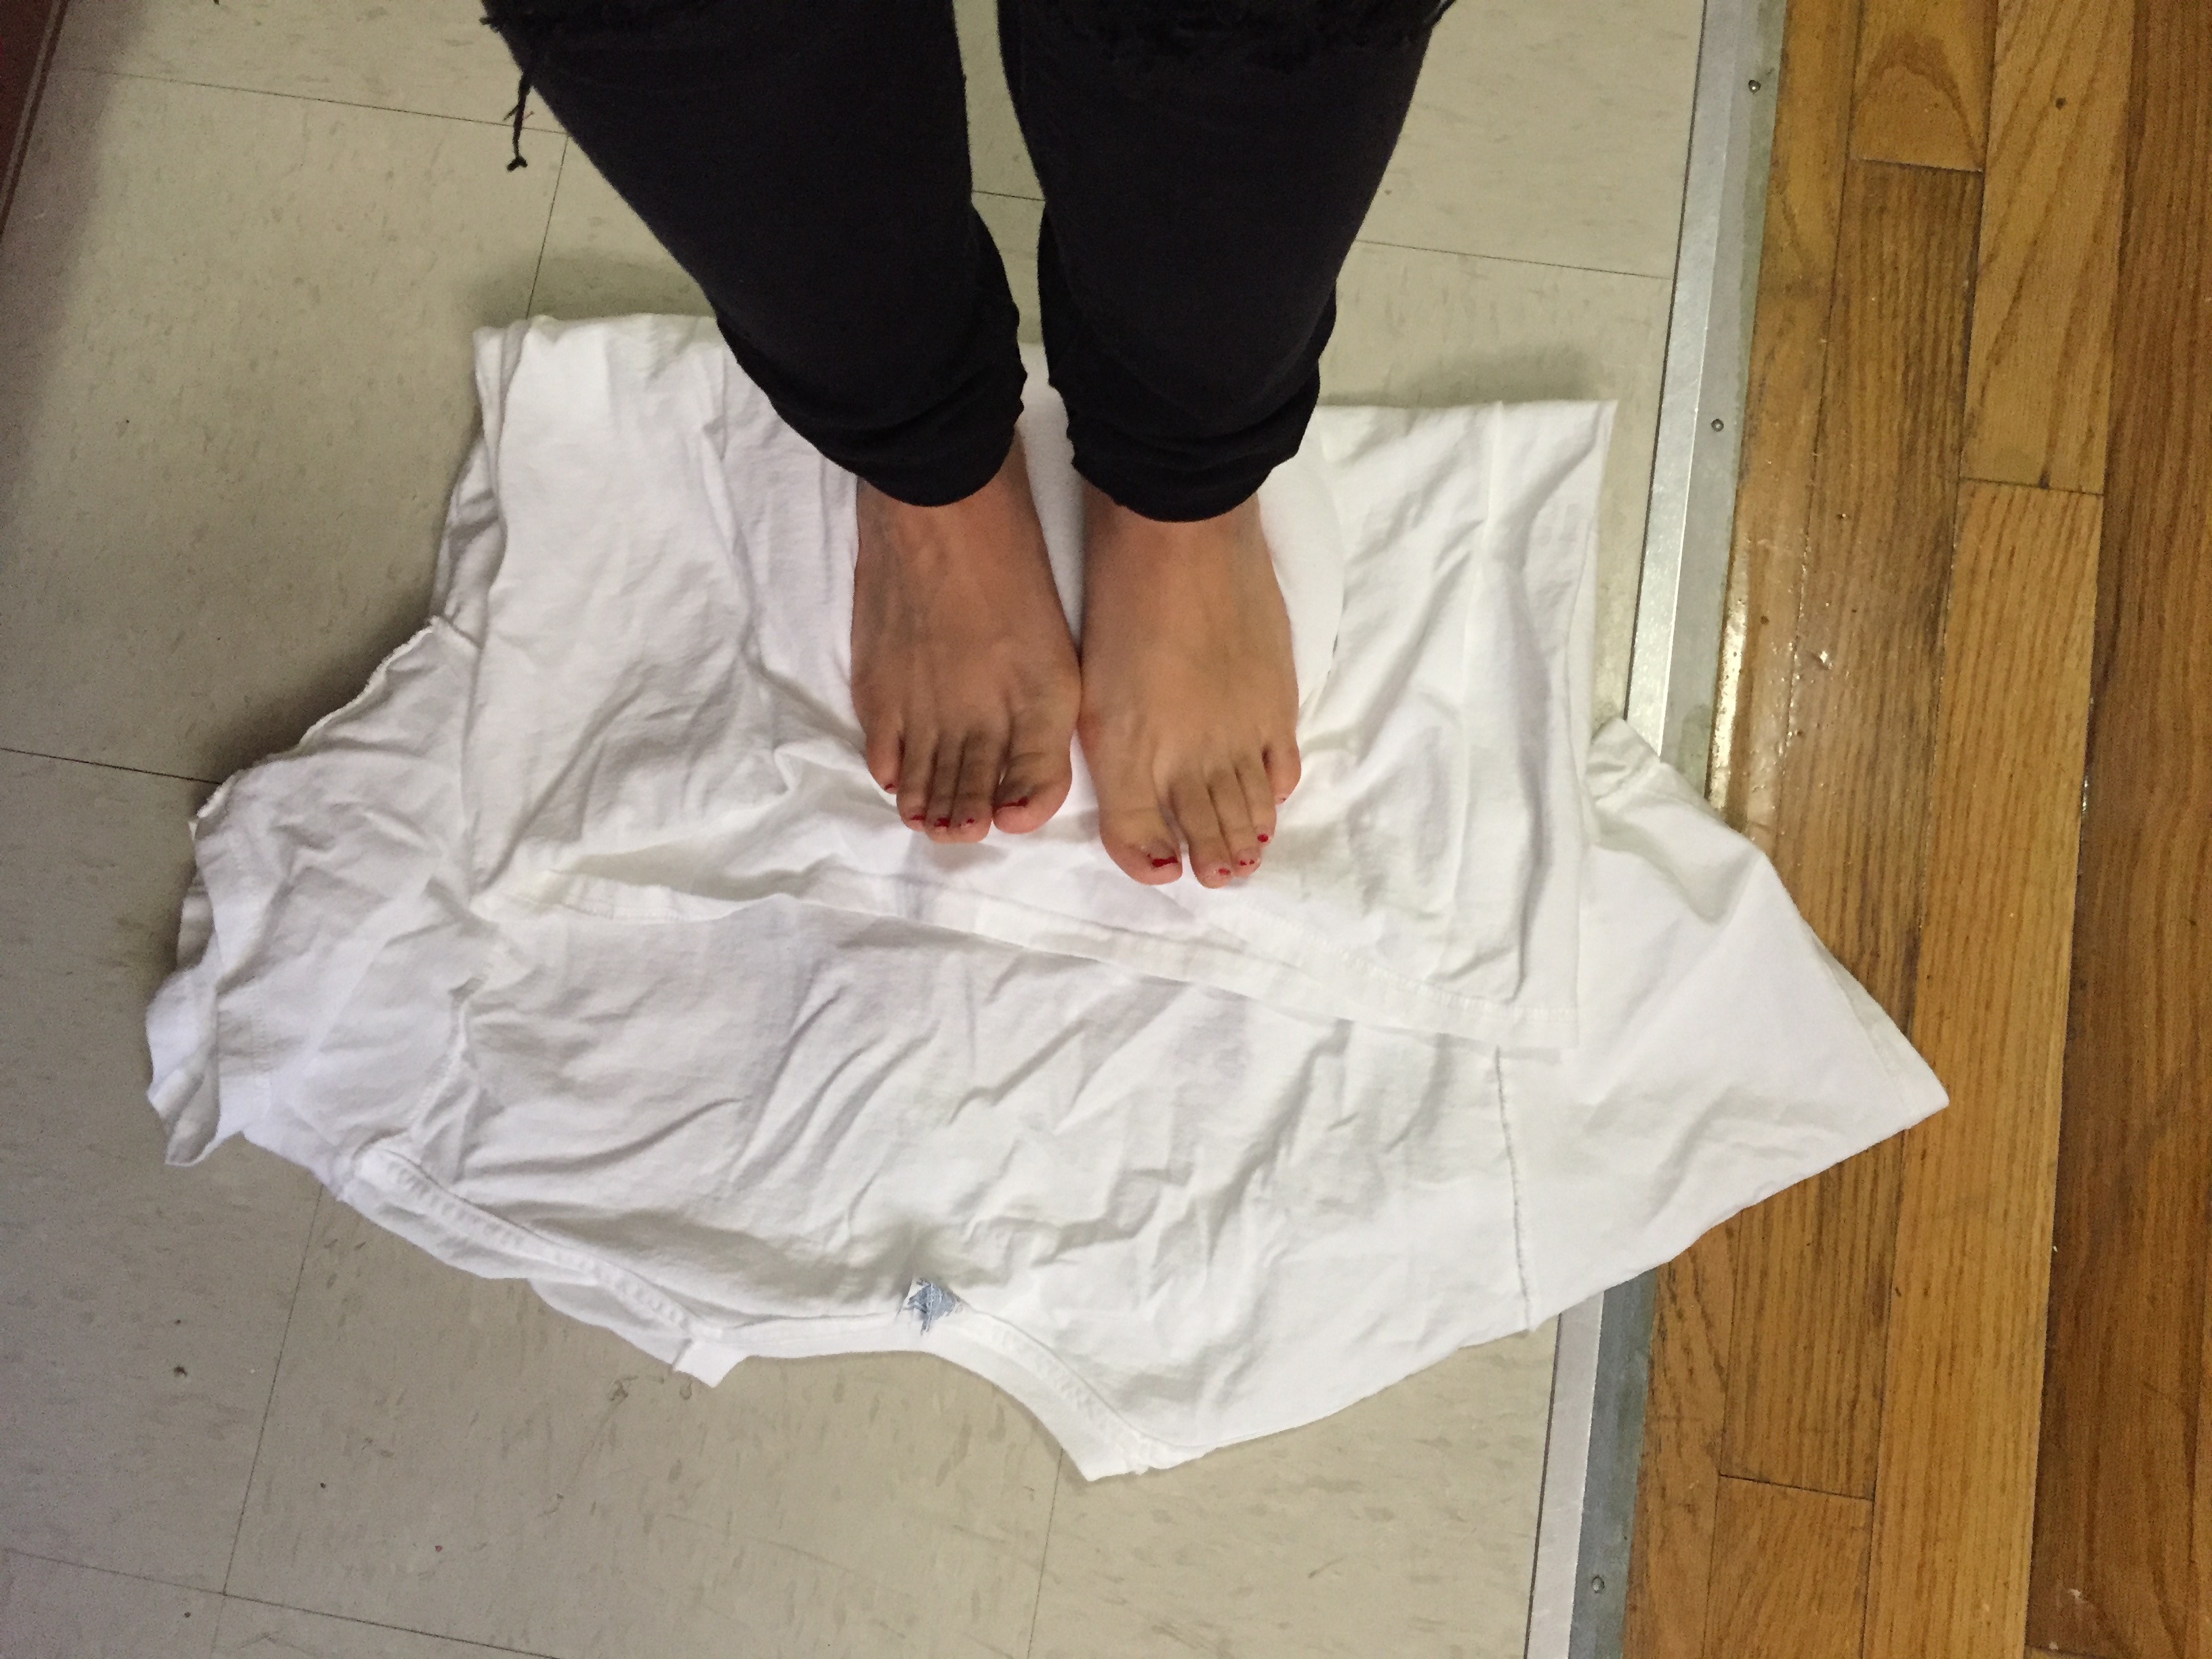
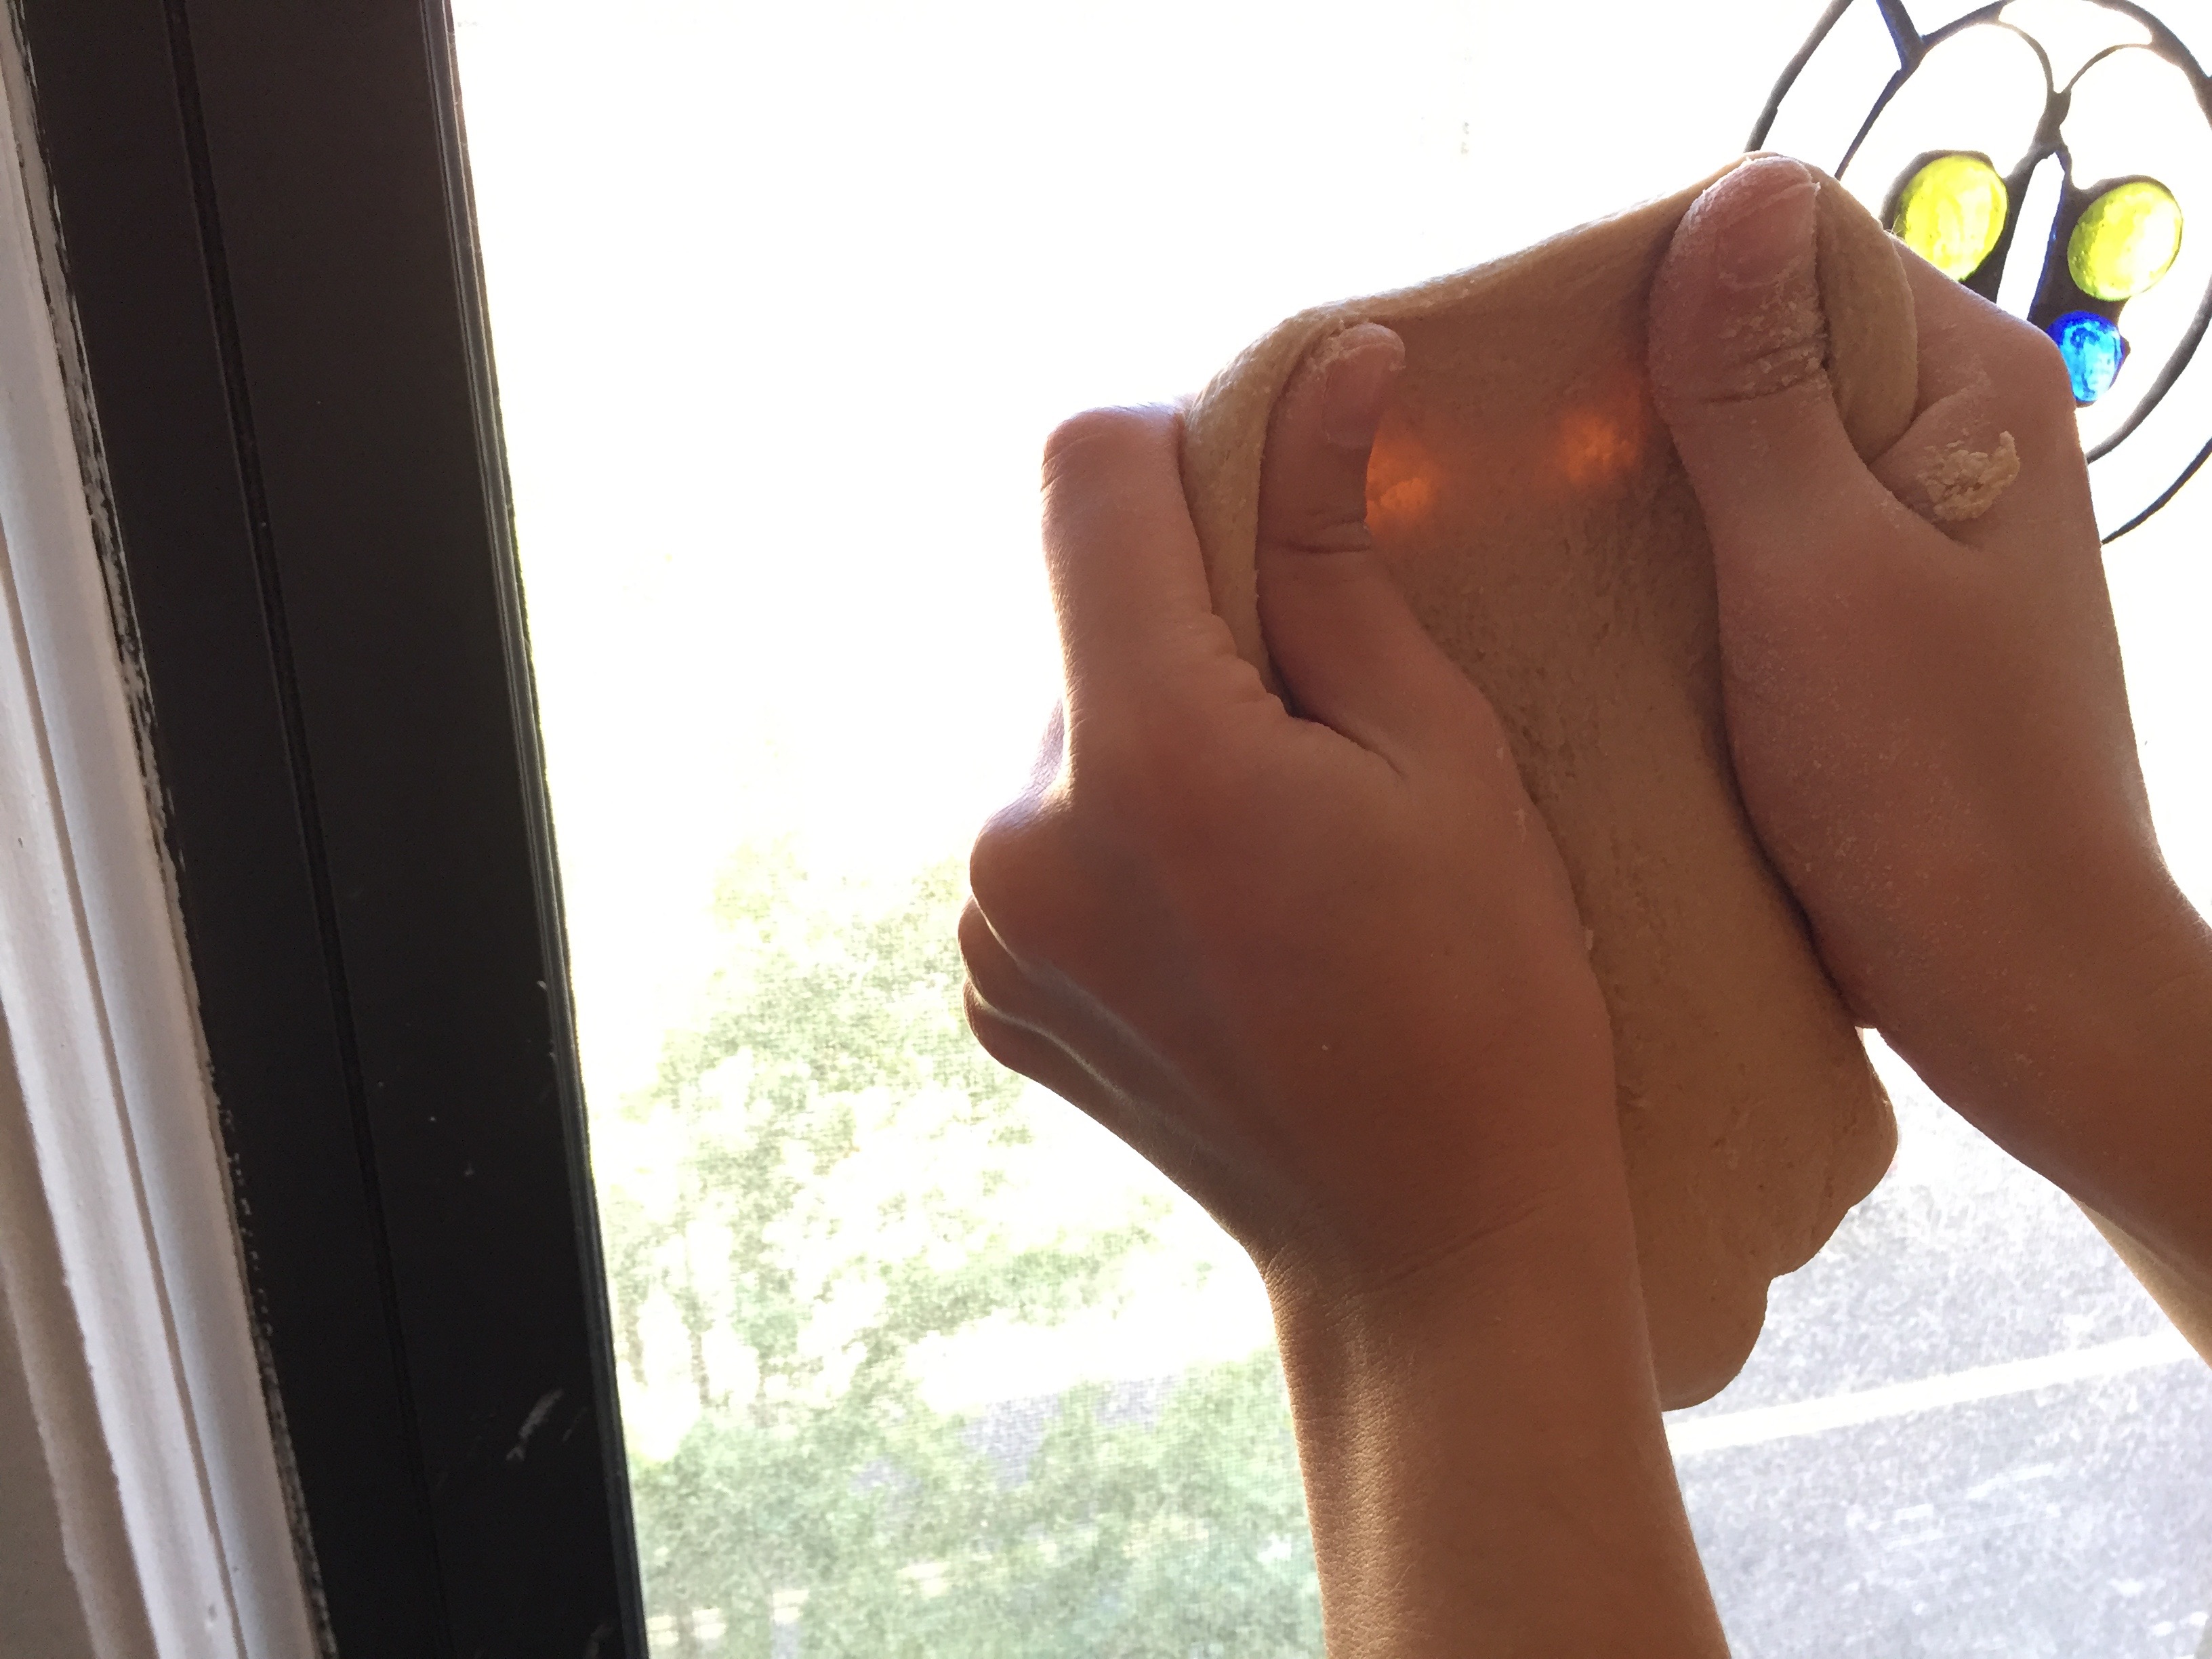
12:25PM put dough in sunny window, covered with cotton cloth
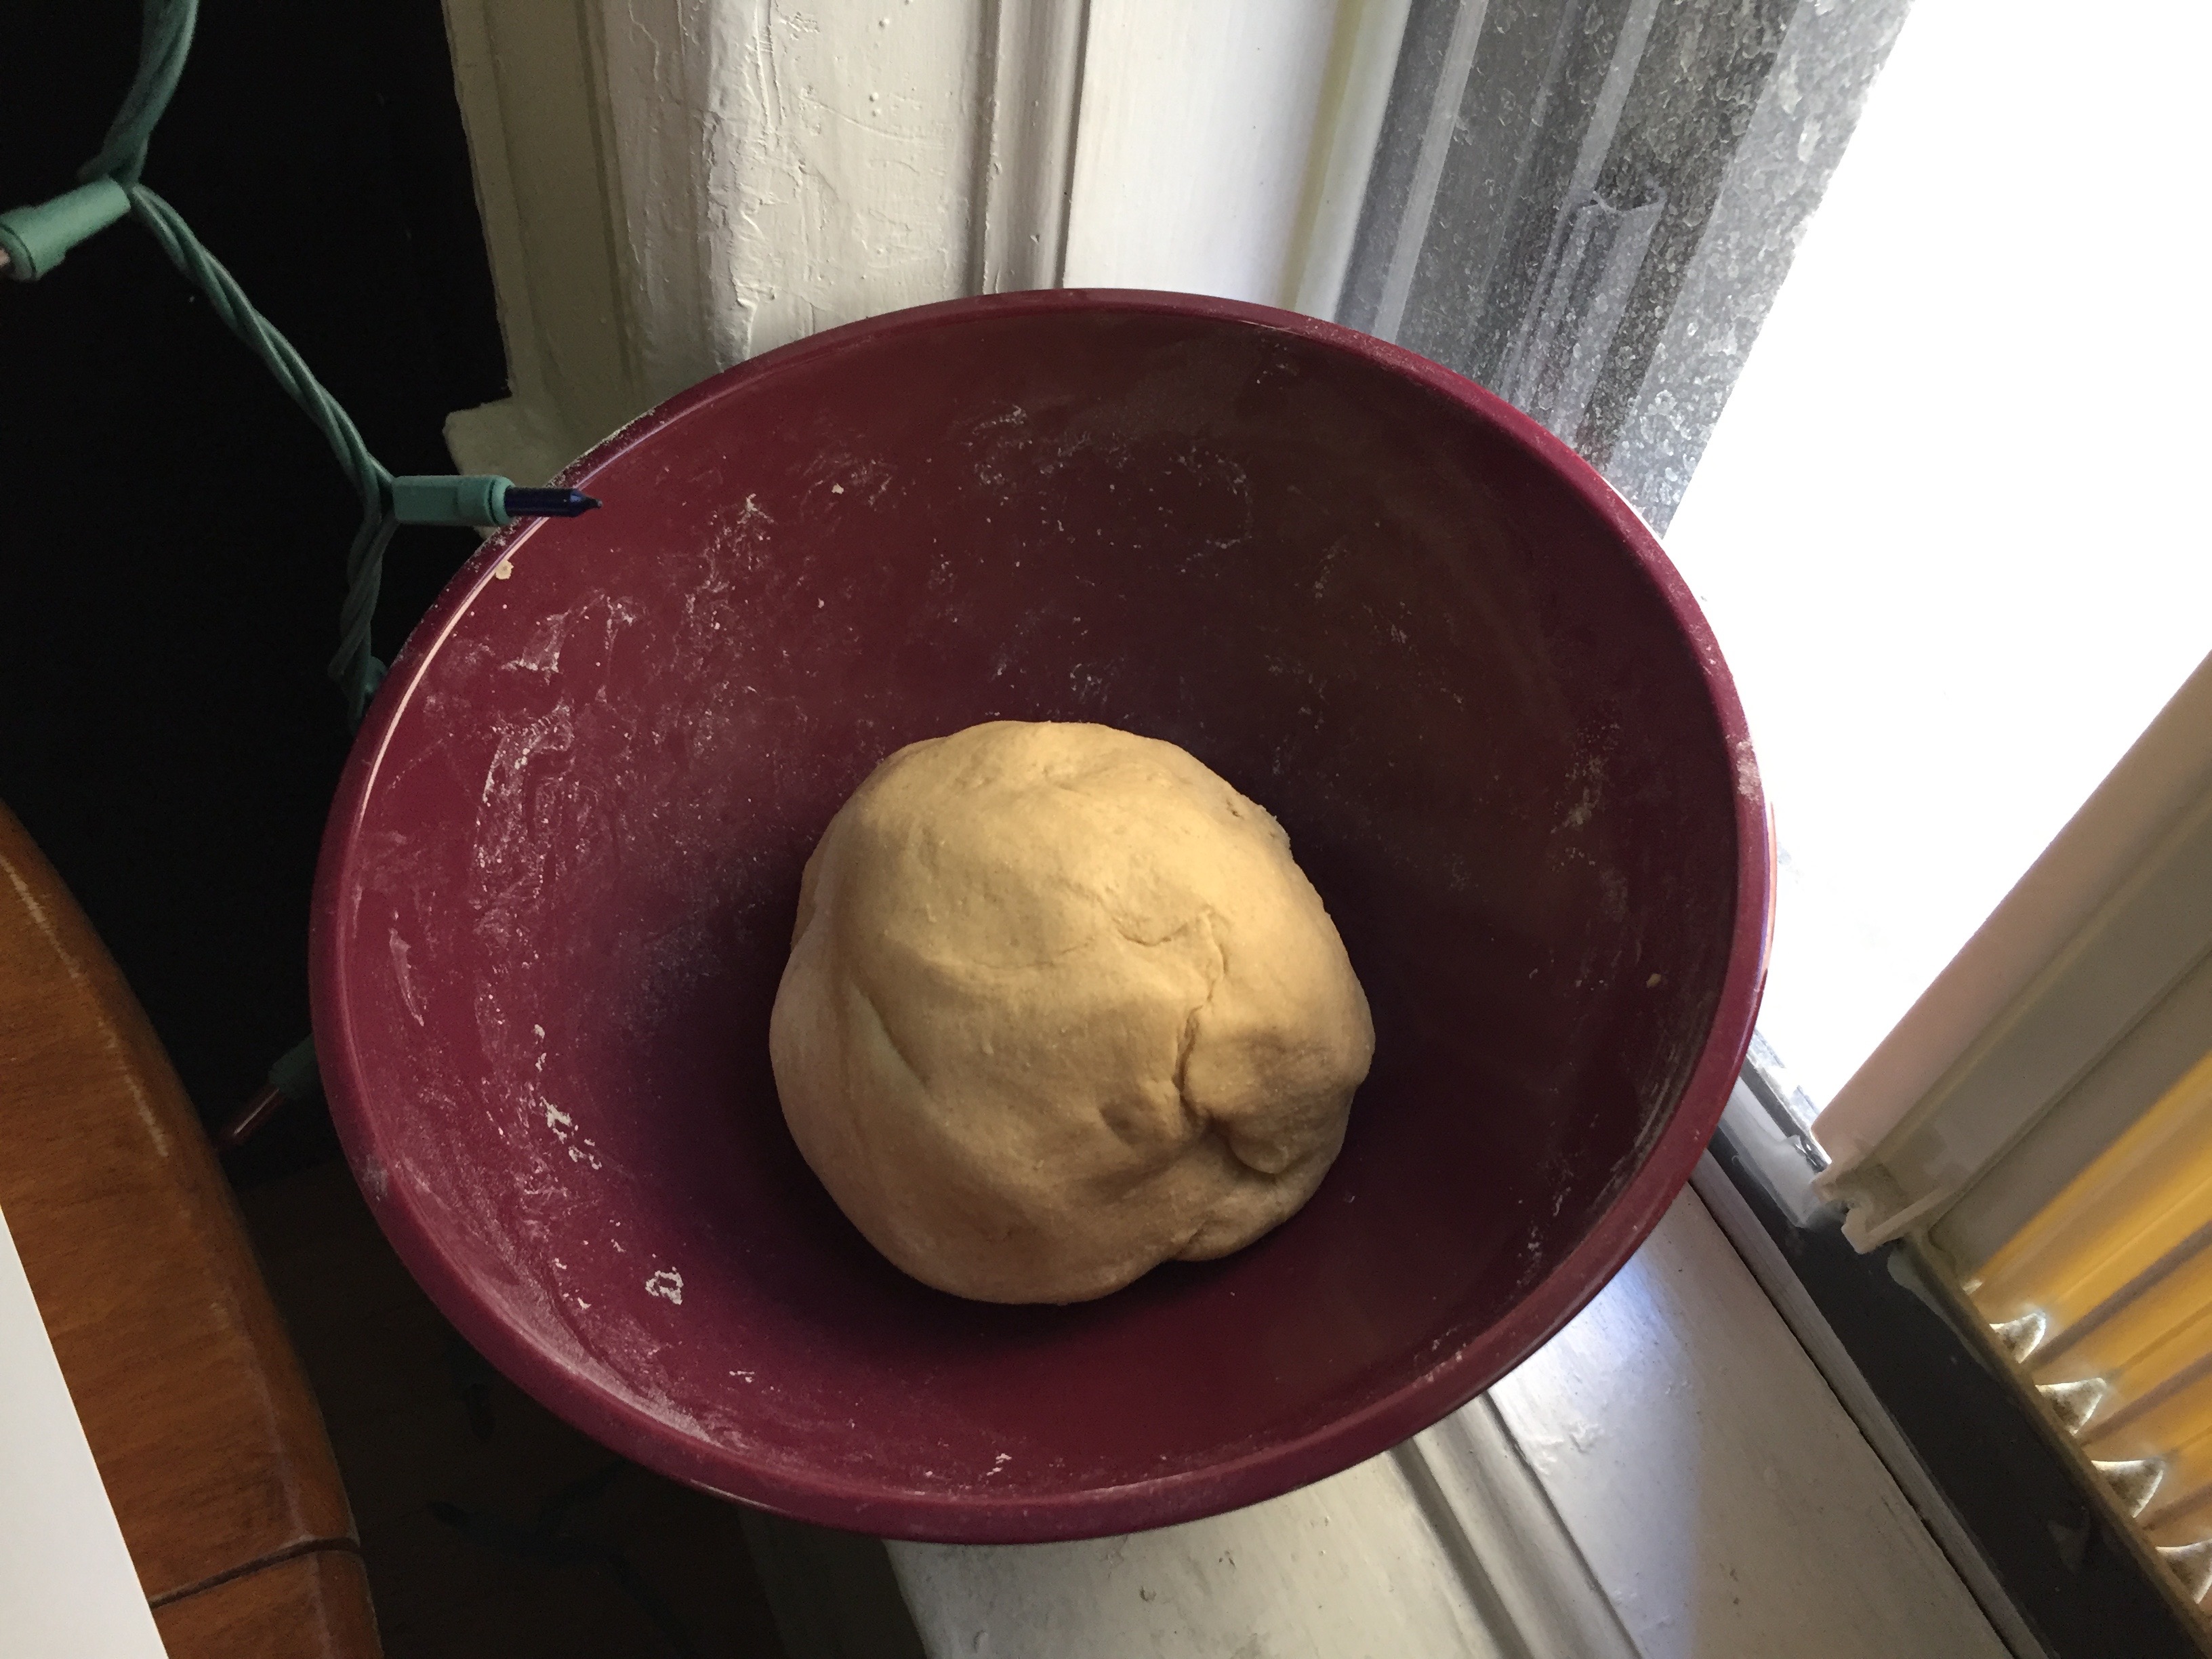
1:45PM molded into manchets
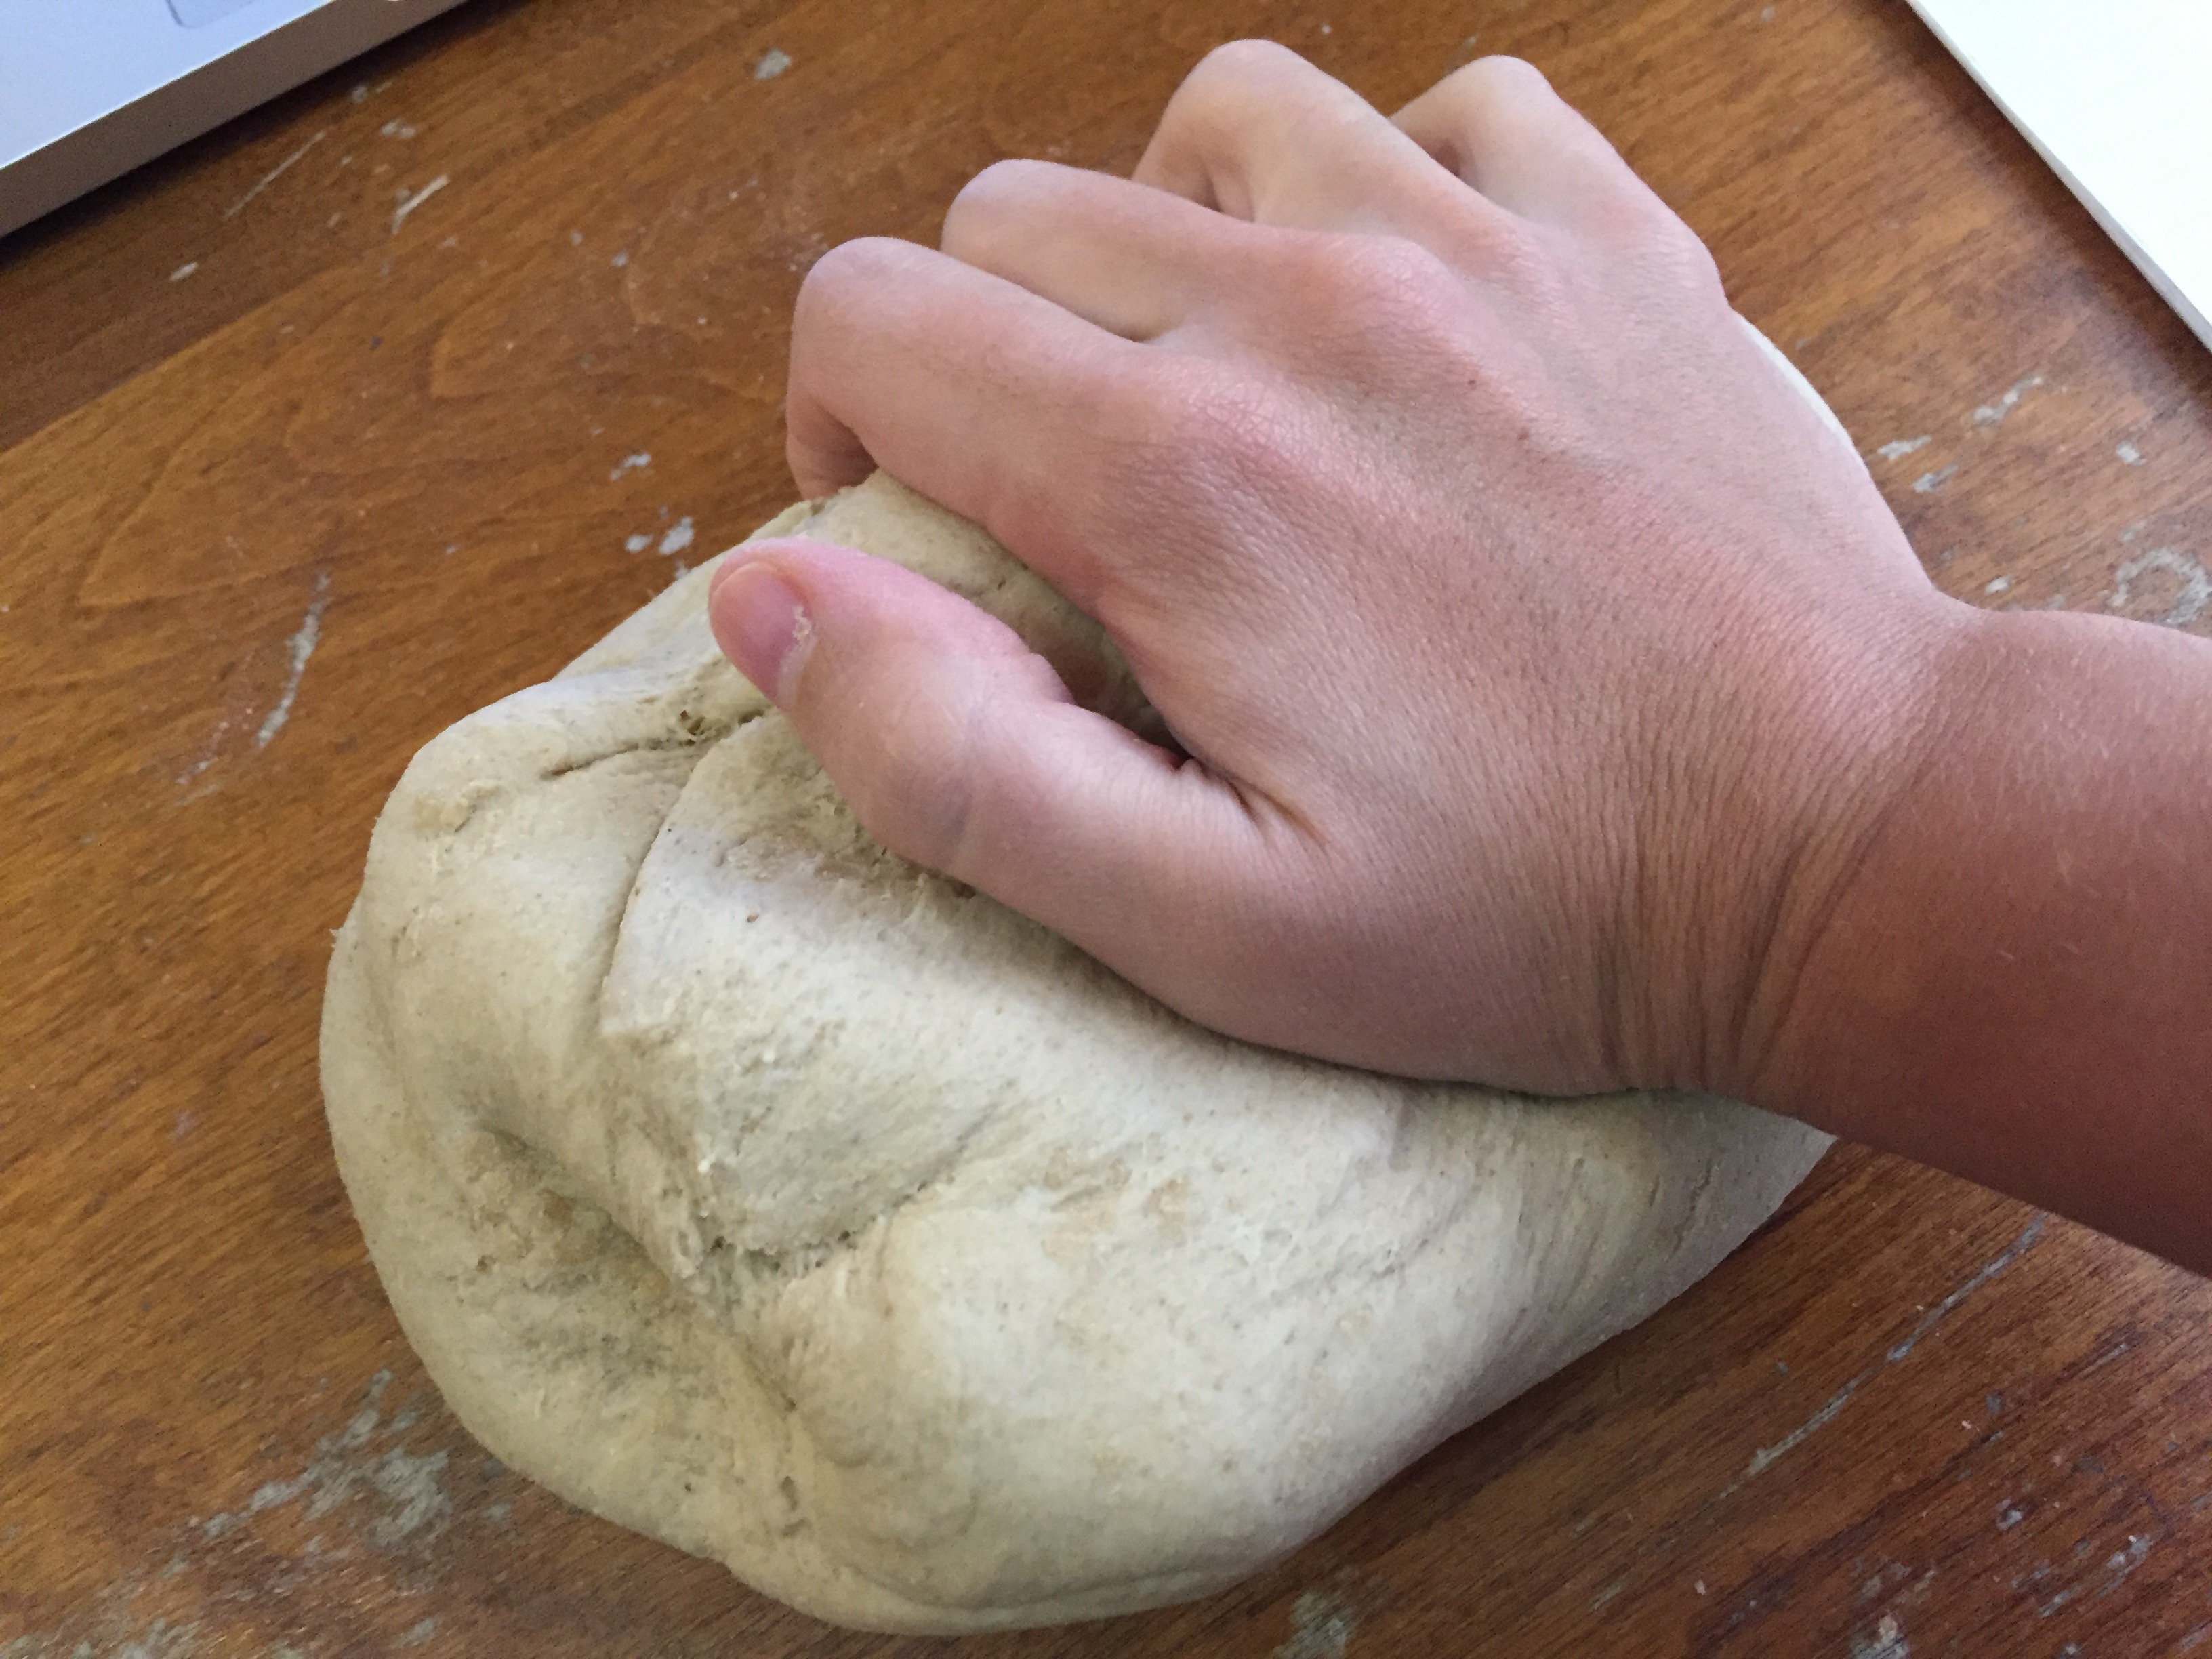
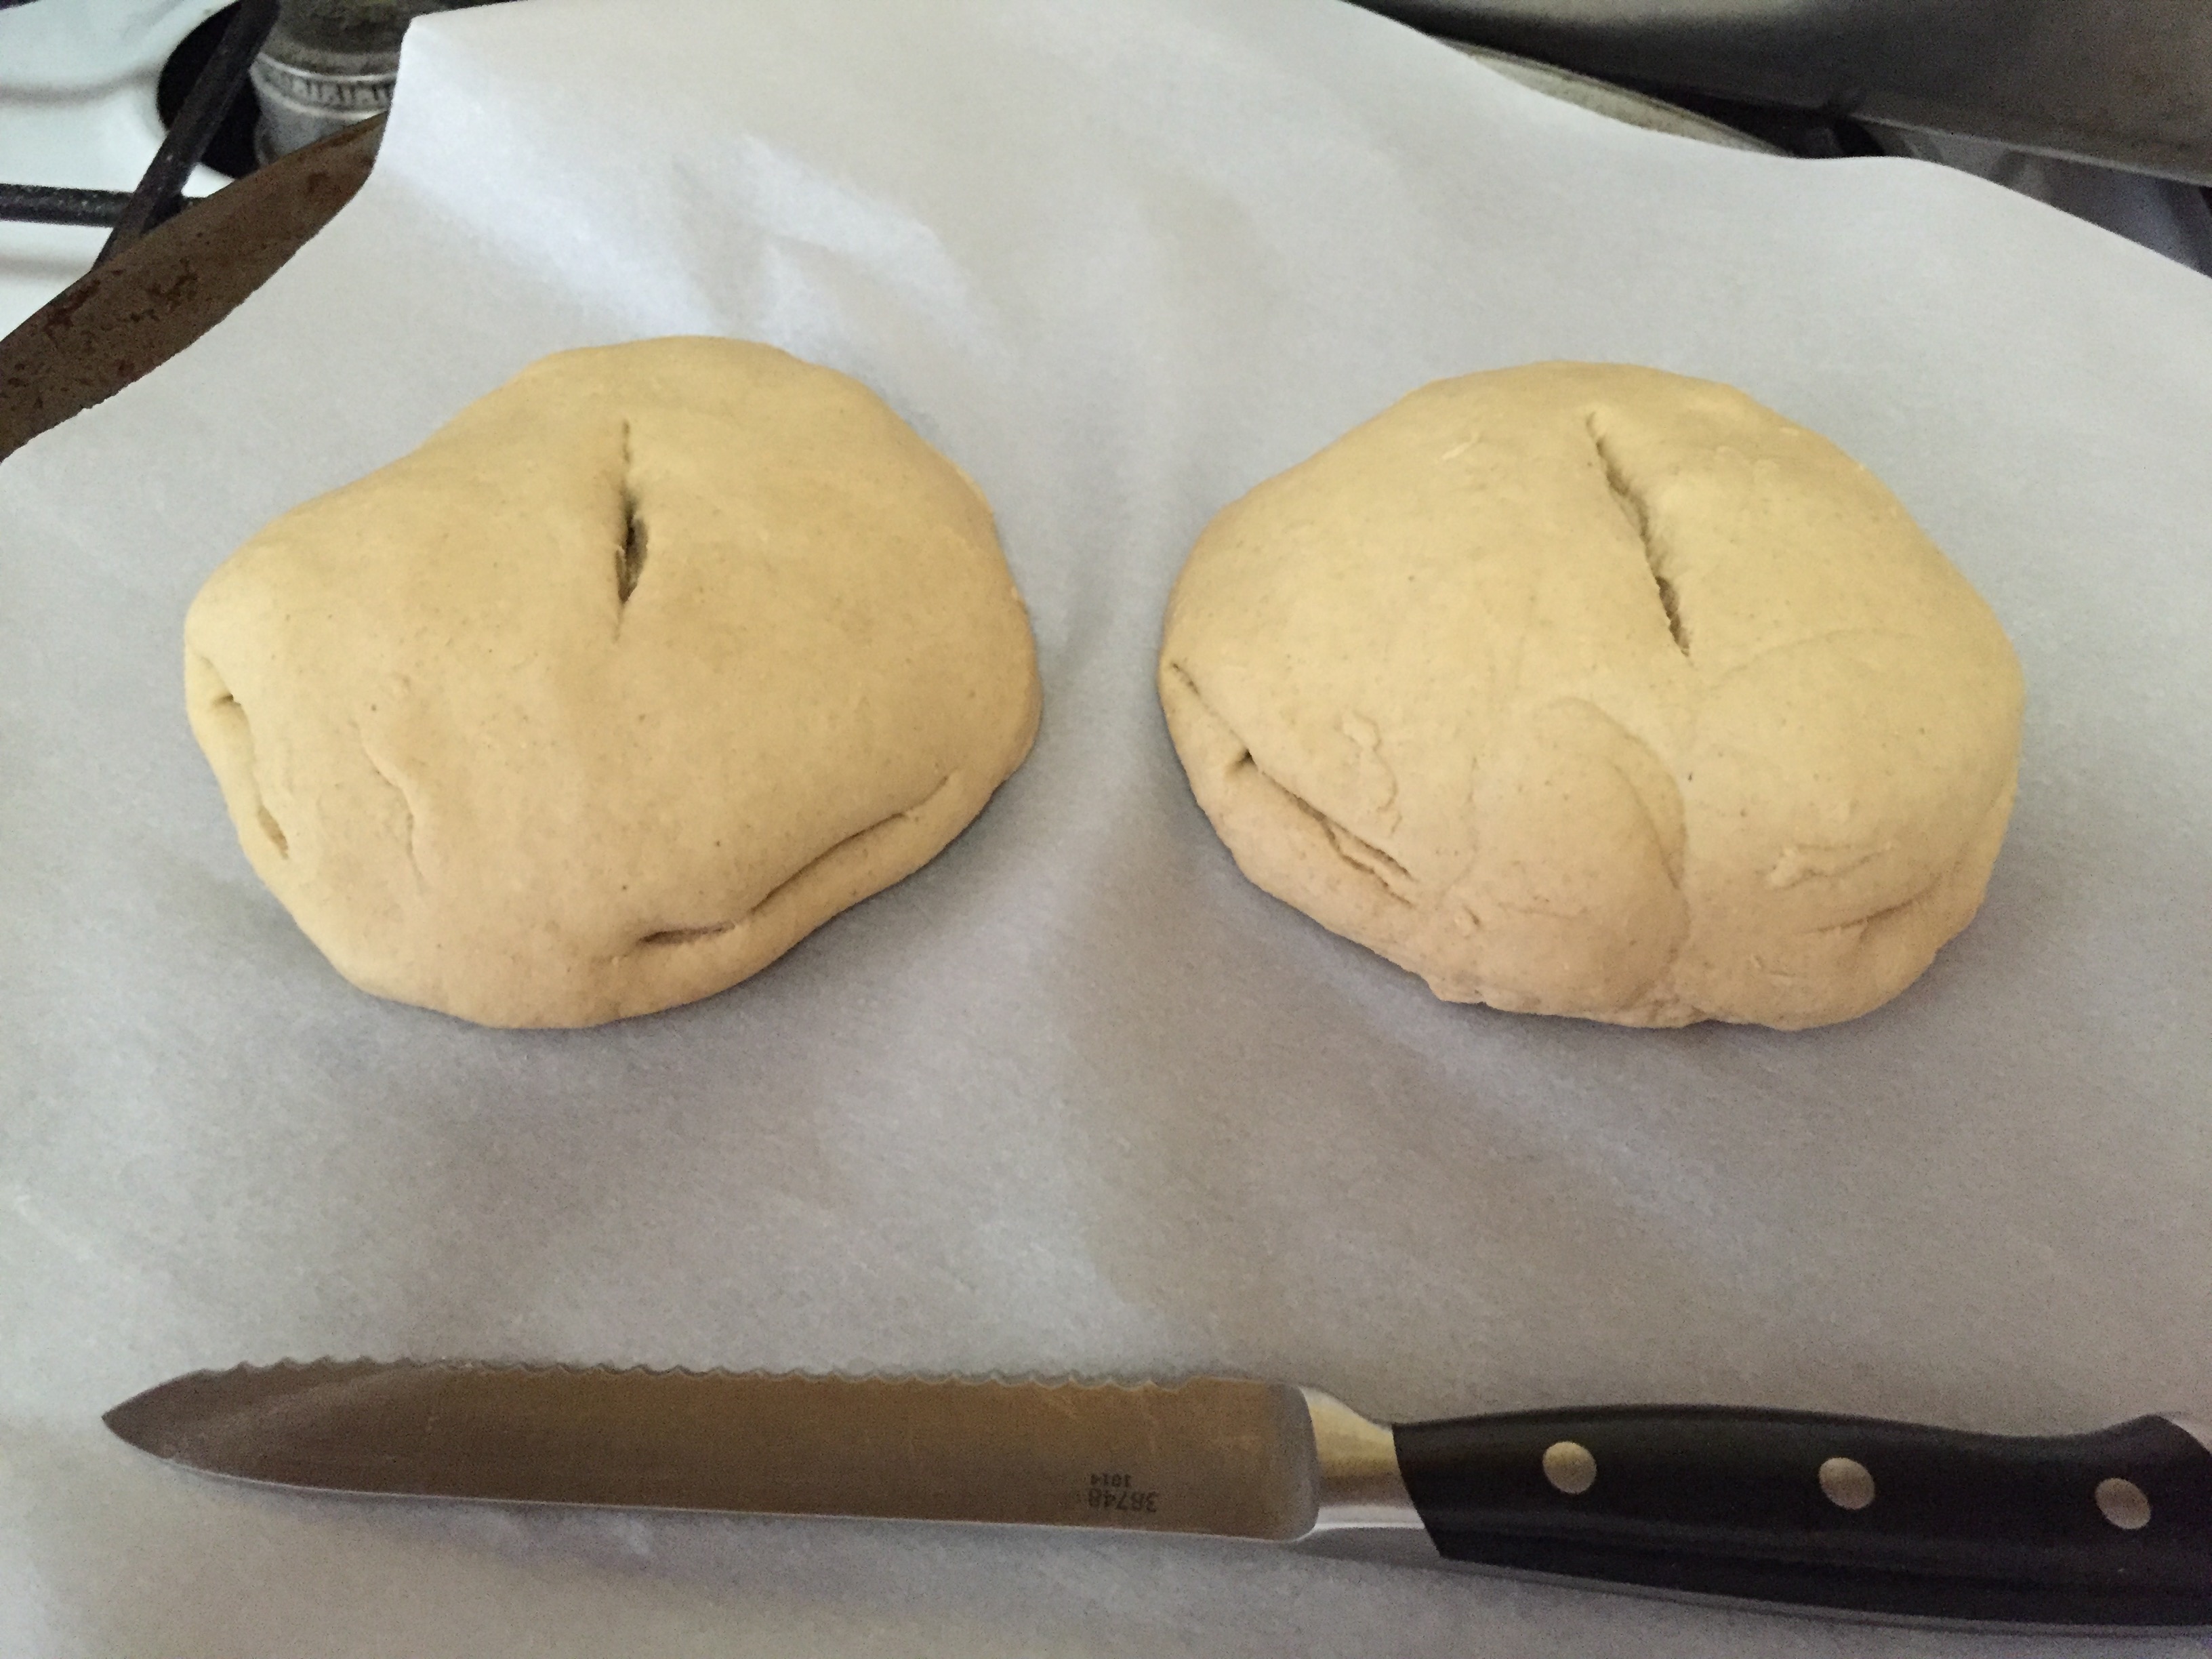
1:50PM put in oven (30 mins at 350F)
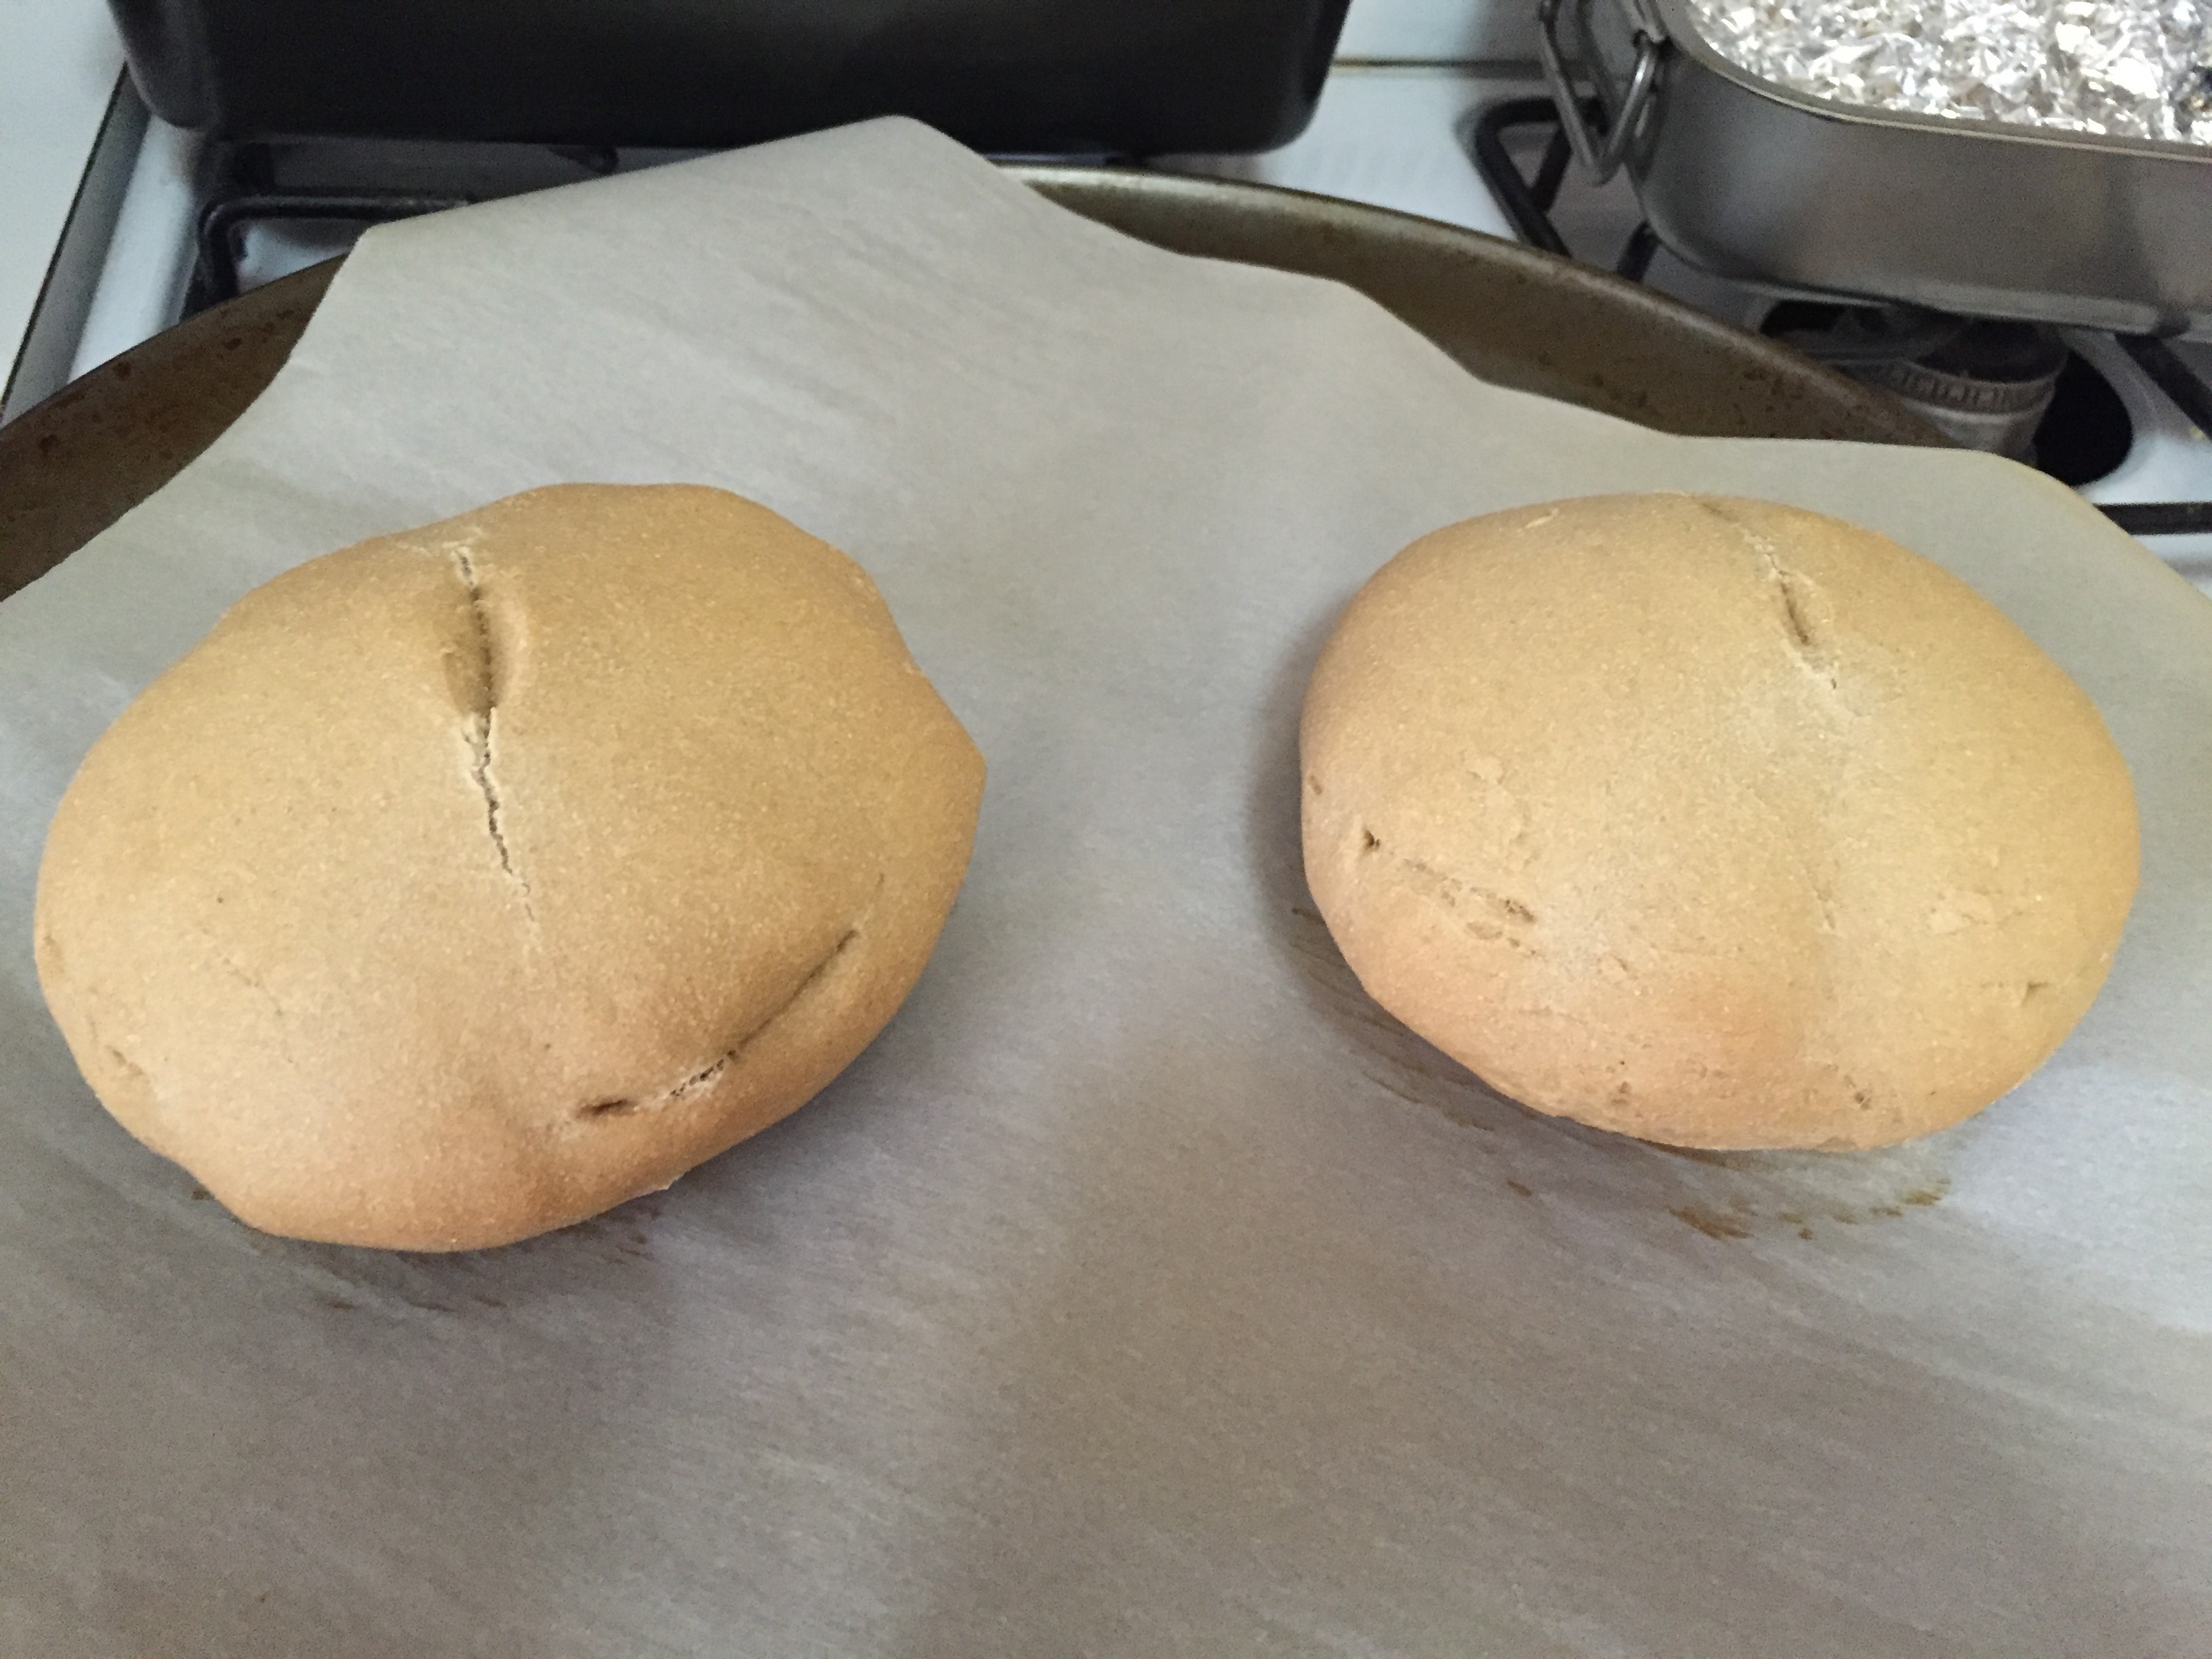
For this second trial, I tried molding three new objects: a key, a small clay sculpture, and a guitar pick. To mold the final object (a guitar pick), I scooped the pith out with a stainless steel spoon to create a mold. The bread felt more fragile in this process than in pressing the object directly into the pith.
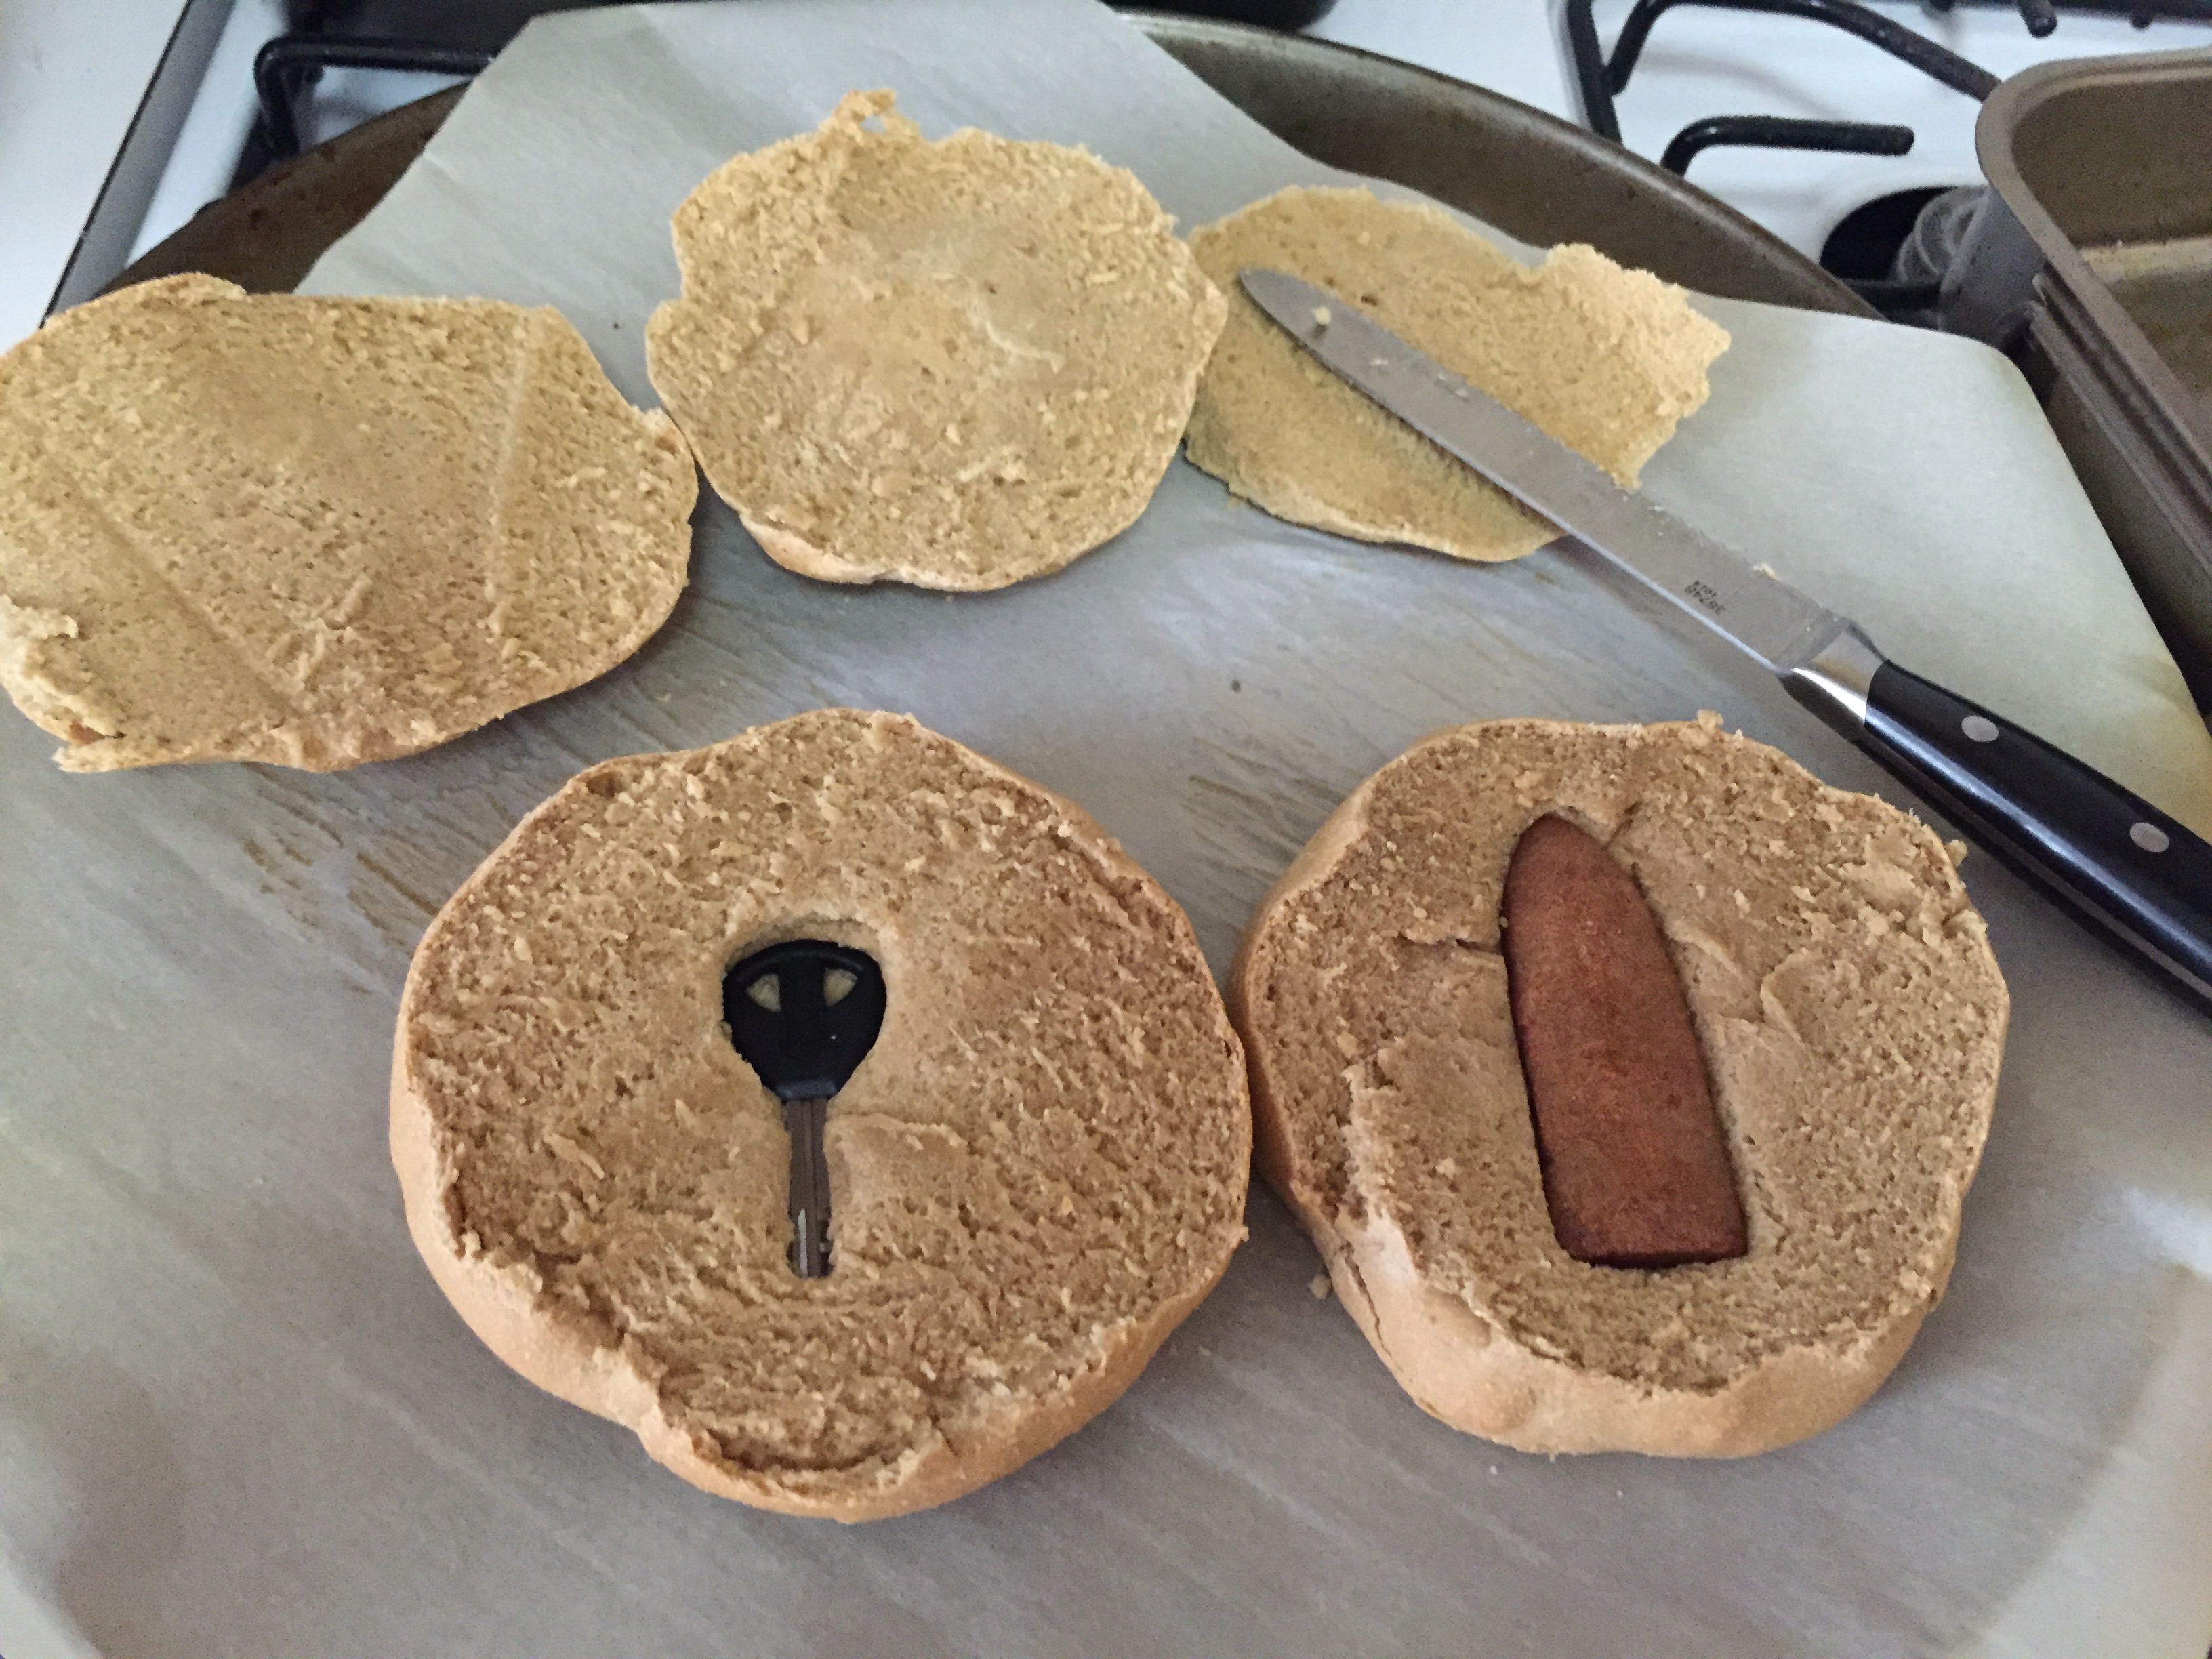
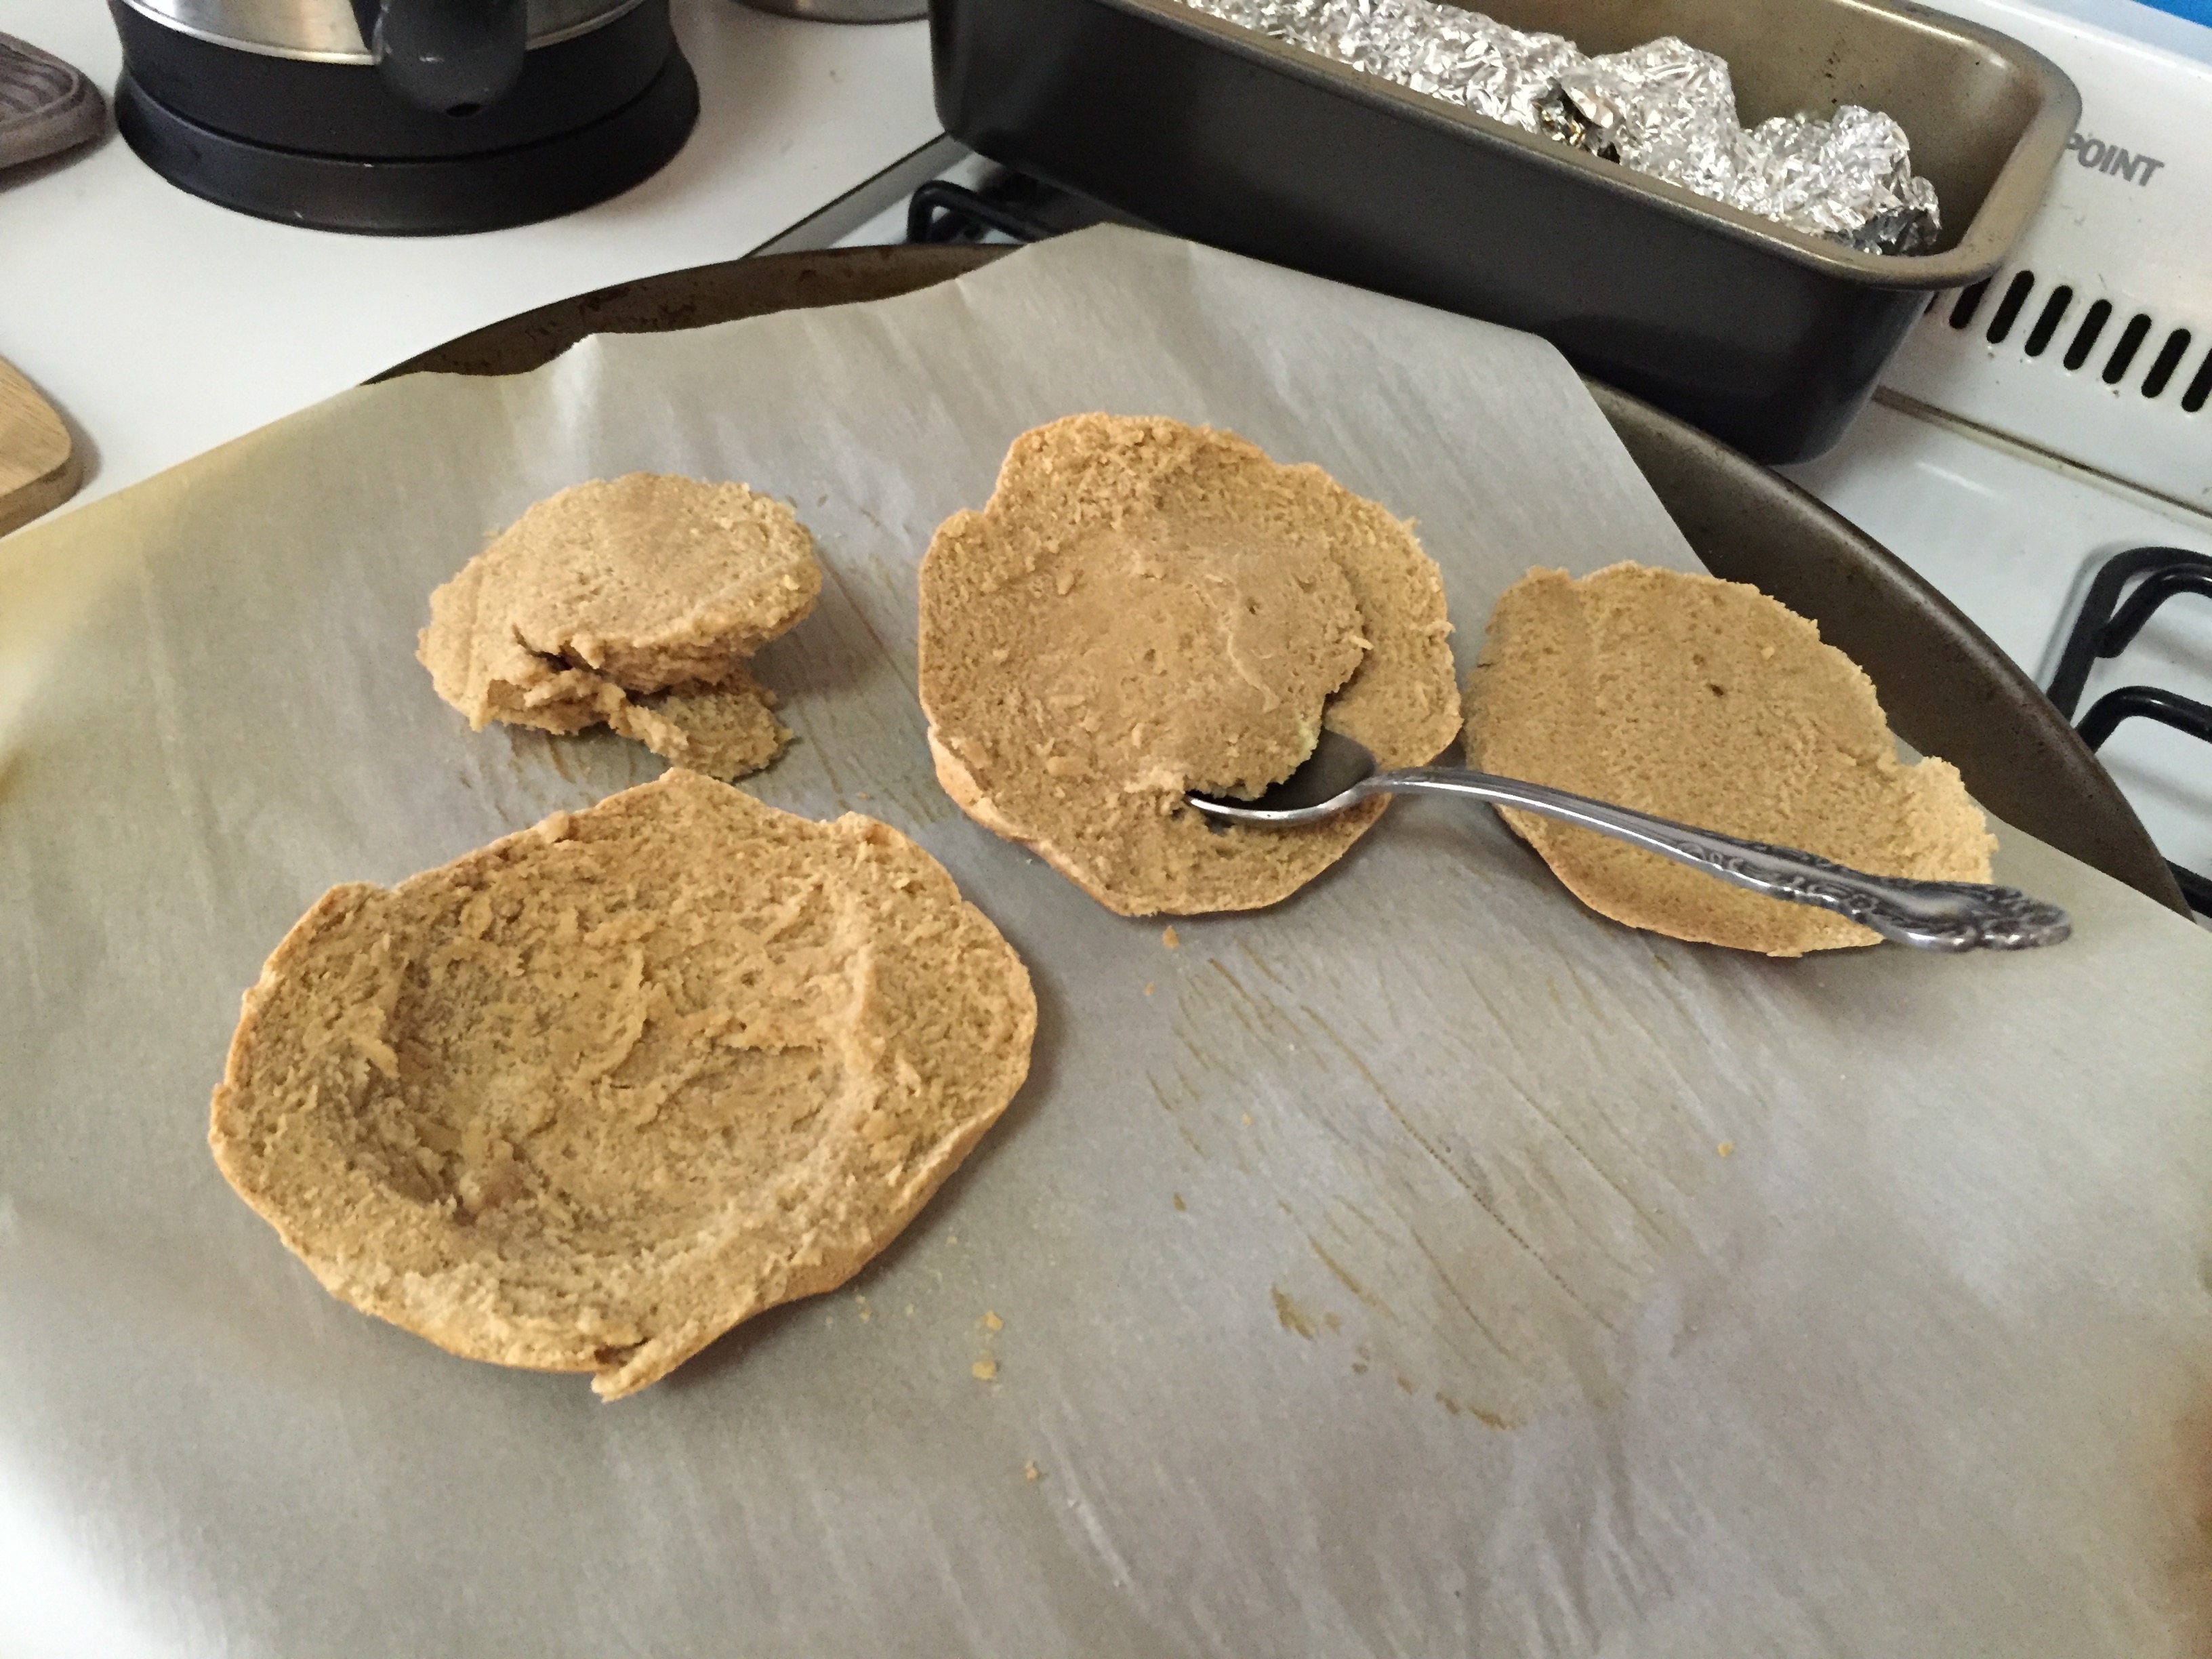
2:30PM drying out in oven with door open for 30 minutes
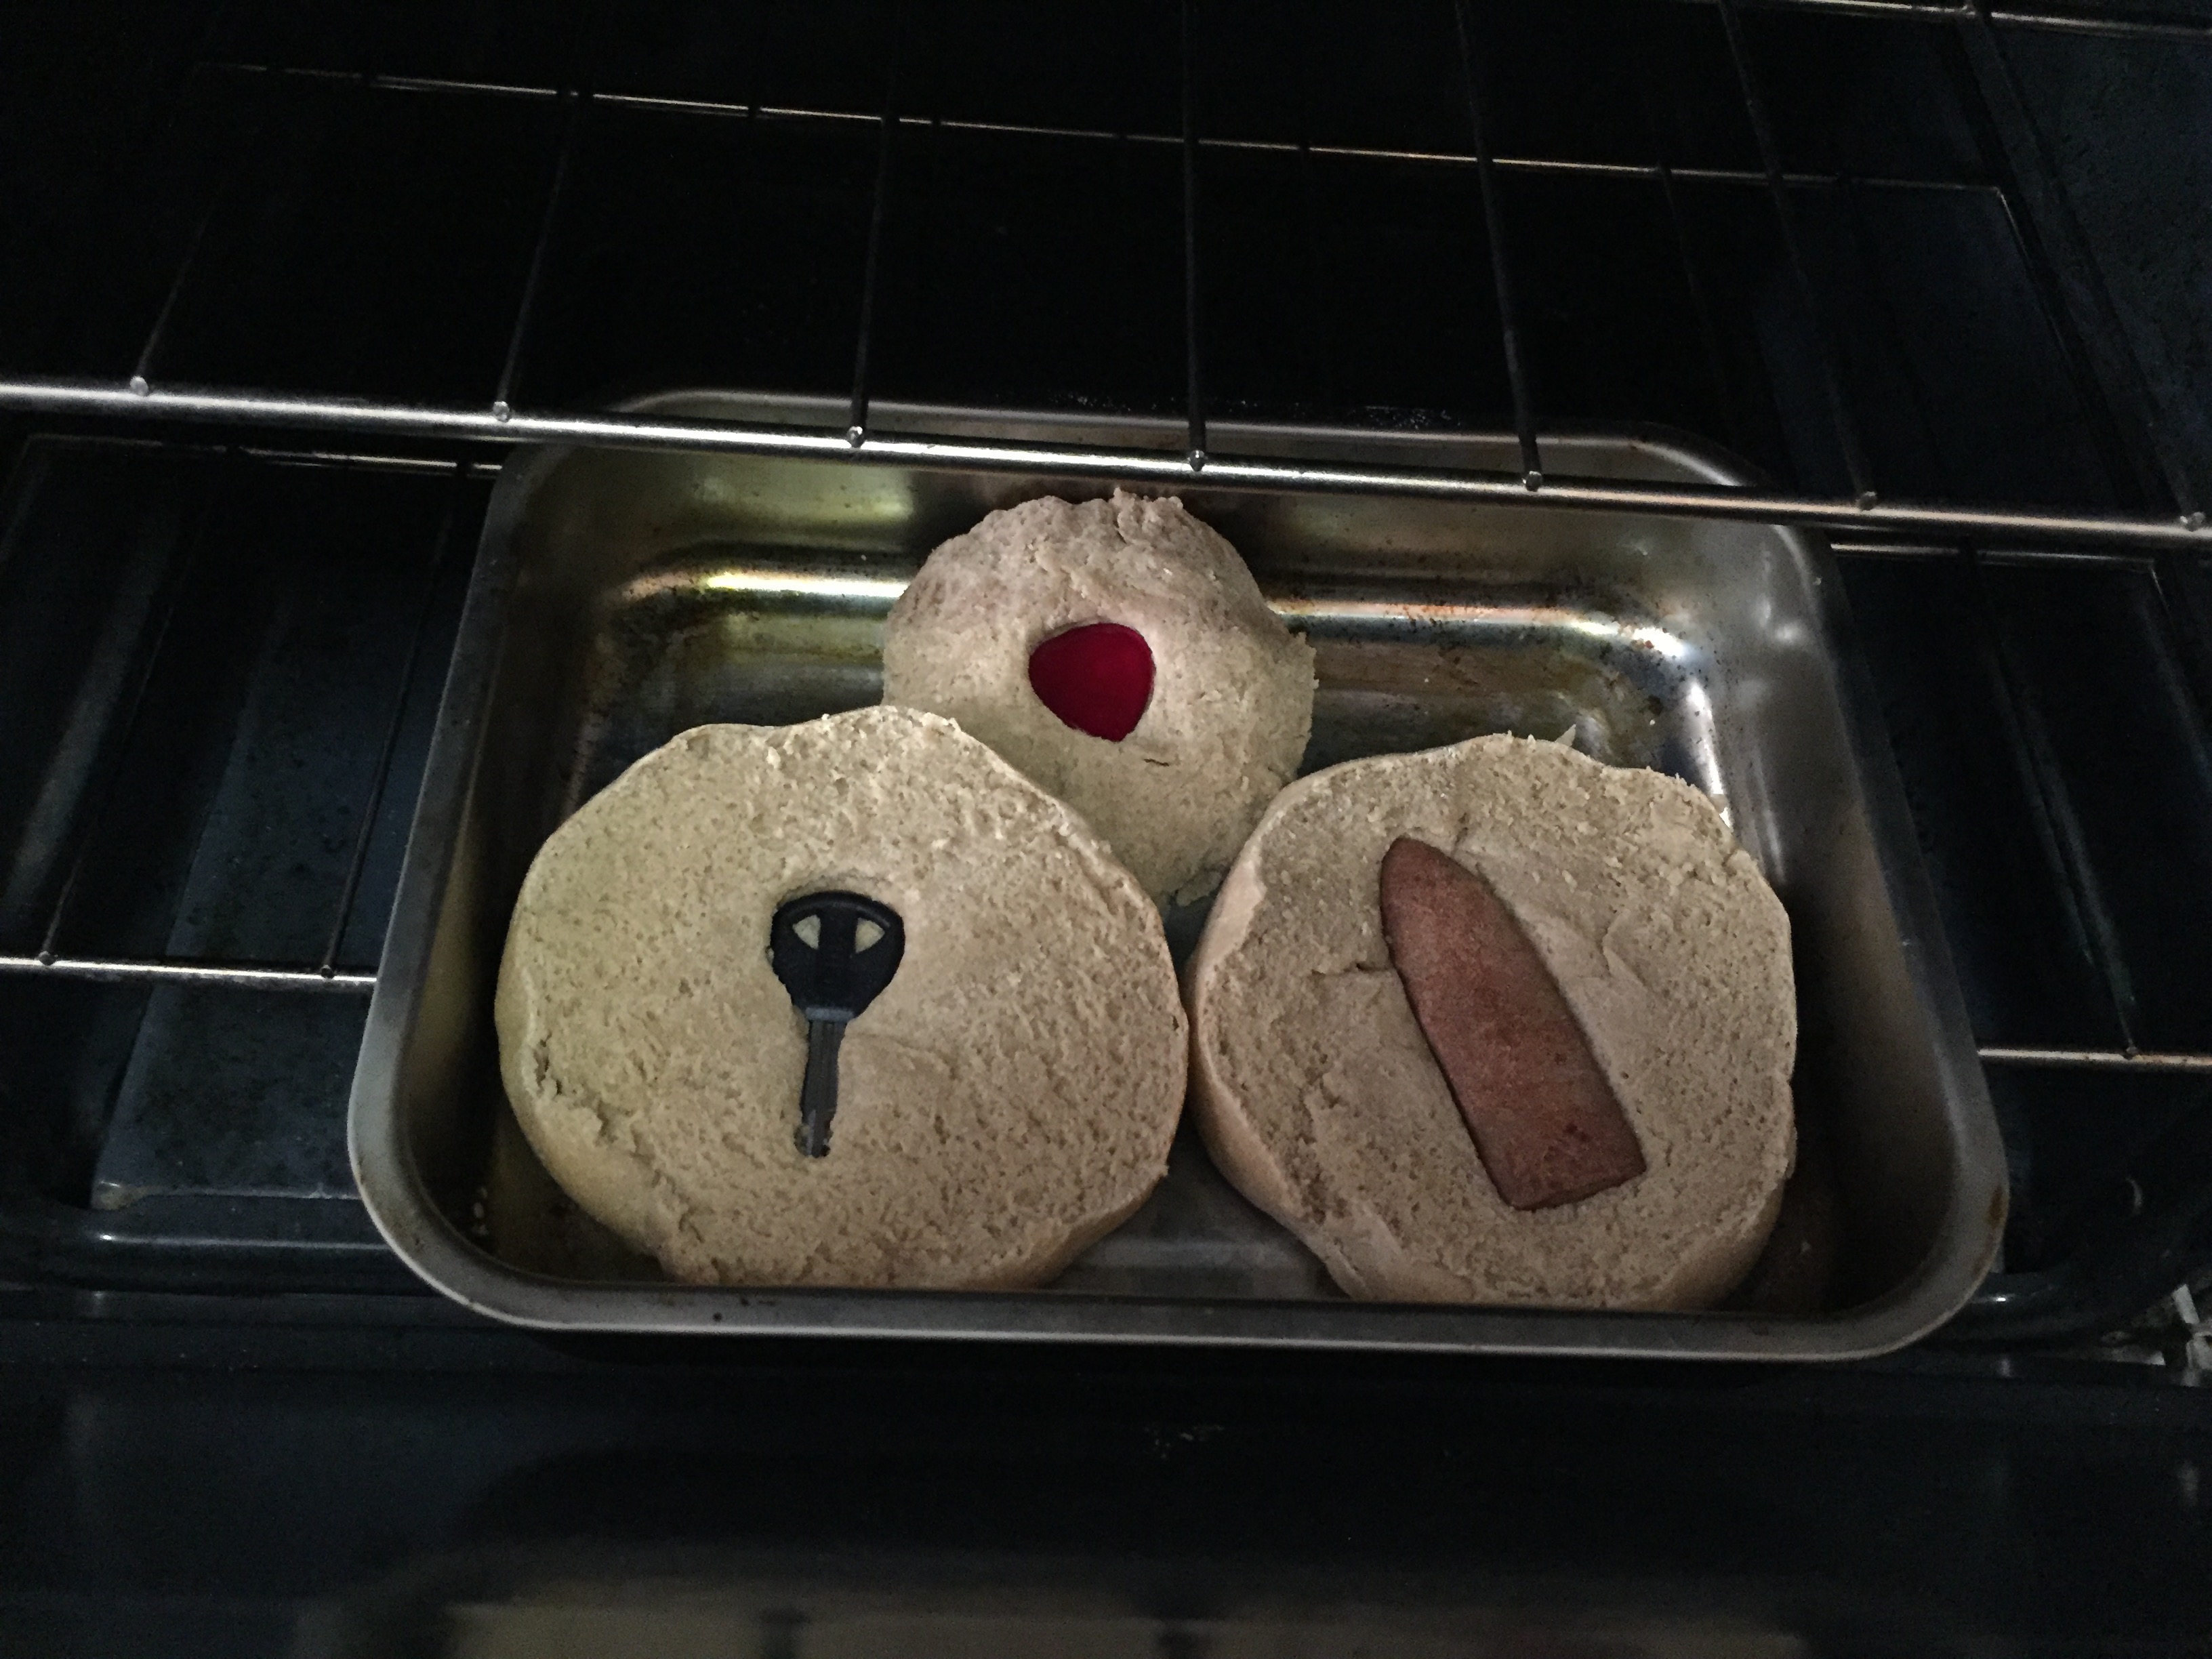
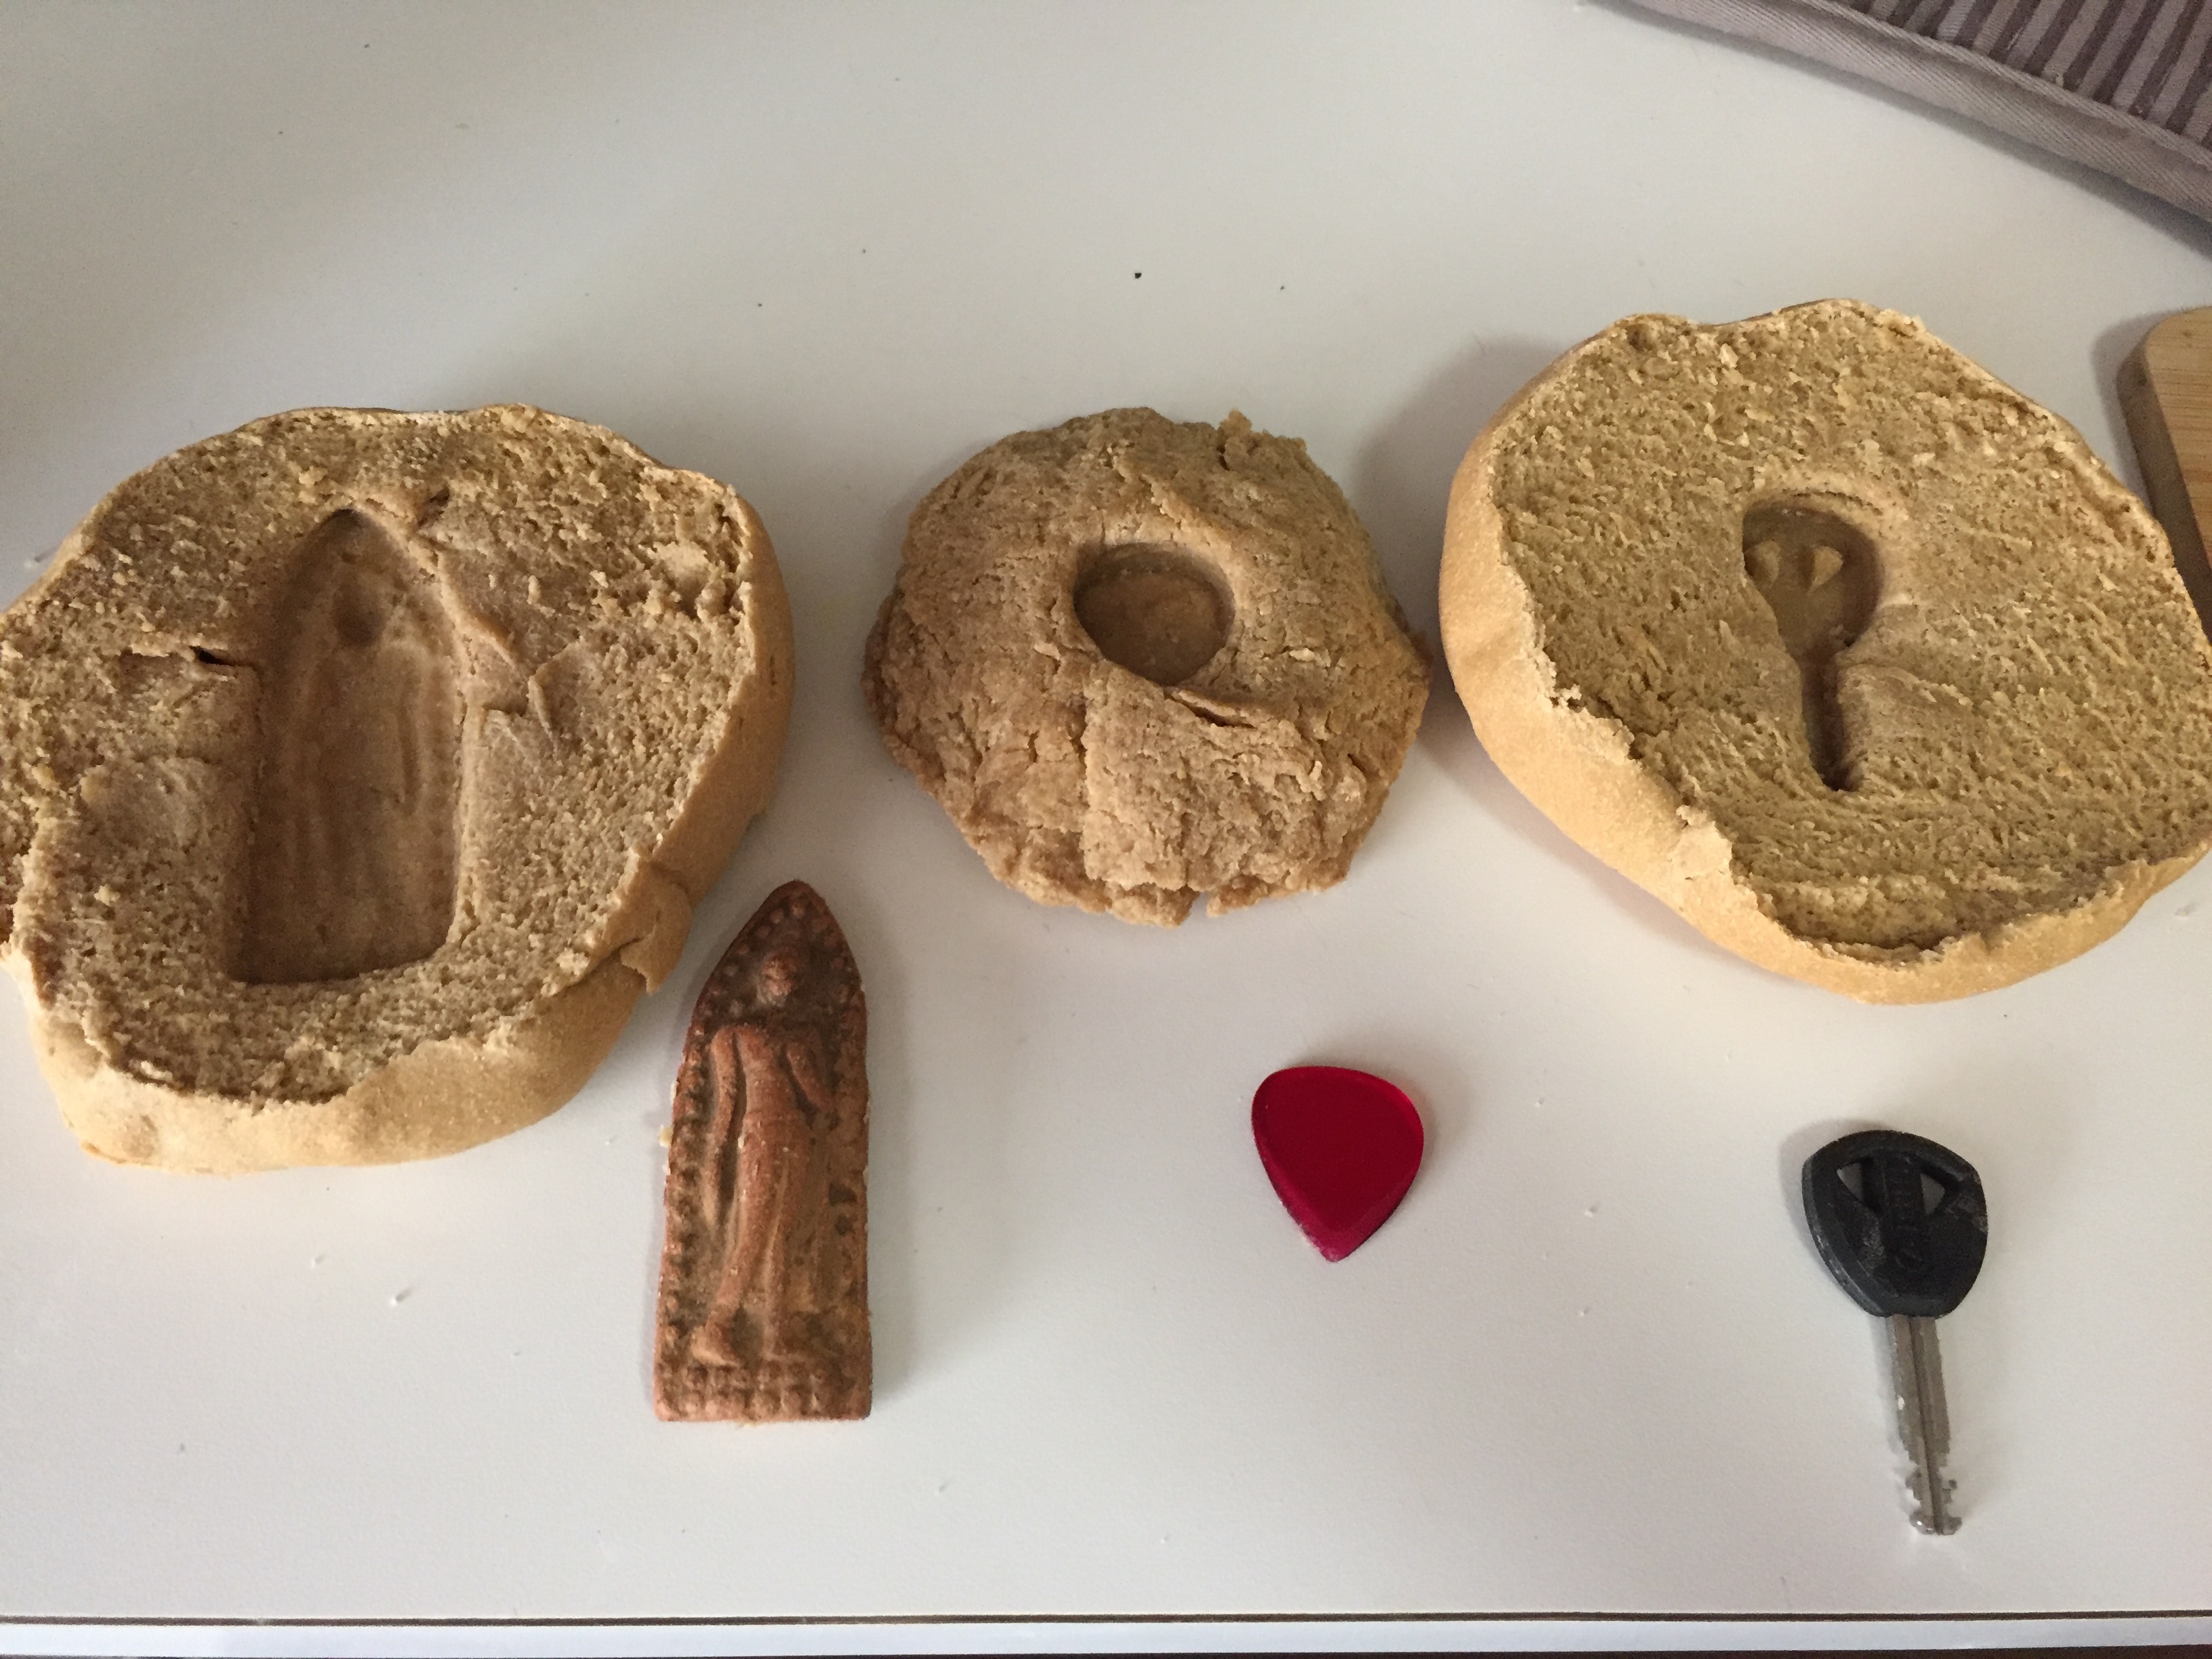
Molding right into the bread, without scooping out the pith, feels more stable since the bread doesn't crack as much.
Post-Experiment Comments and Questions
Comments/Questions about changes to original protocol:
-Since the BnF molding recipes did not provide directions for bread making, I felt okay about using Markham's recipe since it appeared a lot in my online research of early modern recipes; Markham did not provide precise timings and measurements (except for 3 pints per bushel and 1 hour for swelling), so I interpreted timings and measurements using other sources and my own previous knowledge about bread making
-In the first trial I strayed from Markham's bread recipe by replacing the "ale barm" with sourdough starter; after using a barm I made from an online recipe for the second trial I found that this replacement did not seem to have much effect on the outcome of the bread
How did my homemade barm differ from the barm brewers and bakers used in the early modern period?
-Markham's recipe was quite forgiving and I was happy with my results despite not using tools he would have envisioned (e.g. kimnel, brake) and not knowing the precise process he would have followed
-More interpretations of terminology and materials discussed above in the Bread Recipe Research section
Previous Knowledge/Assumptions:
-I have made bread before using white all purpose flour, this was my first experience using whole wheat; I assumed it would bake at a similar oven temperature for a similar amount of time (but because whole wheat is courser, I think it would have required a longer baking time if I had made larger loaves).
-I've learned about kneading dough until the gluten strands are stretched and activated (using the window pane test), I wonder what the sixteenth and seventeenth century baker would have looked (or felt) for in his/her dough
Questions from Experiment Protocol #1:
Goal of reconstruction:
1) to experiment at home with the process of making molds from bread, following the recipes in BnF. Ms. Fr. 640.
2) to gain familiarity with the process of methodical interpretation of Ms. Fr. 640 recipes, and the writing of experimental protocol
3) to become familiar with online resources for seeking out recipes
4) to begin to think about the nature of materials—what is bread as a material in the workshop? What was it used for in the sixteenth century? What properties does it have that make it useful? Does it fit into some sort of informal taxonomy of materials and properties? Today we take bread for granted as a food, but how might its uses in the workshop re-orient that understanding? Bread seems to have been an accessible material in the workshop, used for a variety of purposes. From some of the uses shown below, it appears to be a flexible and porous material. Reading about its variety of uses, and working with it to make a mold, it is clearly more than just a food.
Other materials used for molds:
In BnF Ms. F. 640 (not complete list):
-12r, 92r: clay
-50r, 12r, 53r: paper
-80v: calcinated oyster shells
-91r: cuttlefish bone
-Cennino d'Andrea Cennini, The Craftsman's Handbook (Il Libro dell'Arte), trans. Daniel V. Thompson, Jr. 1933:
-p. 78: stone (greased with bacon fat or lard) and tin foil over mold
-p. 4: warmed wood, smoothed with cuttle bone
-p. 130: cast metals in clay or plaster
-p.130-131: dried ashes and salt to make a "sort of plaster"
Some other uses of bread:
In BnF Ms. Fr. 640:
-4v: bread crusts in "black varnish for sword guards..."
-37: bread dipped in wine as part of "medicine for the stomach which warms warms it and unstops the liver"
-41r: bread crumbs fed to ducks; also, don't want bread to fall into your sand because "this makes it porous"
-48r: bread as ingredient in "excellent mustard"
-50v: bread crumbs for feeding "little birds"
-51r: bread in recipe about printing plates
and more...
-Cennino: "take a bit of the crumb of some bread, and rub it over the paper, and you will remove whatever you wish" (p. 8)--to erase after drawing with lead
-As a plate or "trencher": http://www.medievalists.net/2013/07/04/bread-in-the-middle-ages/
-Hugh Plat, The jewelhouse of art and nature (1653 edition on Hathi Trust): bread in pipkin with oil to purify it (soak up impurities) (p.182)
Overall impressions:
-The author of BnF Ms. Fr. 640 was clearly writing in a time when bread was a tool in the workshop as well as a frequently-made food. His terminology, "as you know" implies that he's writing to an audience knowledgeable about bread making.
I took a long time to do this assignment, and I perhaps went overboard on some aspects (going down research rabbit holes and taking too long typing up field notes) and failed to write as clear an account of procedure, process, and outcome as I would have liked.
I really did enjoy attempting to recreate a bread mold and had no idea you could knead bread with your feet--it makes the process much kinder on your arms!
I look forward (with hope and anxiety) to how the molds will survive the hot sulfur and wax in class tomorrow.
Casting
Name: Joslyn DeVinney
Date and Time:
2016.09.26, 11:00am-2:00pm
Location: Making and Knowing Lab
Room conditions: lab slightly chilly, did not look at thermostat (is there one in the lab?)
Subject: casting with my bread molds in wax and sulphur
Procedure:
- I decided to attempt three casts: one sulphur (with my rooster bread mold) and two beeswax (with my figure bread mold and key bread mold)
- As a class, we looked up sulphur and beeswax in Chemwatch to determine each material's melting point as well as each material's characteristics for proper safety protocol
- PPE/safety protocol for casting with sulphur: lab coat, rubber gloves, safety glasses and use of fume hood (sulphur gives off toxic vapors when heated). For casting with wax we did not use a fume hood but kept our gloves, coat, and safety glasses on.
I first cast in sulphur with the assistance of Dr. Joel Klein:
Sulphur's melting point: 114 degrees celsius (used laser thermometer to determine when sulphur was melted and ready to pour into mold)
Set-up for casting rooster bread mold in sulphur (photos by me and Dr. Tianna Uchacz)


After pouring sulphur into rooster mold, I covered the sulphur with another piece of bread while it dried (I covered it to cut down on its exposure to air--according to Rozemarijn Landsman, Jonah Rowen, “Sulfur and Additives,” Annotation, Fall 2014, the sulphur cast would bubble if exposed to air)
I next cast a wax key with the help of Dr. Donna Bilak (photo by Ben Hiebert). Beeswax has a low melting point (62 degrees celsius). Donna had already melted the wax pellets so I came to the station and poured the wax into my key mold. I enjoyed pouring the wax more than the sulphur (without the hindrance of the fume hood and worries about toxic fumes).

After the key, I decided to cast a second bread mold in wax (pictured below next to the sulphur rooster).
Sulphur rooster and wax figure

Soaking bread mold of wax key for easier removal of mold

2016.09.29, 2:00pm
On September 29th, I came into the lab (supervised by Dr. Joel Klein) and removed my casts from the bread molds. The wax key was easy to remove from the bread because I had soaked it for three nights in tap water. The bread around the wax figure came away relatively easy with a sharp knife. I did some scrapping away of the details with a pallet knife. The sulphur rooster broke when I attempted to bend the bread around the figure. It seemed like the crystals of sulphur on the back of the rooster created a weak spot. I cut the rest of the bread away with a knife and cleaned it up with the pointed end of a pallet knife.
I was happy with the results of my three casts. The sulphur cast looks crisper than the wax casts and is perhaps better for showcasing details.
